How to CREATE USB / DVD install MacOS from Windows. The situation is old times using Windows. Today I picked up a Macbook Pro Mid-2010 intending to install MacOS on its own.
However, after 3 days of soaking, I still have not found a way to boot and install MacOS. I want to ask the following questions:
1. Macbook Pro Mid-2010, type with built-in DVD. Then can boot with USB?
2. Does the newly purchased hard drive need to be reformatted to install MacOS or not?
Because of the way I create a bootable USB as follows:
1. Format USB & convert to GPT.
2. Use TranMac to Restore DMG file.
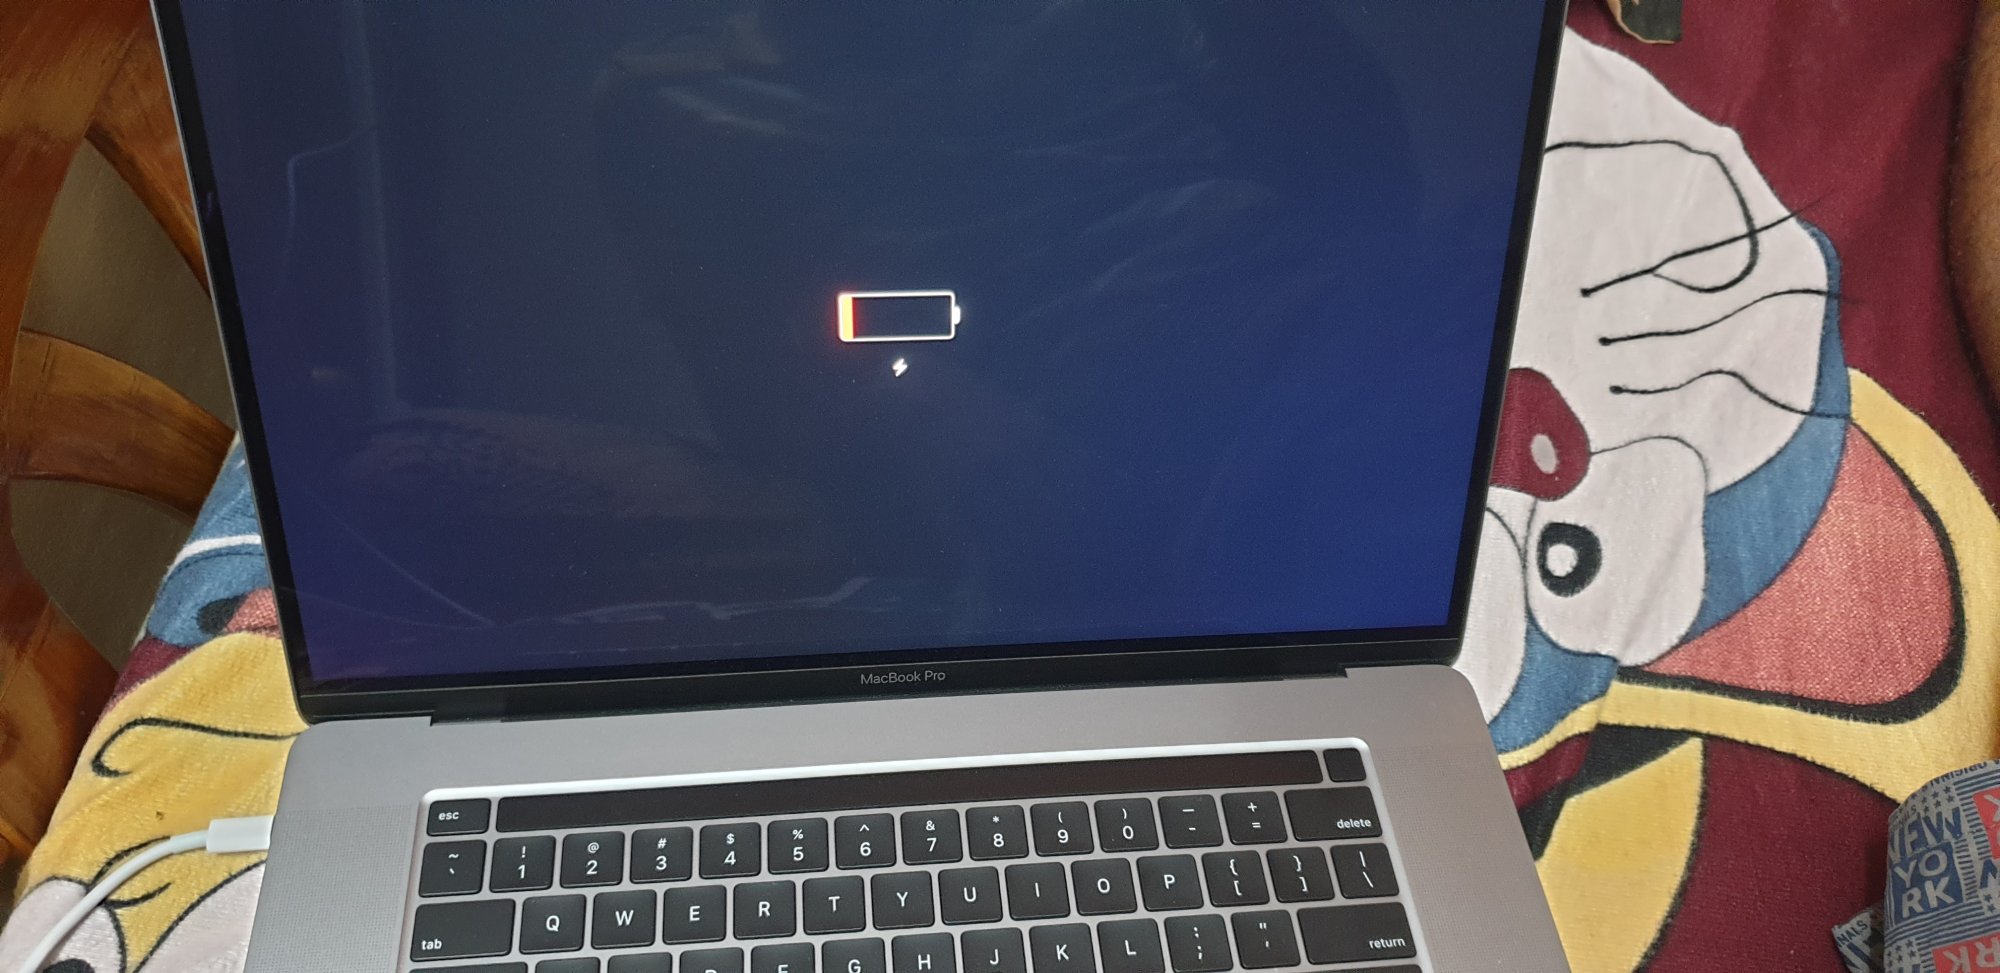
3. When booting the device + hold down the Option key, but the USB option is not displayed.
4. Then I removed the USB stick for a few seconds, reattached it, and then appeared an orange USB icon called “OS X Base System 1”.

– Use transmac format and then use win 32 disk image to write to usb
We recommend creating a virtual machine because it’s always standard – USB using USB 2.0 is the best

The second method:
If you like to install Windows using USB on older machines that do not support USB, this article will guide you to “open the feature” allowing BootCamp to have more options to install Windows via USB on a Macbook Pro! No more wordy, let’s get started!
Prepare:
– The device has installed Xcode software, or similar text editing software.
– Windows .iso file (of course there must be ^^).
– 1 USB 8GB or more (Windows 8/10) and 4GB or higher (for Windows XP / 7).
Step 1: Open Finder and navigate to “Applications / Utilities” folder containing “Boot Camp Assistant.app”. Right click on “Boot Camp Assistant.app” select “Show Package Contents”.
Then a folder “contents” will appear, open it and you will see the file “Info.plist”.
Press ⌘Command + C and go to a certain folder (desktop, for example), press ⌘Command + V to paste it out. (The purpose of desktop cloning is because MacOS doesn’t allow you to edit apps right from the Applications folder.)

Step 2: Get machine information.
At this step, all you need to do is get the “Model Identifier” and “Boot ROM Version” parameters.
You select the apple-shaped icon in the top left corner of the screen, the drop-down menu, select “About This Mac”, click on “More Info …”. Then, click on “System Report” will appear a window with a lot of information about your machine.
In the “Hardware Overview” section, find the line “Model Indentifier” and copy the parameters (my example is MacBookPro6,2). Find the line “Boot ROM Version”, copy the parameter (my example is MBP61.0057.B0F). Copy it to somewhere to take it out 😁
Close the machine parameter windows.
Step 3: Right click on “Info.plist” you have copied out. Select “Open with …”> “Others …”. Appears a window to choose the application to edit, choose “TextEditor”.

Now you find the card “DARequiredROMVersions”, add the parameter “Boot ROM Version” that you copied earlier.
Go to the tab “PreUSBBootSupportedModels” and add the parameter “Model Indentifier” you copied earlier.
For example:
My “Model Indentifier” is: “MacBookPro6,2”
My “Boot ROM Version” is “MBP61.0057.B0F”
then I fix the tags “DARequiredROMVersions” and “PreUSBBootSupportedModels” as follows:
<array>
<string>MacBook7,1</string>
<string>MacBookAir3,2</string>
<string>MacBookPro8,3</string>
<string>MacPro5,1</string>
<string>Macmini4,1</string>
<string>iMac12,2</string>
<string>MacBookPro6,2</string>
</array>
nad the tag “DARequiredROMVersions”:
<array>
<string>IM41.0055.B08</string>
<string>IM42.0071.B03</string>
<string>IM51.0090.B03</string>
<string>IM52.0090.B03</string>
<string>IM61.0093.B01</string>
<string>MP11.005C.B04</string>
<string>MB11.0061.B03</string>
<string>MBP11.0055.B08</string>
<string>MBP12.0061.B03</string>
<string>MM11.0055.B08</string>
<string>MBP61.0057.B0F</string>
</array>
Next, find the line containing “<key> PreUSBBootSupportedModels </key>” changed to “<key> USBBootSupportedModels </key>” (ie delete the word “Pre” in front of it).
After finishing editing, save.
Step 4: Copy the file “Info.plist” you have edited, overwrite the old “Info.plist” (contained in Boot Camp Assistant.app earlier).

At this time, the system requires to enter the Administrator password, enter it and Enter is done.
Step 5: Open Terminal. And enter (as shown):
Then enter the Administrator password, press Enter is done!

Open Boot Camp Assistant and enjoy! ^^
Good luck!