The solutions given before by changing info.plist is correct except that now Bootcamp crashes everytime you change it in OSX 10.9. . How to Enable Bootcamp to install from usb for OSX 10.9.I created a bootable USB but I can’t boot it 😃 MBP has an ODD so it boots from here by default, so creating a USB cannot boot.
So basically, I have trying to install windows on my mbp using a usb drive. However bootcamp wont allow me to do so since I have a optical drive on the laptop. I have been searching for a long time and eventually came across this solution and I would like to share this so u guys dont have to google all over the place again 🙂.
The solutions given before by changing info.plist is correct except that now Bootcamp crashes everytime you change it in OSX 10.9.
Table of Contents
Full solution:
1. Add your Boot Rom Version(from system info) under DARequiredROMVersions.
2. Add Model Identifier(from system info) under PreUSBBootSupportedModels
3. Delete “Pre” from “PreUSBBootSupportedModels”, so you have “USBBootSupportedModels”
The first 3 steps are same as before and if its not clear you can easily google solutions with screenshots.
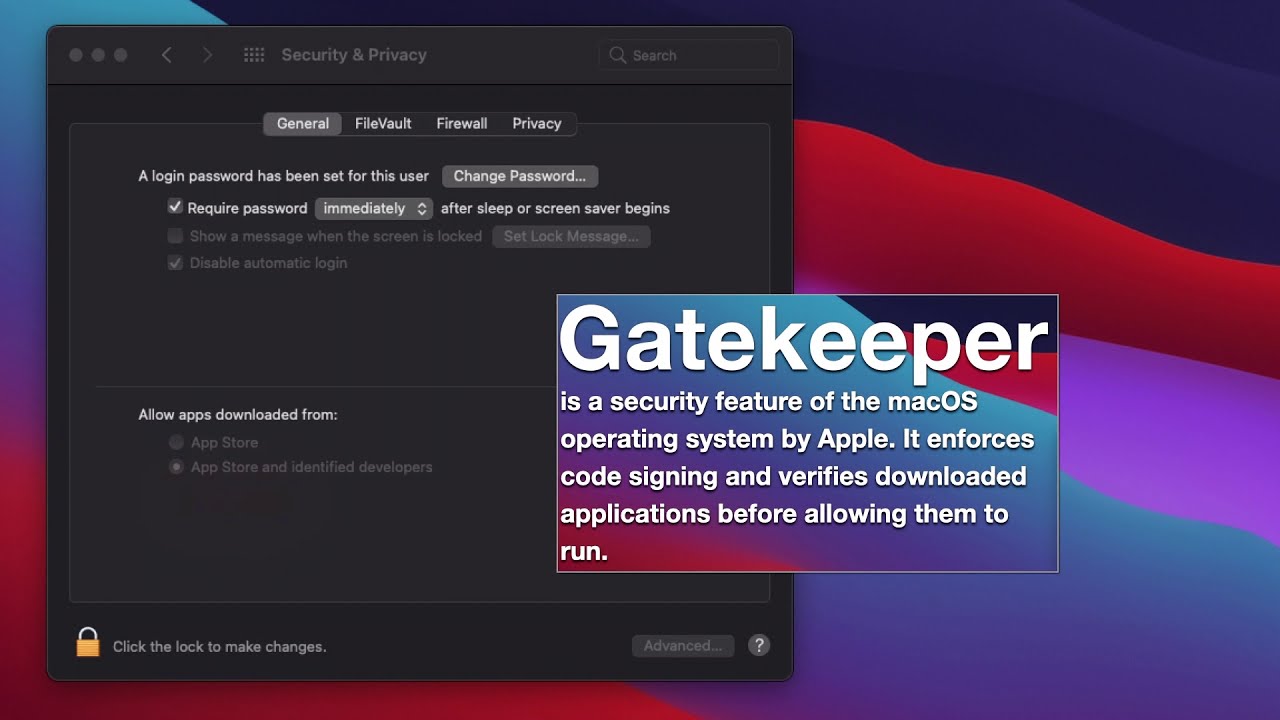
The next step is only for OSX 10.9, as it employs some kind of code signature to prevent you from changing info.plist and cause bootcamp to crash.
4. Open your terminal, use the following command
sudo codesign -fs – /Applications/Utilities/Boot\ Camp\ Assistant.app
Sudo means using administrator privilege and u need to enter your mac password. And the command resigns the bootcamp application so that it runs with the new info.plist file and not crash.
5. Continue on with your installation….
Cheers.
P.S. back up info.plist before u change anything.
The fix:
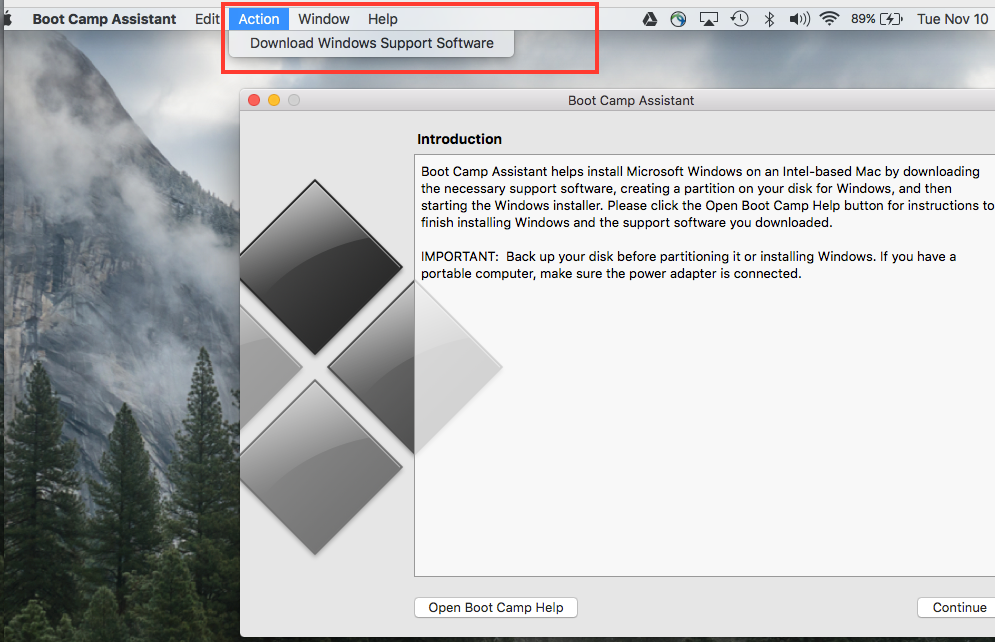
If you have a Windows PC, please use Windows Media Creation Tool and create a USB Installer. Once you have the USB Installer, run BCA and download Windows Support Software to a second USB, using
Copy the Windows Support Software to the root of the Windows Installer USB. This creates a USB Installer for the Mac. Run Disk Utility and create a FAT32 partition of the size you want Windows to be. Run SMC and NVRAM Reset, connect the USB, reboot Mac, and hold Alt/Option key and select EFI Boot. Test and report any errors.
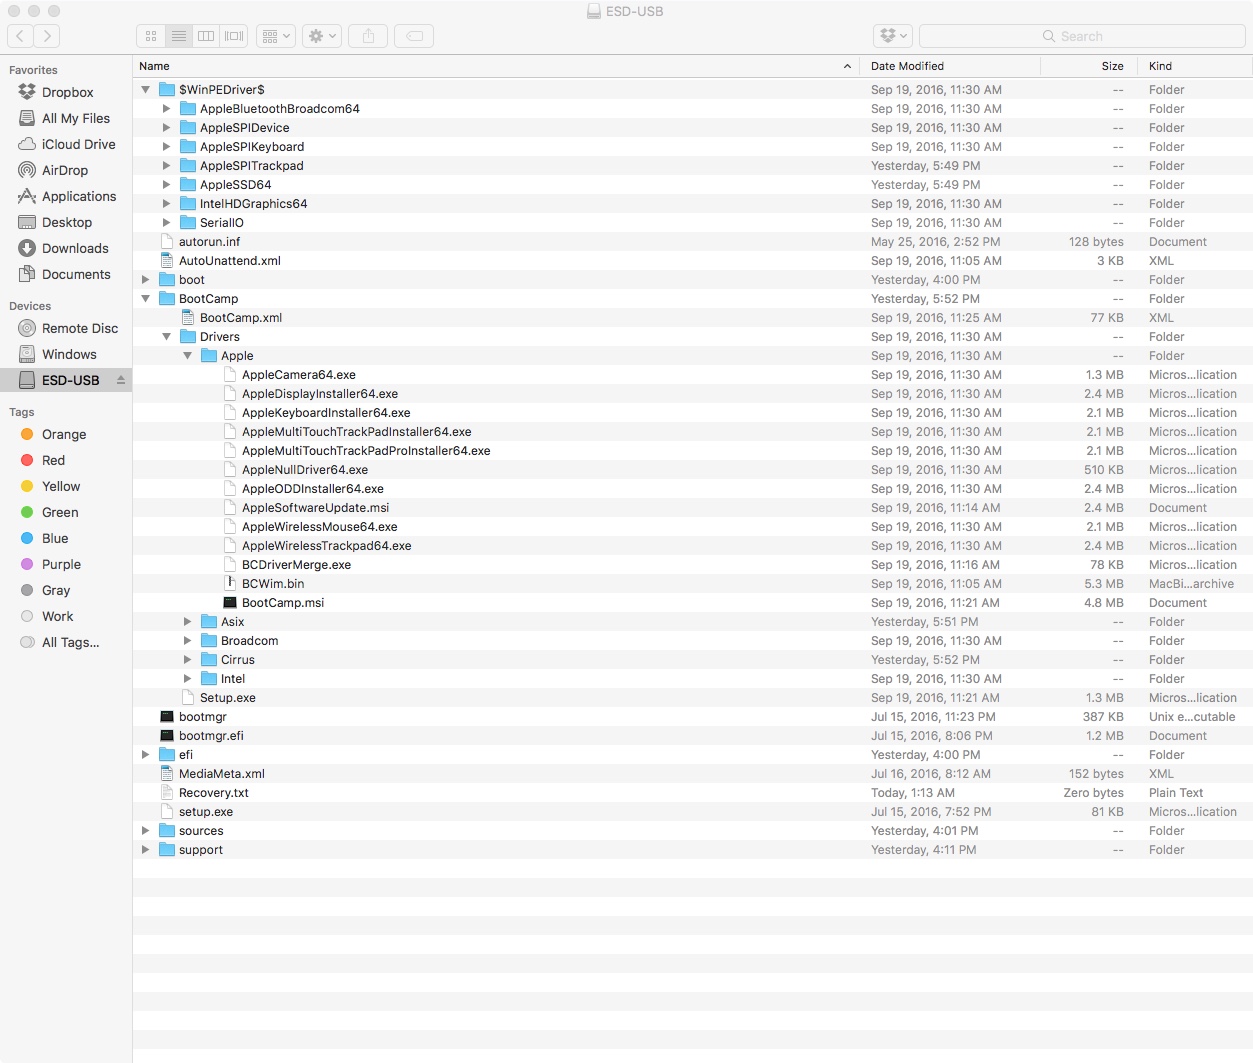
Your Windows Installer USB should have a structure similar to
You may need to modify the AutoUnattend.xml by hand to correct some possible issues.
Method 2
You can install W7/W8.1 on your iMac.
Install Windows 7 on your Mac using Boot Camp – Apple Support
Use Windows 8.1 on your Mac with Boot Camp – Apple Support
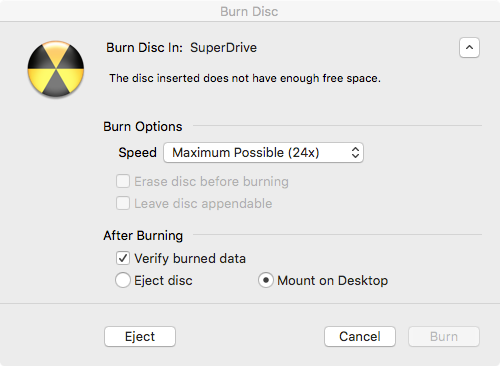
You can download the appropriate ISO from Microsoft’s Software Download page. W7 requires your product key. Once you have the ISO, you can burn it to a DVD-R SL blank disc by right-clicking on ISO and choosing Burn. Expand the Burn dialog as shown. Use the lowest possible burn rate supported by the media (not the default shown).
Once you have the DVD, run BC Assistant and choose the ‘Install’ option. If you need the Bootcamp drivers, use the ‘Download’ option and a USB2 flash drive.

