Best data recovery software Mac. You formatted your Mac Pro and lost all the data in it? And you have never had a backup of your data before? How to recover data from Mac Pro? Hope this article will provide useful information for users.
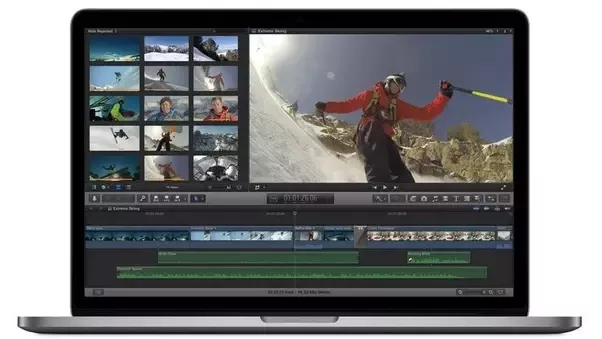
Mac Pro is considered a super product in terms of computing, graphics, storage, memory, and features. So many people are using this computer. This means that the cases of data loss on Macs have also increased significantly.
Table of Contents
Restore data from Mac Pro’s recycle bin
As Mac users, we all know what happens when data is deleted from the computer and not sent to the recycle bin. When data is deleted with the default command, it is moved to the Trash, where it can be restored easily. However, If the data in the Trash is empty, it can be said that this is a big problem.
Although there will be certain difficulties in the process of recovering data from an empty recycle bin. But there are still easy workarounds for every user.
Steps to recover data from Mac Pro
To recover data from formatted storage drive in Mac Pro you need to use 3rd party software to support. Here we will guide you to use Stellar Phoenix Mac Data Recovery software. This is Mac data recovery software with many options to recover corresponding to many different data loss situations. Rated by many as a professional data recovery software in recent years.
Main feature:
- Recovers various file systems such as HFS, HFS+, FAT, NTFS
- Recover data from encrypted hard drives
- Custom data scanning and deep scan
- Restore all files including junk files
- Full time machine recovery (Mac only)
- User-friendly interface
- Recover lost data from various causes (formatted, deleted, formatted, virus).
- Easy file management
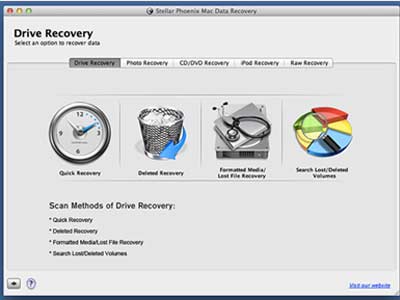
With features highly appreciated by users. Just follow the steps below to get your data back:
Step 1: Download and install the software on your Mac
Step 2: Start the data recovery software to open the program interface. If you need to recover external storage device data on your Mac, you need to connect the device to the computer first. (To avoid overwriting data, you should connect an external hard drive for storage after step 1).
Step 3: On the “Select what to recover” screen, select “Recover Everything”. Click on the “next” button to continue
Step 4: In the “select location” screen, select Mac Pro’s storage. Then there will be a “Deep Scan” section at the bottom corner of the tab interface. Click it to “Scan”.
Step 5: Wait for the data scan to complete. It might take some time.
Step 6: When the scan is finished, it will say “Scanning Completed Successfully!” you click “ok”.
Step 7: Preview scanned items, this process is intended to help users be sure of what they want to recover.
Step 8: Click the recover button then the files will be in the selected memory
Step 9: On the recovery dialog, click browse to select the location to save the recovered data
Step 10: allow the software to save data. The saving process is finished, please open it again to make sure. If you have enough data, you can clone your Mac again
Best data recovery software Mac
See more at the video link here:
In order for 3rd party software to effectively support data recovery, users need to make sure that the data has not been overwritten after it is lost. When you’re done restoring your data, make sure to make it a habit for yourself to back up your data regularly. In addition, after applying unsuccessful hard drive data recovery by software, do not reuse or use other software, but take the hard drive to a professional data recovery center for resolution.


