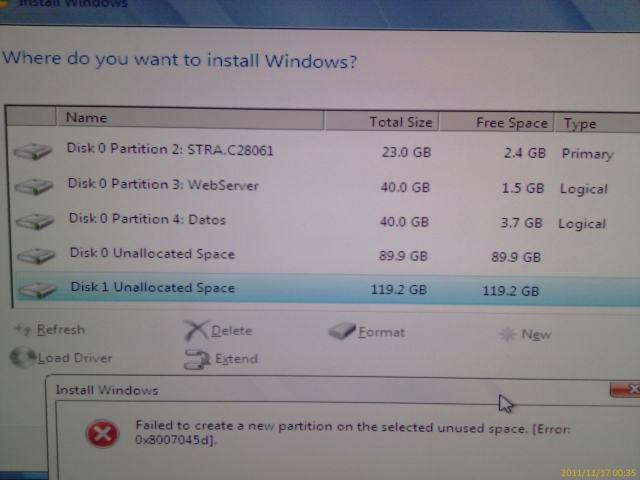
Today i will help you Fix Error 0x8004240f✅, “Failed to create a new partition on the selected unused space” while installing Windows 7✅. I found it when i trying to create a partition of windows 7. This error cased by the capacity of windows disk management . You need using mini-tool partition wizard home edition for create partition on windows.
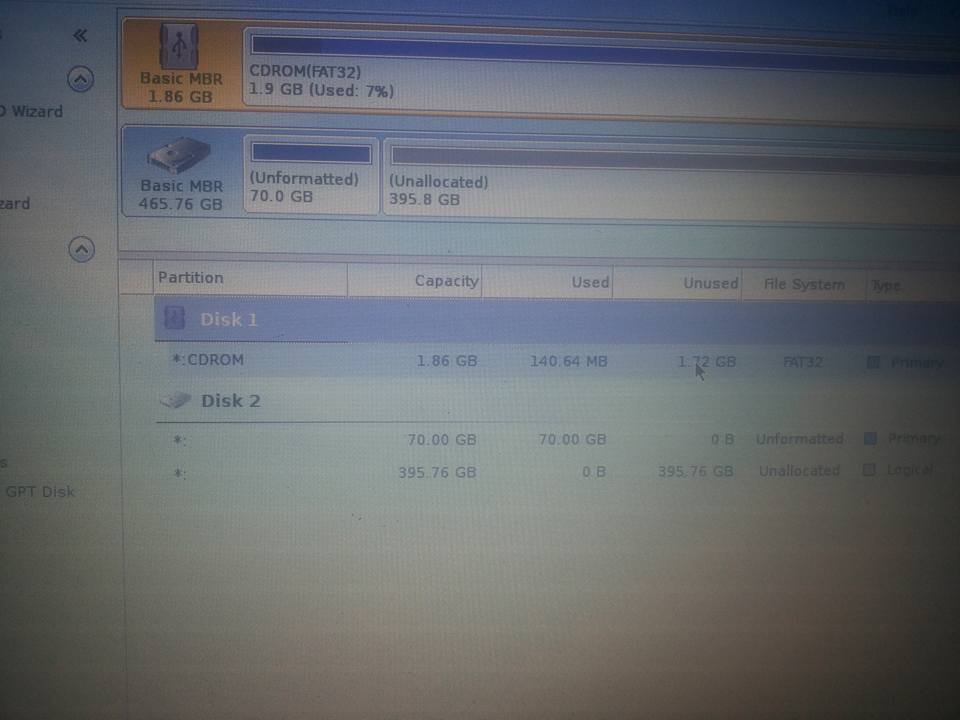
Table of Contents
Fix Error 0x8004240f, “Failed to create a new partition
1) Start your computer and log on as an administrator.
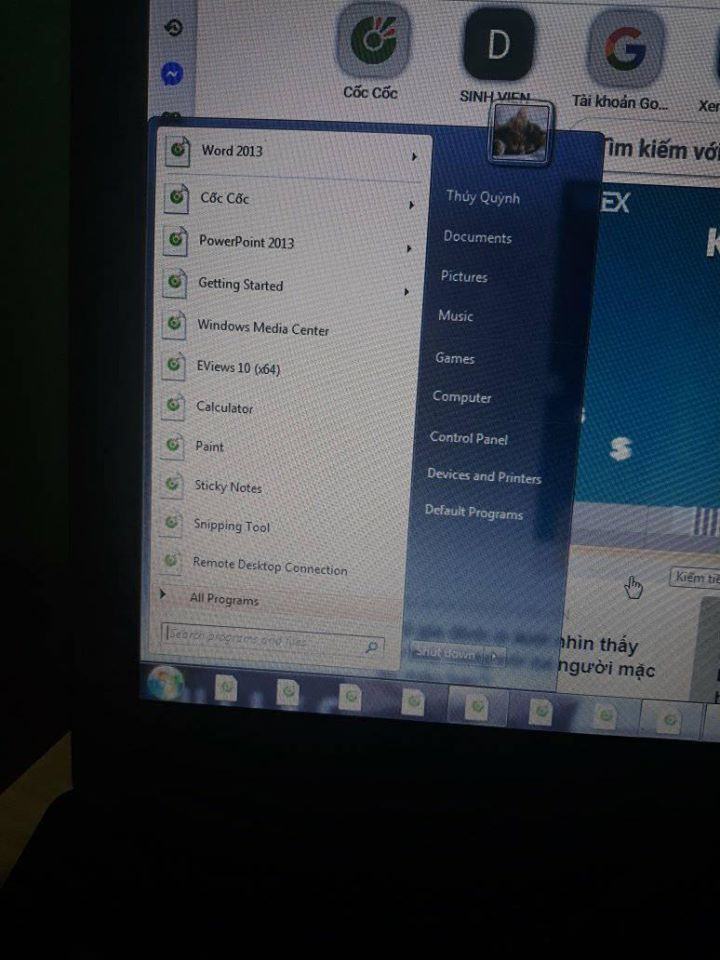
2) Click the Start button then select All Programs, Accessories, System Tools, and then click System Restore.
3) In the new window, select “Restore my computer to an earlier time” option and then click Next.
4) Select the most recent system restore point from the “On this list, click a restore point” list, and then click Next.
5) Click Next on the confirmation window.
6) Restarts the computer when the restoration is finished.
Method 2 to fix it
Step by step Fix Error 0x8004240f, “Failed to create a new partition on the selected unused space” while installing Windows 7
Step3: Creat new partition by it- it very easy:
Hope you luck
Method 3 from microsoft:
You can only have 4 partitions (not including dynamic, etc) perhaps it’s time to merge a couple of them.
Step A: Refer the following steps and see if that helps.
a) In the BIOS set the boot order to boot first from the CD/DVD Drive, insert the Windows 7 installation DVD and restart the PC, at the first black/screen hit the space bar for the “Press any key to boot ” prompt, then at the “Language” screen hold the “Shift” key and hit the F10 hot-key to open a command window.
b) In the command window that opens type diskpart then hit the <enter> key then type list disk <enter> if you have more than one SSD / HDD in the machine it’ll list them all.
c) Now in the command window type select disk # (# = target disk number) then <enter>, you will get “Disk # is now the selected disk”.
d) Now type clean all <enter> you will get a blinking cursor telling you that clean all is working like in the second snip down, just relax and let it work.
NOTE: You could type clean instead to do the same thing quicker, but just without a secure erase.
Running the “clean all” command on a SSD / HDD takes a good bit of time, remember it’s writing zeroes ( 0’s ) to the entire drive, I’ve done quite a few of these, here’s some examples a 500GB HDD took just at 2 hours, my 80GB SSD takes around 20 minutes and the “virtual” 20GB drive in a VM takes about 7 minutes to complete.
When it finishes you’ll get “DiskPart succeeded in cleaning the disk” in the command window.
e) To leave diskpart at any time and return to the Windows 7 installer type exit two (2) separate times and hit <enter> after each and you will be returned to the installer to continue the installation process.
Step B: Create a single partition of the entire HDD / SSD:
Refer the following steps
a. Still in the same command window, to create a partition of the entire HDD / SSD, it is suggested if you are using one of the larger, 1 – 2TB HDDs that you use the outline in #2 below to create a single 100GB partition to do the installation to or #3 below if you would like to include the new Windows 7 System Reserved partition, as we’re now seeing serious issues with some trying to install to such large partitions.
b. Do not format the created partition(s) with the installer if you create them using this process as the installer will delete all this info, the second snip shows how to select “where to install” during the installation process, click to highlight/select the “Windows 7” partition and click next.
c. To close the command window when finished type exit <enter> to leave diskpart, then exit <enter> again to close the command window and get back to the installer
Step C: Create a specific size partition.
Refer the following steps
a. If you wanted to create a specific size partition, say 100GB you would add the size you want to create in MBs like in the command below.
b. create partition primary size=102400 <enter>
1024MB = 1GB – 1024×100 = 102400, you can use/create any size you like.
c. You can always extend the Windows partition to include the remaining unallocated space on the HDD / SSD or create additional Primary partitions or an Extended partition after the installation completes if you choose.
d. Do not format the created partition(s) with the installer if you create them using this process as the installer will delete all this info, the second snip shows how to select “where to install” during the installation process, click to highlight/select the “Windows 7” partition and click next.
e. To close the command window when finished type exit <enter> to leave diskpart, then exit <enter> again to close the command window and get back to the installer