Instructions to turn off Windows Defender in Windows 10 in 3 WAYS. Currently, the use of Windows 10 has been so popular because of the convenience, newness and stability of this operating system, but besides that, Windows 10 and other operating systems are always associated with programs. Windows Defender. Windows Defender is considered a program that many users do not like because of its constraint, so how to turn off Windows Defender in Windows 10 quickly if you do not want to use it anymore. Do not skip this article!

Table of Contents
Method 1: Disable by Group Policy
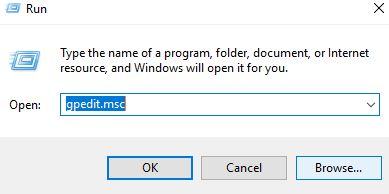
Step 1: Press the Windows + R key combination to open the Run dialog box, or you can click on the lower left corner of the computer screen, right click to open the menu => select Run.
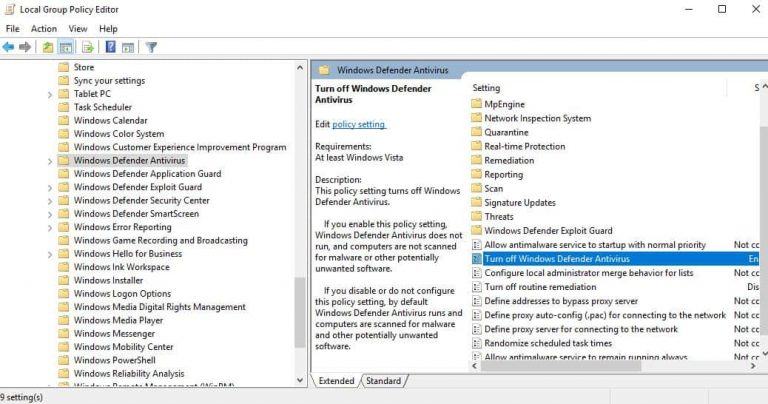
Step 2:A new dialog box named Group Policy will appear, access the following link:
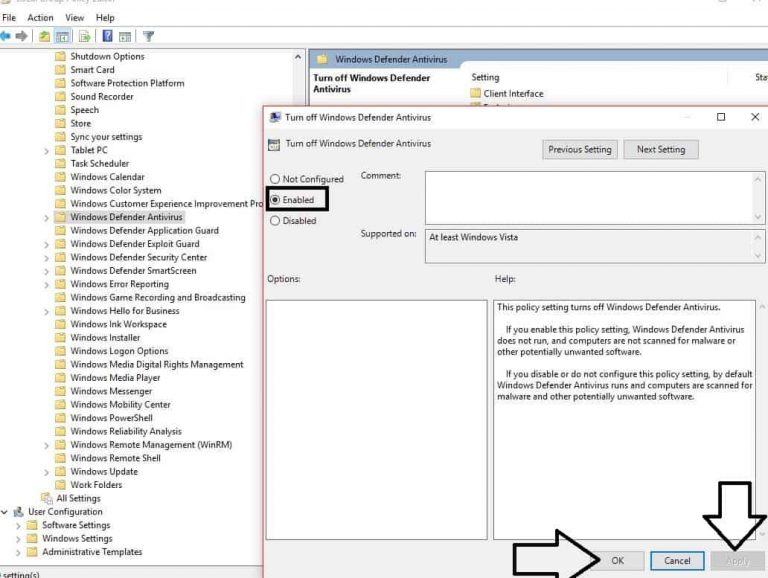
Local Computer Policy => Computer Configuration => Administrative Templates => Windowss Components => Windowss Defender Antivirus.
Step 3:After accessing the exact path as in step 2, you find the file named “Turn off Windowss Defender”.
Method 2: Disable by Registry
Step 1: Use the keyboard shortcut Windowss + R or the way like in step 1 above to open the Run dialog box. (Alternatively, you can open the Windows 10 Start Menu and type run to search for this dialog box). Then type “Regedit” and press Enter.
Step 2: The Registry Editor dialog box will appear, access the following link:
HKEY_LOCAL_MACHINE \ SOFTWARE \ Policies \ Microsoft \ Windowss Defender
Step 3: After accessing the exact path above, you will see the file named in the right pane.
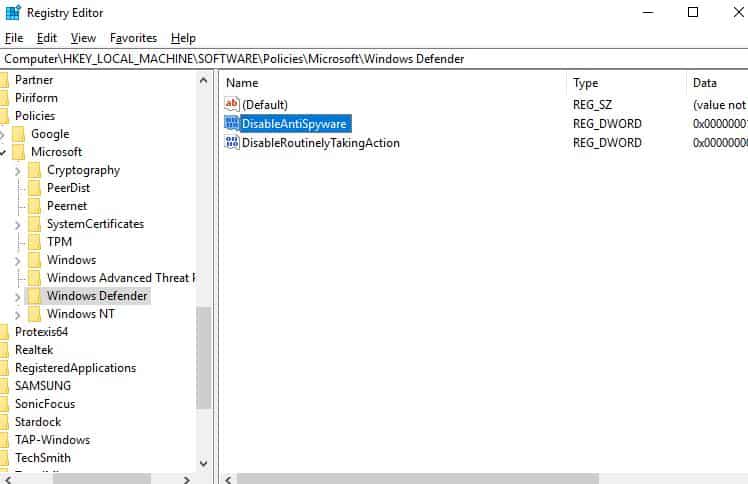
 Note: In case you have entered the correct path but have not seen the file “DisableAntiSpyware” then you just need to right click on the blank box on the right, select
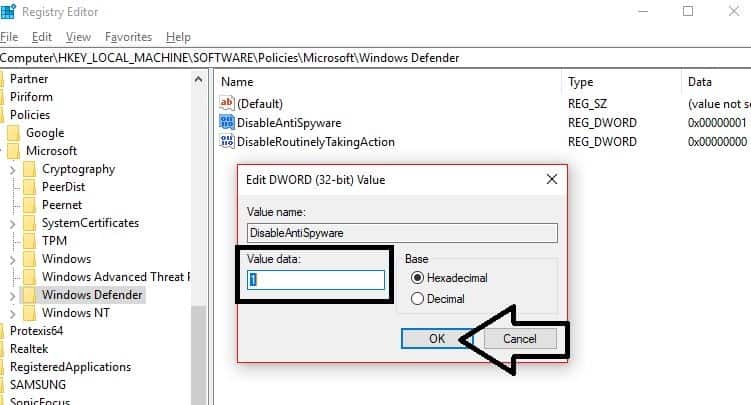
New => Dword (32bit) => enter the name "DisableAntiSpyware" to Create the file and select the value of 1.
So you’ve successfully set up and completely turned off the Windowss Defender application.
Method 3: Disable by the Settings function of Windows 10
Also, if you just want to temporarily disable Windows Defender in Windows 10 for a while so you can use it again, follow these steps:
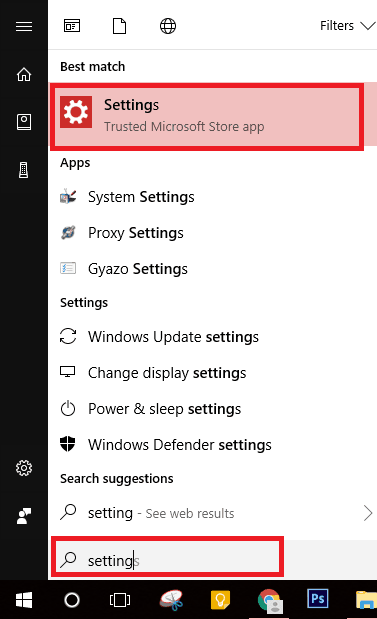
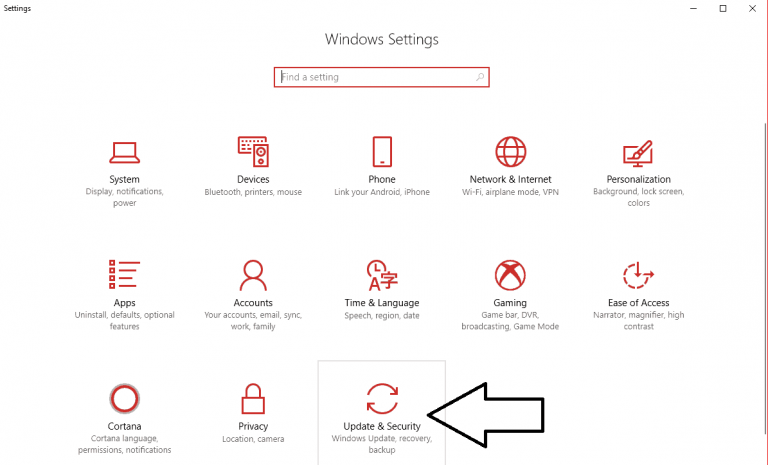
Step 1: Click the “Windows” icon in the lower left corner of the screen and click “Settings” .
 Step 3: On the next menu, click “Windows Defender” and switch the tab “Real-time Connection” to Off.
Epilogue
Above are the 3 basic and easiest ways to turn off Windows Defender in Windows 10 that I want to guide you. Thank you for checking out the article, leave a comment if you found it interesting and helpful.