How to make one object color and the rest black and white in Photoshop. Have you ever thought about what a black and white, except one color photo would look like? This is extremely easy to do in Photoshop. In this tutorial, Ngolongtech will show you how to make everything black and white except for one color. In addition, the article will show you how to control the visibility of color with a layer mask and how to easily split a color into two colors.
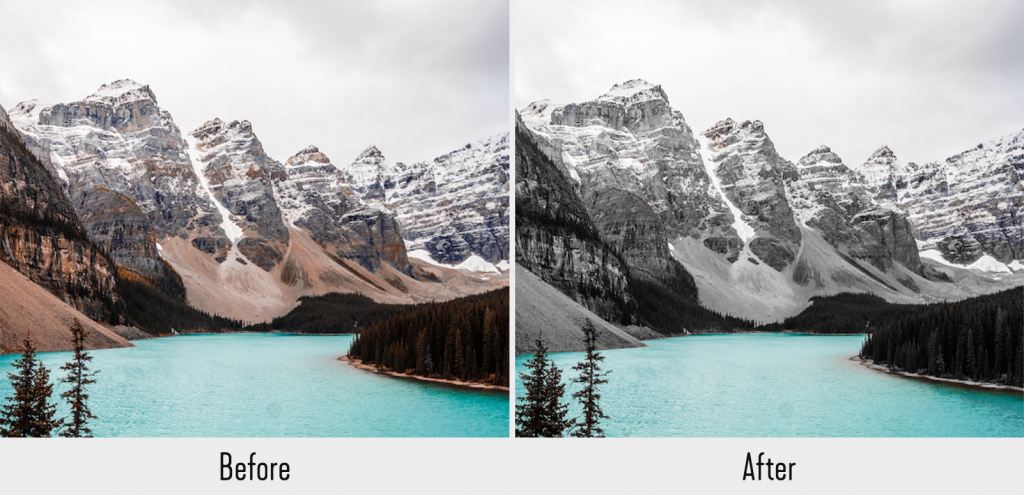
Table of Contents
How to make one object color and the rest black and white in Photoshop
Step 1: Pick a color and turn everything else black and white
Before you get started, if you want to discover how easy it is for yourself, you can download an example image from Pexels and follow along.
This method can be used for any image you want to turn black and white except for one color. All you need is a Hue/Saturation layer and a few adjustments in the Properties panel.
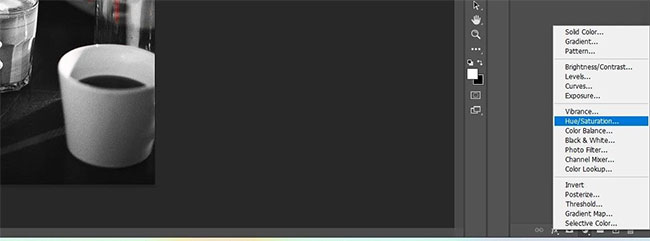
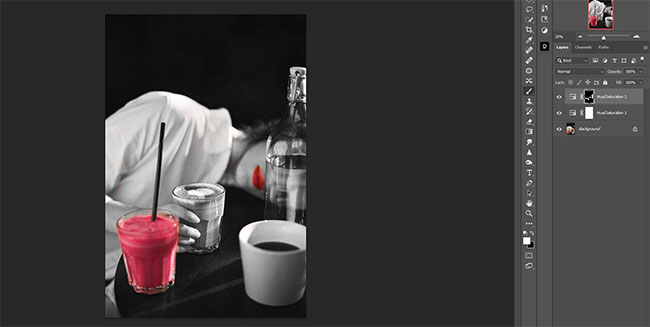
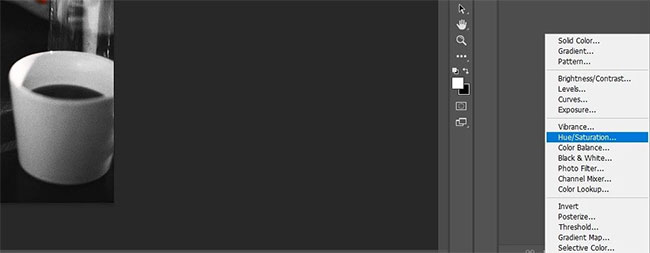
1. Create a Hue/Saturation adjustment layer.
️
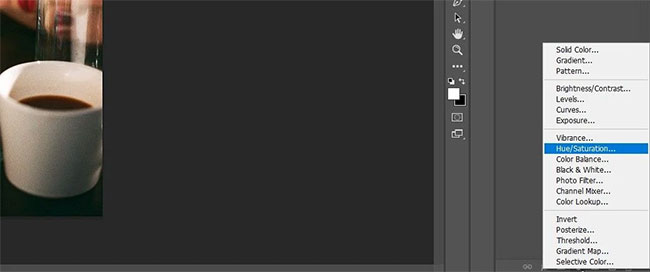
2. In the Properties panel, click the Color Picker tool.
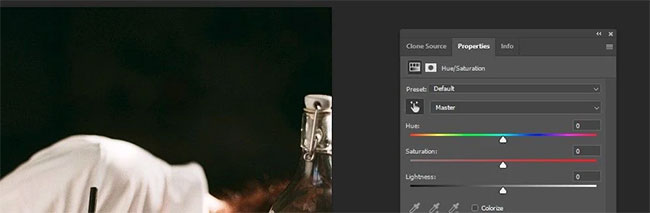
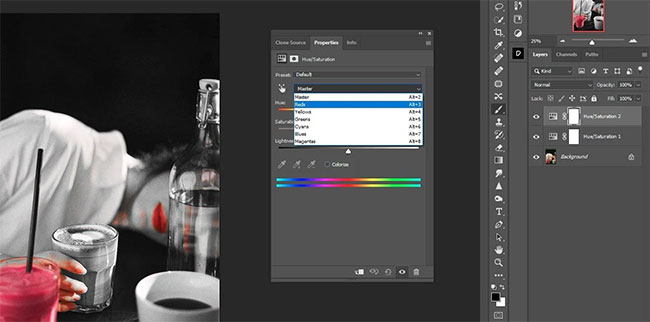
3. Click the color you want to select. The example will choose the red glass. Alternatively, you can choose red from the drop-down menu.
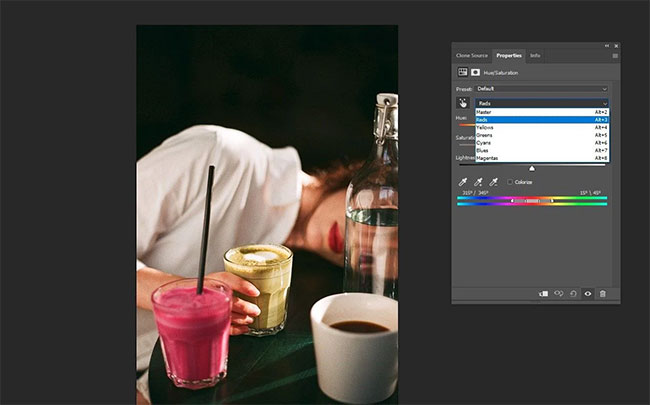
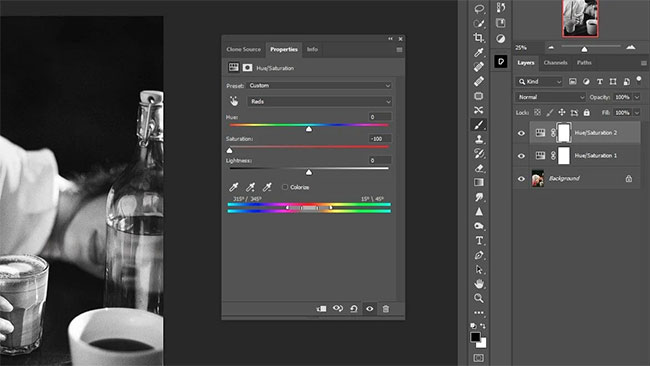
4. Drag the Saturation slider to the left to remove all the red from the image.

5. Drag all the handle in the middle right to the right.
6. Move the slider on the right to 15 degrees as shown.

7. Move the left slider to 315 degrees as shown.
8. Move both sliders smaller in each group so that they are right next to each other as shown. This will refine the selections so that red is the only color in the image.

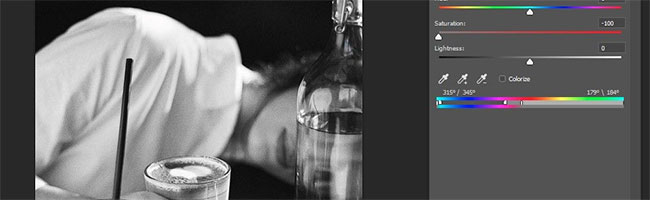
As you can see, the example removed every color except red. But you will notice that some red parts can still be removed if you want. The article will cover this issue in the next step. The article will also show you how to select all parts with the same color in Photoshop using other methods.
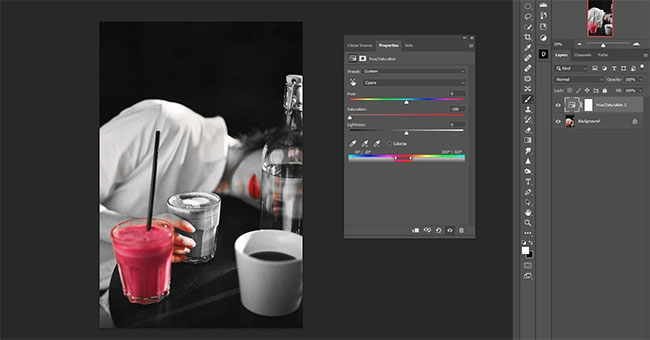
Step 2: Hide unwanted red pixels
Next, we will mask the red from our fingers, bottles, face and neck. The red lip will be kept as a creative option.
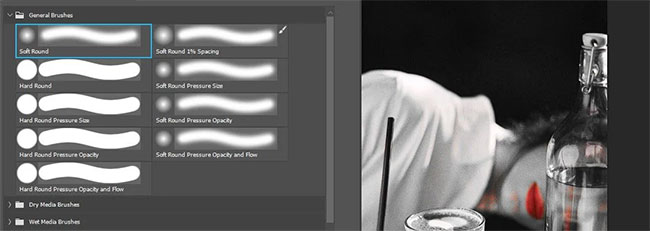
1. Press B for the Brush tool or select it from the toolbar.
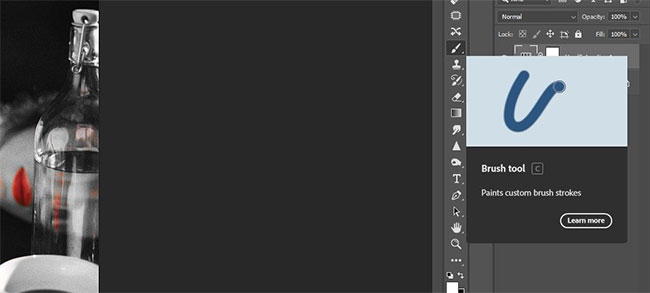
2. Choose the Soft Round brush.
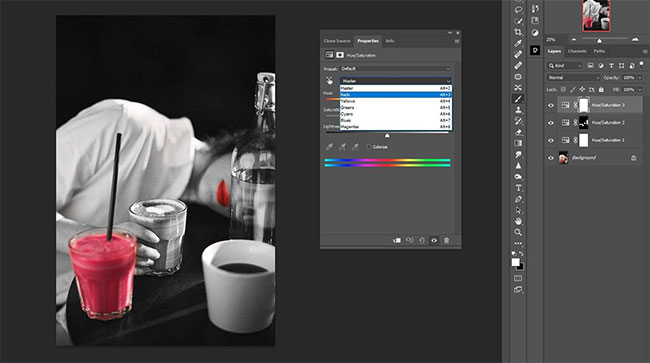
3. Create another Hue/Saturation adjustment layer.
4. Go to the Reds channel.
5. Move the Saturation slider to the left to remove all the red.
6. With the mask of the top Hue/Saturation layer selected, press Ctrl + I to invert the mask.

7. Press D to get the default Foreground/Background color. For example, we want white as the foreground color.
8. Remove the red everywhere, except the glass and lips.
Now, the example produced a perfect black and white image except for one color.
Step 3: Change the drink to another color
The article demonstrated how to change the image to black and white except for one color and even how to hide this color from unwanted pixels. Now, let’s make another creative decision and change the color of the drink. This only requires an additional Hue/Saturation adjustment layer and tweaks.
1. Create a third Hue/Saturation adjustment layer.
2. Select the Reds channel.
3. Move the Hue slider to +125.
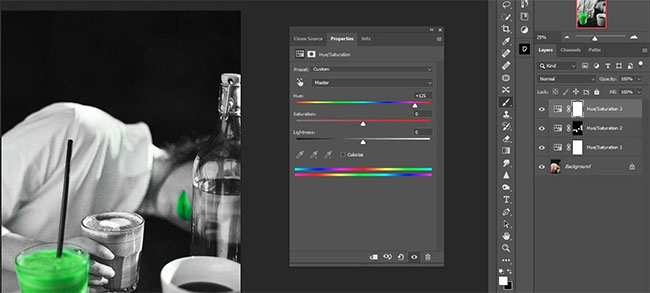
4. Move the Saturation slider to +18.

5. Move the Lightness slider to -45.
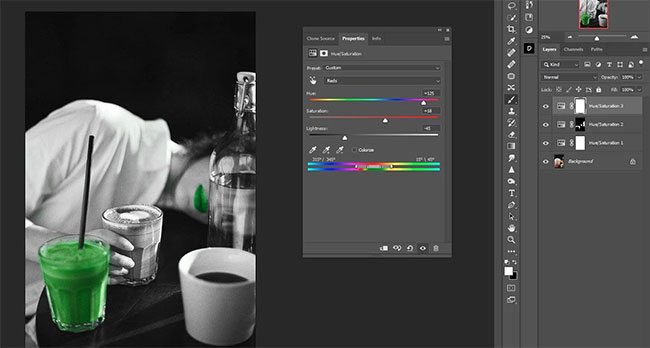
6. Press the X key to select the foreground color to be black.

7. Press B for the Brush tool again if it hasn’t worked since last time.
8. Apply on lips to restore red color.
End – How to make one object color and the rest black and white in Photoshop
Super easy! It only takes 3 adjustment and fine-tuning layers to completely transform a black and white image while keeping the same color, with an additional color change.
As you can see, the process is very easy to do. With just a few small tweaks, you can now turn your photos black and white minus one color without much effort.
Ngolongtech hopes this article would help you!
Visit Macwintips.com to update the most practical and useful tips for Mac and Windows!