How to fix glitching video in Premiere Pro. Question: “Hi guys, I’m using pr 2019 CC for some reason, now I just run playback while editing and I get jerks, my device configuration:
CPU: i5 8600k stock
ram: LPX 2666cl16 16gb
of resources loaded from HDD and computer with discrete card.
Can you guys tell me if I need to upgrade or fix anything?”
Real slowness has a lot to do with your computer’s hardware and specifications especially when editing 4K videos or videos with lots of effects. Also, if you’re in the middle of a project, I strongly recommend that you don’t update any Adobe CC apps until you’ve finished it. Updating an Adobe CC application in the middle of a project is having trouble. (If you update them, at least don’t uninstall earlier CC versions.)
We’ll cover general workflow settings and tips that will improve your Premiere Pro experience.
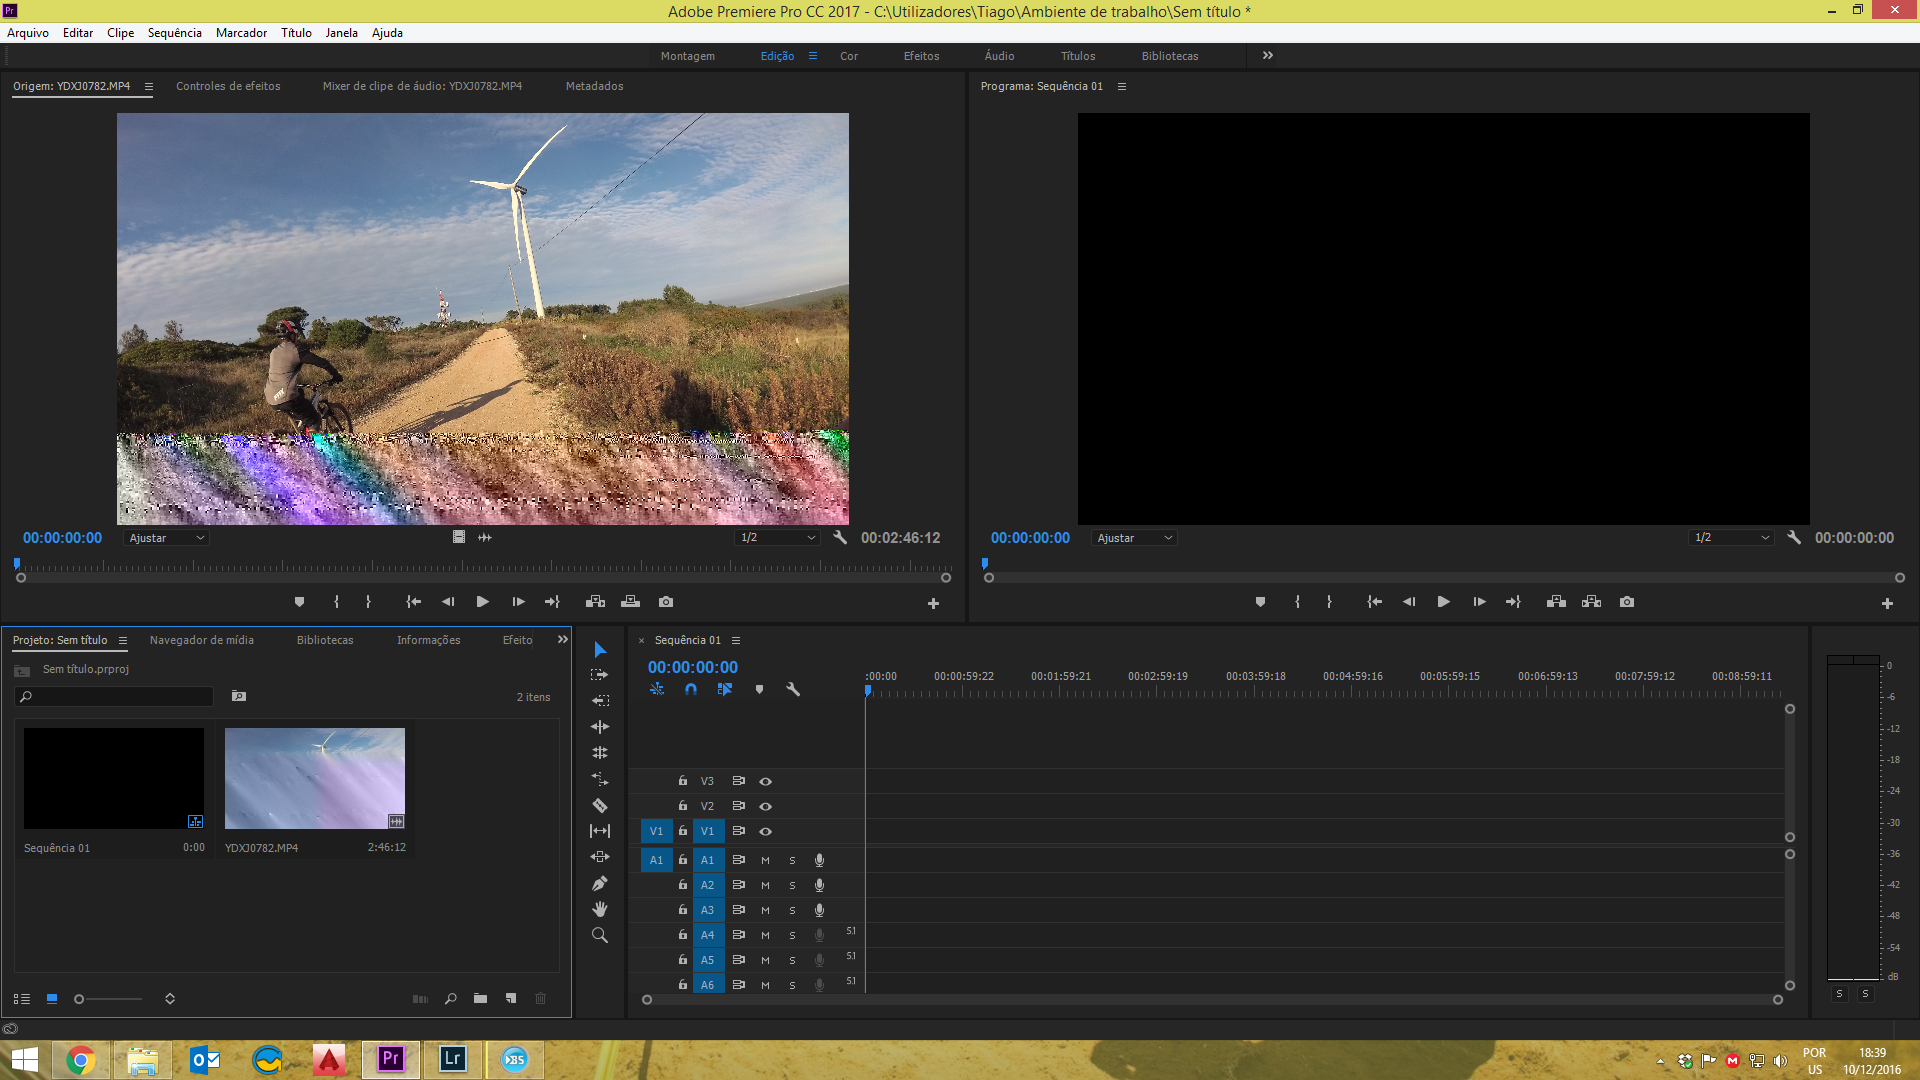
Table of Contents
How to fix glitching video in Premiere Pro
The fastest solution for the most improvement
If you’re in a hurry to find out why Premiere Pro is running slow, these four solutions often provide the most amazing speed improvements.
Enable GPU acceleration
In Project Settings, make sure Renderer is set to GPU Acceleration. If the GPU Acceleration option is grayed out, you may need to update your graphics card driver. If you update them and the option is still greyed out, Premiere Pro may not support your graphics card.

Lower playback resolution
This seems pretty obvious, but it makes a big difference if you lower the playback resolution. Adjust the setting to 1/2 or 1/4 in the lower right corner of the Preview Window.
You can also make sure High Quality Playback is disabled. Click the Wrench icon right next to the Resolution setting , then uncheck High Quality Playback.

Filter media cache files
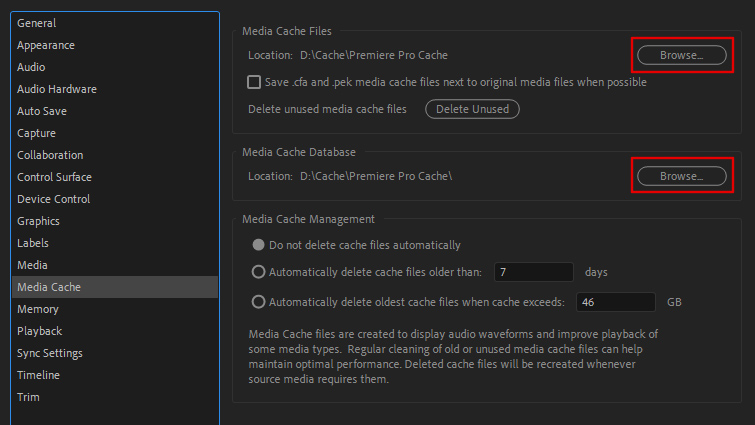
Sometimes old cache files can be the culprit. Navigate to Media Cache in Preferences. Then select Delete Unused.

Save the cache file to the secondary SSD
Finally, you should also save your media cache files and scratch disk files to a secondary drive – preferably an internal SSD – for best playback performance. In fact, Puget Systems claims it’s the number one thing you can do to boost your performance with Premiere Pro. If you must use an external SSD, make sure it uses the USB 3.0 interface and that you have it plugged into the USB 3.0 port. (USB 3.0 is usually indicated in blue on the port or connector.)
To change the cache file location, navigate to Media Cache in Preferences.
To change the location, navigate to Scratch Disks in Project Settings. (Note that you’ll need to set Scratch Disks for every new project you work on. Premiere Pro doesn’t save the Project Settings location like it does for Media Cache files.)
Install to test
Here’s a list of other settings you might want to change in Premiere Pro for faster playback. Experiment with these, as results will vary depending on your PC.
Optimize Rendering for Performance
In Preferences, find Memory and set Optimize Rendering for Performance.
Disable autosave
Frequent autosave can sometimes slow down your machine. (For me, autosave usually crashes my Adobe applications more than they actually save them. But try this suggestion at your own risk!) Navigate to Auto Save in Preferences to turn off.
Disable Mercury Transmit
Mercury Transmit is commonly used to send your preview window to an external monitor. If you don’t use it, turn it off. Navigate to Playback under Preferences to disable it.
Disable Refresh Growing Files
Automatically Refresh Growing Files is a commonly used setting for live broadcast productions. Some Premiere Pro users have reported better performance when turned off. To disable it, navigate to Media in the Preferences section .
Check for updates
If your current version of Premiere Pro is suddenly lagging, check for updates for your operating system and graphics card. Doing this regularly helps solve problems for me, because more often than not, an update is available. (However, if you are in the middle of a project and everything is working properly, don’t update anything!)
Tips
Below is a list of practices you can use when editing to optimize your workflow. (And hopefully it speeds up play!)
Do not edit files on the memory card
While memory cards are flash memory, they are not ideal for live editing. In other words, offload files from your memory card to a separate drive, then edit with those files in Premiere Pro.
Using proxy files
Using a proxy file as you edit is another technique that will definitely give you better playback in Premiere Pro. Using proxy files is essentially replacing a lower resolution version of your footage while you edit. It will then switch back to your high-res footage when it’s time to render. In this quick tips article how to create a proxy in Premiere Pro.
Avoid editing files with compressed Codecs
While compression codecs are great for recording or uploading, they’re not ideal for editing. Compressed codecs, such as H.264, take longer to decompress while editing, so they often have playback lag. Codecs like ProRes , Cineform and DNxHD are more ideal for editing. Again, an easy way to fix this is to just use proxy files.
Render Dynamic Linked Comps
If you have any parts of your video timeline associated with After Effects or another Adobe CC application, you can quickly render and replace those parts for faster playback. Just right-click the Dynamic Linked parts of your edit, then choose Render and Replace.
Turn off video effects
Many video effects can also make previewing difficult. You can try disabling individual effects before previewing, or use the Global FX Mute button to disable all effects.
If you don’t see the Global FX Mute button in your Preview Window , you can add it by selecting the Plus icon , and then dragging and dropping it onto the Preview Window toolbar .
Close Lumetri Scopes
If you have the Lumetri Scopes panel open, close it before attempting to play back your footage in the Timeline.
Render In to Out
If all else fails, you can simply set the in-point and out-point and select Render In and Out in the Sequence settings . It will take some time to show previews of the footage in your timeline. It will then replay in real time, until further changes are made to edit.
Frame rate is reduced
Premiere Pro also has a Dropped Frame Indicator that can alert you if you skip frames during playback. (You may already be aware of this if you see visible lag during playback.) Click the wrench icon at the bottom right of the Preview Window, then select Show Dropped Frame Indicator. You will see a small green dot that will turn yellow or red, if there are dropped frames during playback.
Ngolongtech hopes that this article has helped you. If you have any questions or suggestions on this topic, don’t hesitate to leave us a comment below. Thanks for reading!
Visit Macwintips.com to update the most practical and useful tips for Mac and Windows!

