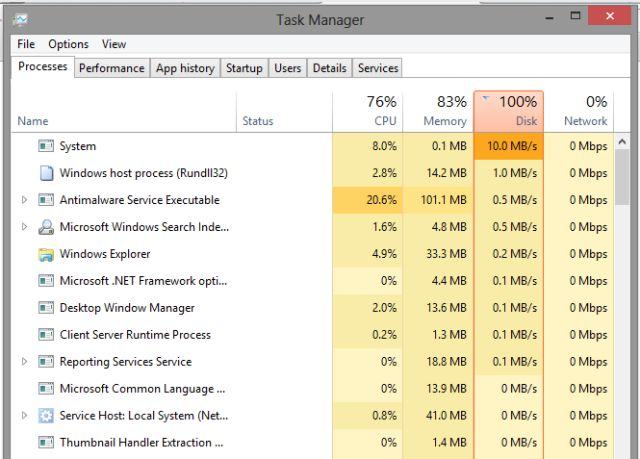
Instructions on how to completely disable Windows Defender on Windows 10. Windows Defender is a free antivirus program that comes pre-installed by Microsoft on Windows 10 (and Windows 8.1) to protect your computer from virus attacks, rootkits, spyware, and other other malicious code. Windows Defender will automatically run on your computer, but the program will automatically disable itself if it detects that there is any other security software installed on the computer. And just like Windows Defender is built into Windows 8.1, users cannot completely disable this antivirus program on Windows 10. The drawback of Windows Defender is that the program only protects at a basic level, not specialized as other 3rd party software. Perhaps that is why users want to permanently disable this program to install a 3rd party anti-virus software, increase security and safety for the computer during use. So how to disable Windows Defender completely on Windows 10? There are a few ways to disable Windows Defender on Windows 10 , please see the detailed instructions below.
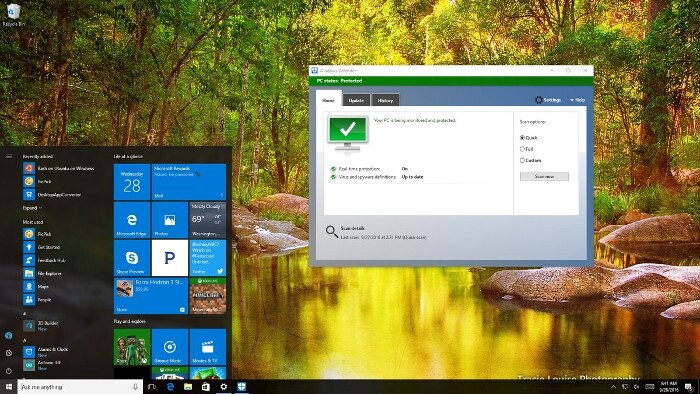
Table of Contents
Disable Windows Defender using Local Group Policy
If you use Windows 10 Pro or other versions like Windows 10 Enterprise or Windows 10 Education , you can use Local Group Policy Editor to disable Windows Defender completely on your computer.
1. Press the Windows + R key combination to open the Run command window .
2. On the Run command window, enter gpedit.msc and press Enter or click OK to open the Local Group Policy Editor window .
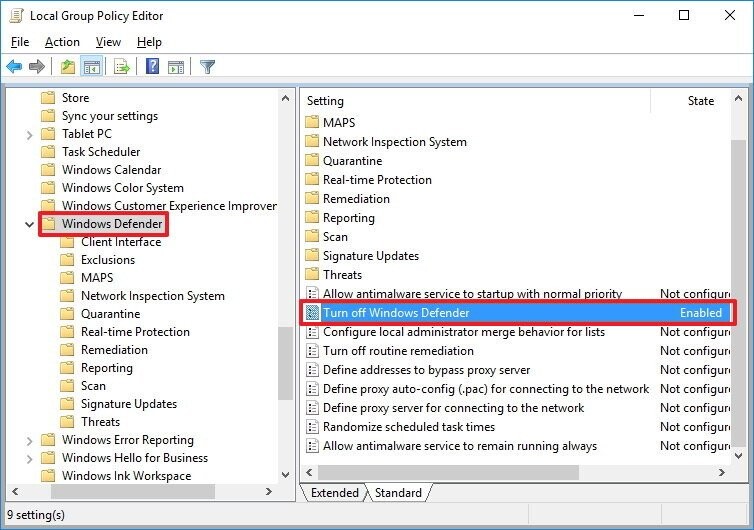
3. On the Local Group Policy Editor window, navigate to the following key:
Computer Configuration> Administrative Templates> Windows Components => Windows Defender
Note: On Windows 10 1803 or later, the Windows Defender option is replaced with Windows Defender Antivirus, choose this and do the same.
4. In the right pane, find and double-click the Turn off Windows Defender option .
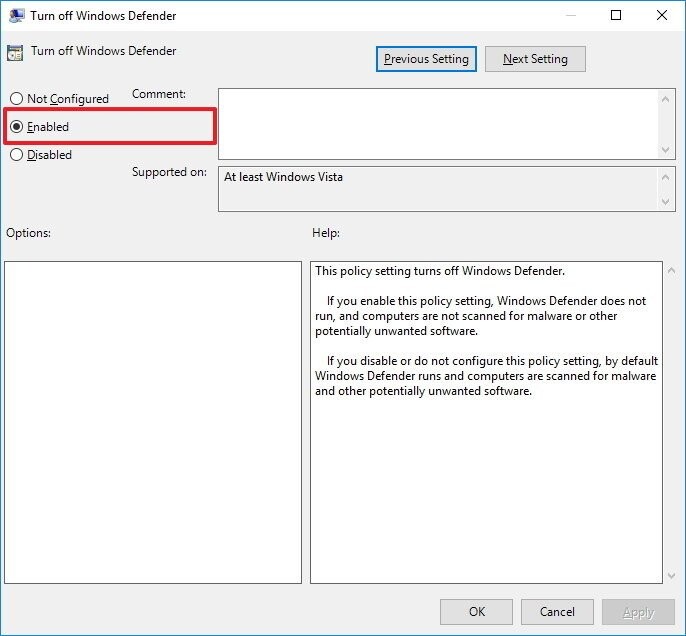
5. Select Enabled to disable Windows Defender.
6. Click Apply .
7. Click OK .
After completing the steps, if you pay attention you will see the Windows Defender icon still displayed in the system tray. To get rid of this icon, simply restart your computer.
In case if you want to re-enable Windows Defender, follow the same steps, and at step 5 you select the option Not configured , restart your computer to apply the changes.
Disable Windows Defender by Registry
If you use Windows 10 Home , you cannot access Local Group Policy Editor. However, you can still disable Windows Defender using the Registry .
Note:
Before performing the steps below, you should take a backup of the Registry to avoid the bad situation.
1. Press the Windows + R key combination to open the Run command window , then type regedit and press Enter (or click OK) to open the Registry.
2. On the Registry window, navigate to the following key:
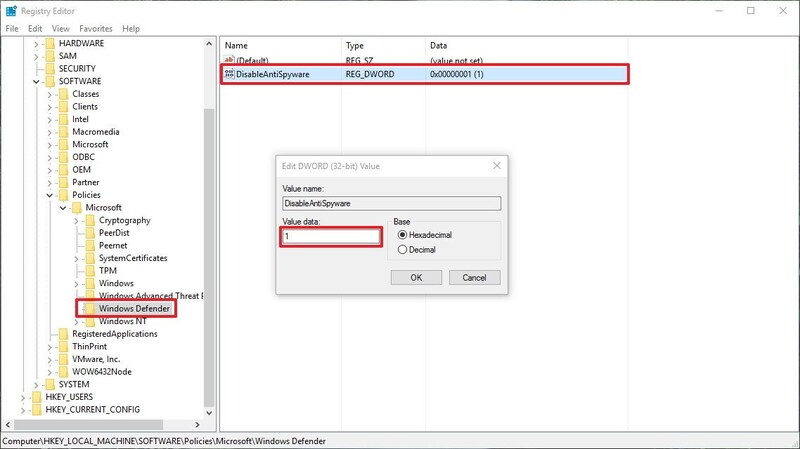
HKEY_LOCAL_MACHINE \ SOFTWARE \ Policies \ Microsoft \ Windows Defender
3. If DWORD DisableAntiSpyware can not be found , right-click on any empty space, then choose New => DWORD (32-bit) Value .
4. Name this new key DisableAntiSpyware .
5. Double-click the new key you just created, and set the value in the Value Data box from 0 to 1 .
6. Restart your computer to complete the process.
In case if you want to re-enable Windows Defender, follow the same steps, and to step 5 you set the value in the Value Data box from 1 to 0 , restart your computer to apply the change.


