
How to screen record in Windows 11 with audio. In this article, Ngolongtech will guide you through different ways to record Windows 11 laptop screens. There is only one way to record Windows 11 screen, that is to use pre-installed software (Xbox Game Bar), other ways you have to download and install other software.
Table of Contents
How to record Windows 11 laptop screen
Method 1: Record Windows 11 laptop screen with Xbox Game Bar
The Xbox Game Bar comes pre-installed on Windows 11. There are a few things you can customize with the Xbox Game Bar, but in this article, we only focus on how to record the screen and how to access the screen recording file.
1: Open the program you want to record and select it as the focus.
2: Open Xbox Game Bar and then click the Record button (circle button with a white dot in the middle). You can quickly open the Xbox Game Bar by pressing Win + G or searching.
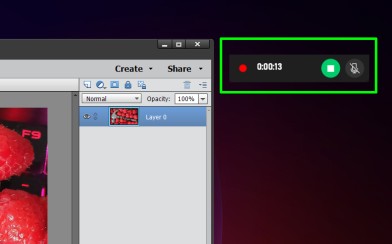
3: Video recording time is displayed in the right corner next to the red dot. You can press the square Stop button to stop the screen recording.
4 : Open Xbox Game Bar again and then click Show all captures to review the screen recording video, delete or open the folder where it is stored on the computer.
Note : Xbox Game Bar does not support desktop recording and File Explorer on Windows computers.
Method 2: Record Windows 11 screen with PowerPoint
As you know, PowerPoint can also be used to record the computer screen. Here’s how:
1: Open a blank slide show or any existing slide show.
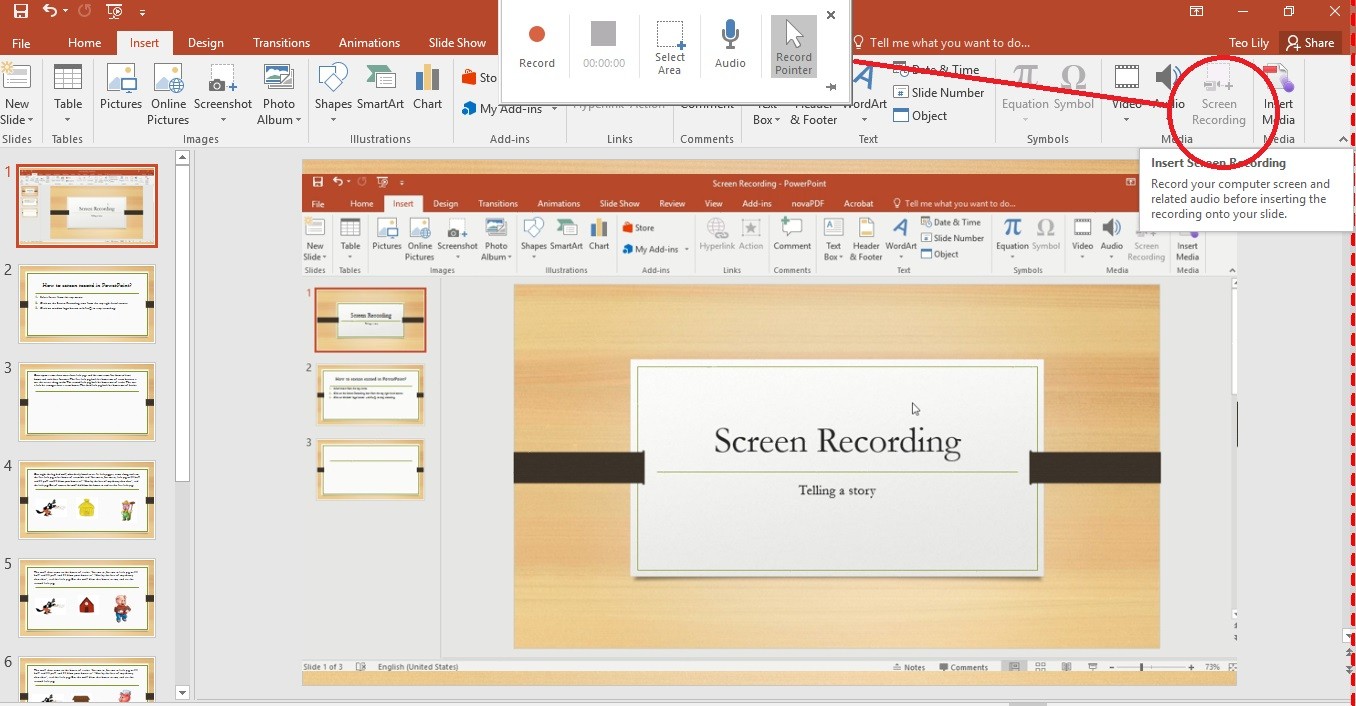
2: Click the Insert tab, search for Media and then click Screen Recording.
3: Click the Select Area button at the top of the screen and then draw the area you want to record the screen. You can also use this menu to enable/disable audio recording and hide/show the mouse pointer.
4: After selecting the area, press Record to start recording the screen.
5: Press the pause button whenever you need to stop and press Record to continue recording the screen. When you have recorded the song, press the Stop button or press the Win + Shift + Q key combination.
6: Screen recording video will immediately be inserted into the slideshow. To save it somewhere else, right-click the video and select Save Media as. Select a folder to save the video’s MP4 file.
Method 3: Record the screen with ShareX
ShareX is a free screen recording software that allows you to record your screen and save it as an MP4 video or GIF image. You need to download ShareX and install it, then follow these steps:
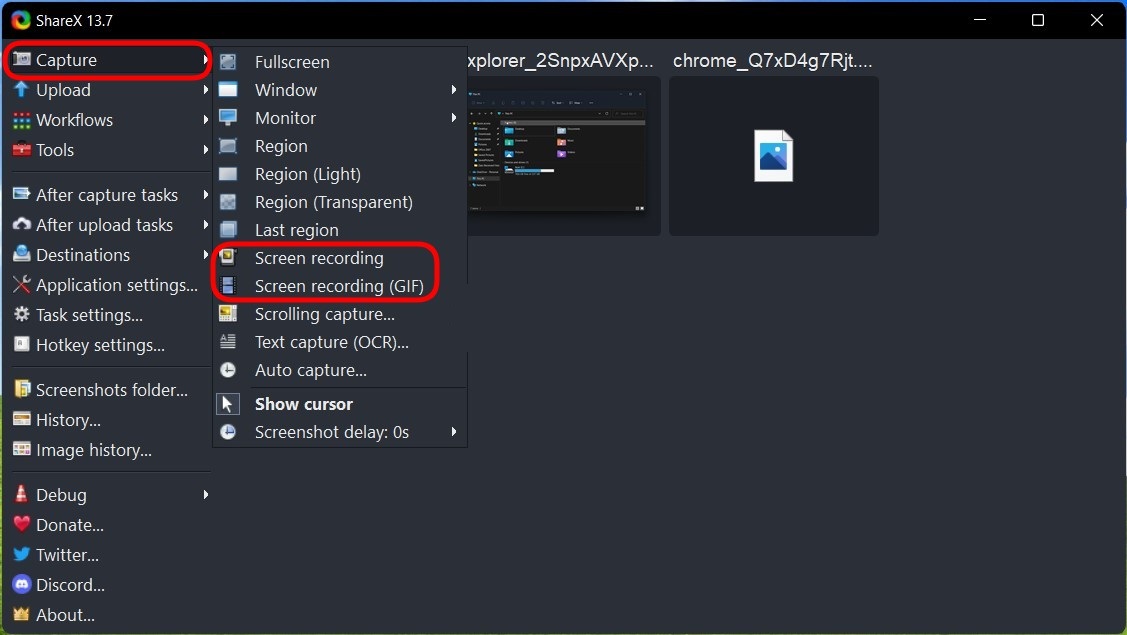
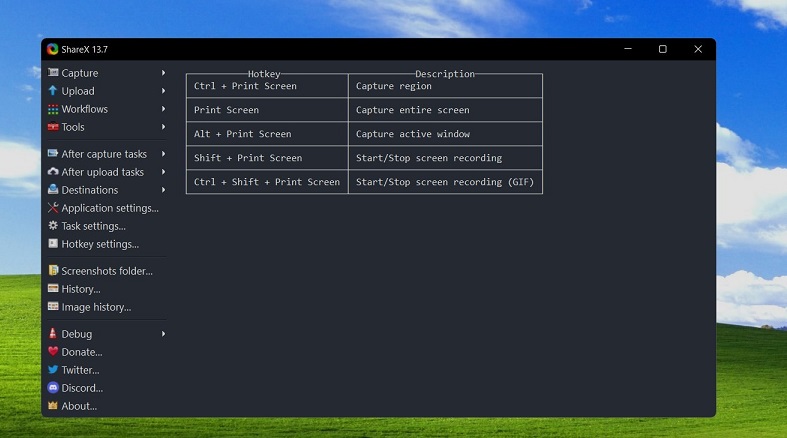
1: Click Capture then select Screen recording to create MP4 video or Screen recording (GIF) to create GIF images. You can also press the keyboard shortcut Shift + Print Screen to record a screen video in MP4 format and Ctrl + Shift + Print Screen to create a GIF image.
2: Select the area you want to shoot. Recording will begin as soon as you’ve made your selections. You can click and drag to create a video recording area. To rotate a window, hover over the window so it is highlighted then click once on the window. To record the entire screen, select desktop.
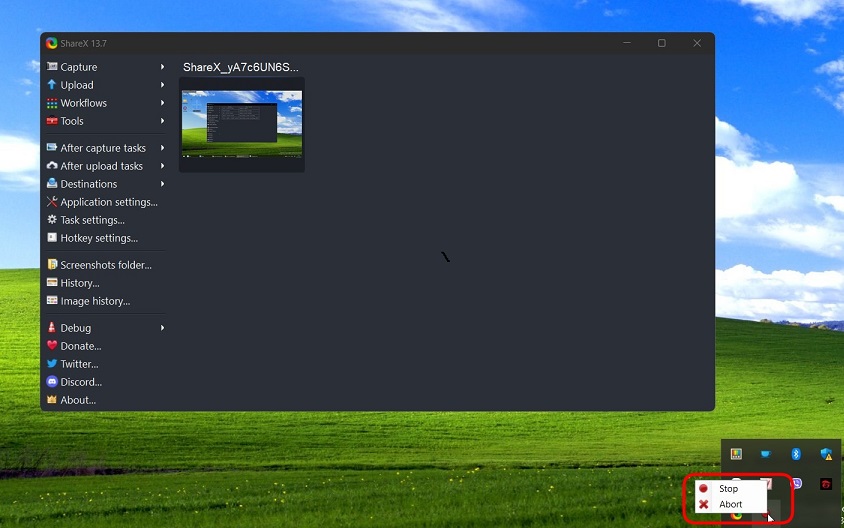
3: To stop recording, right-click the red button on the Taskbar and then select Stop. Press Abort to stop recording and discard the recorded video.
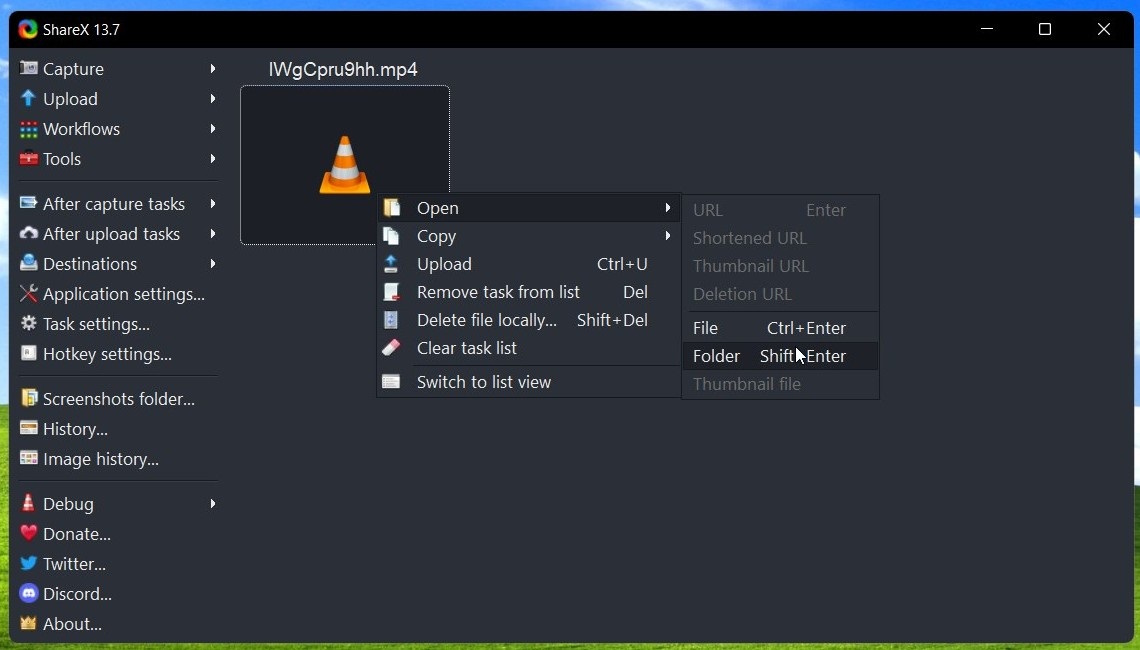
4: Select the video in ShareX to open it or right-click it then click Open > Foler to access the location where the file is saved. Here you can edit, share or rename…
Method 4: Record Windows 11 screen with OBS Studio
OBS Studio is a software that is quite popular with streamers because it is free and has the ability to stream content to different platforms. However, in this article, we will only focus on the screen recording capabilities of this software.
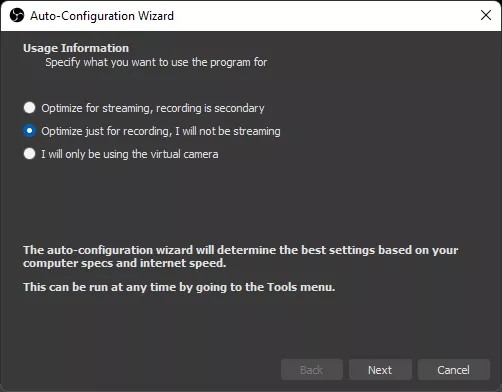
1: You need to download and install OBS Studio . When you run OBS Studio for the first time, you will be given a choice as to what you want to use the tool for. If not streaming, click on the second option to optimize for screen recording.
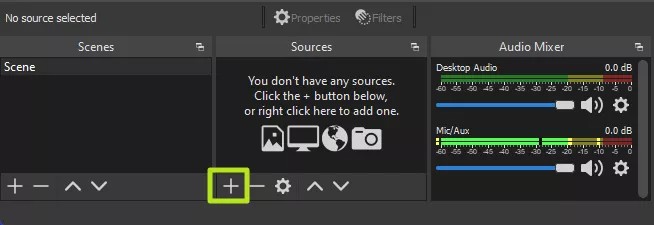
2: In the main screen of the application, click the Plus button (+ sign) below the Sources section to add a content source.
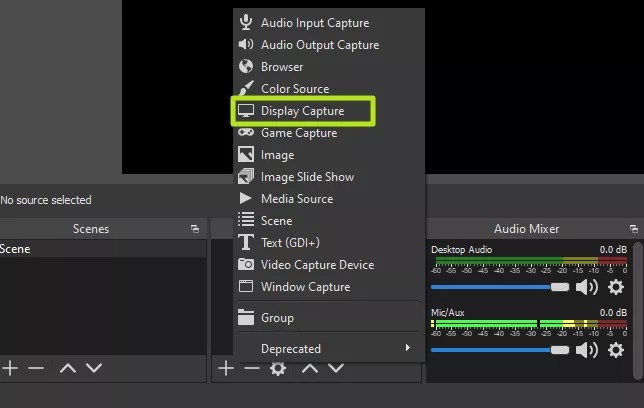
3: You choose Display Capture .
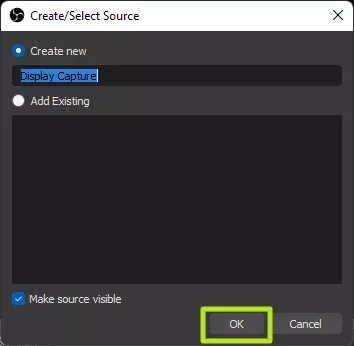
4: You click OK. You can name the content source anything you want instead of Display Capture.
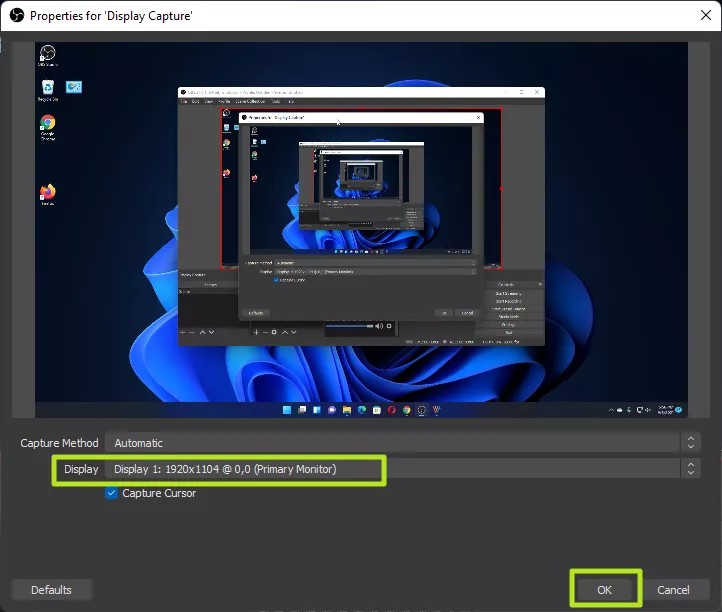
5: Select the screen you want to record (if there are multiple screens) and then press OK.
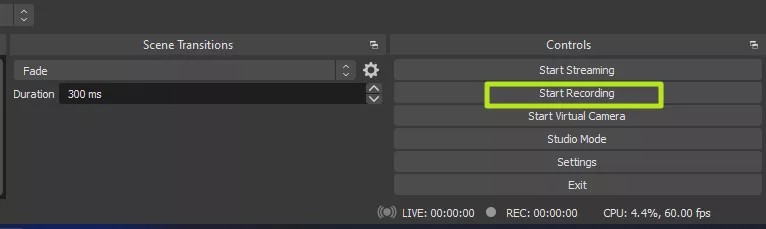
6: Click the Start Recording button .
7: Minimize OBS if the screen you record is the screen that is opening OBS.
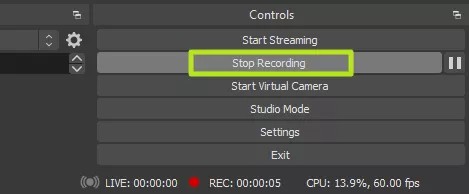
8. Press Stop Recording in OBS when you’re done recording.
By default, screen capture videos with OBS Studio will be saved in the Videos folder on Windows 11. They will be saved as .mkv format by default. To edit, save in .mp4 format, you need to go to Settings > Output in OBS Studio.
The above are tools and software to help you record Windows 11 laptop screen. If you have any good suggestions, please share them with us.


