How to fix Windows 11 Start menu not working. A lot of people have reported that the Start Menu on Windows 11 has suddenly stopped working for them, making it a bit more difficult to perform common tasks. Ngolongtech will guide you to fix the start menu not working fix in windows 11. Let’s get started!
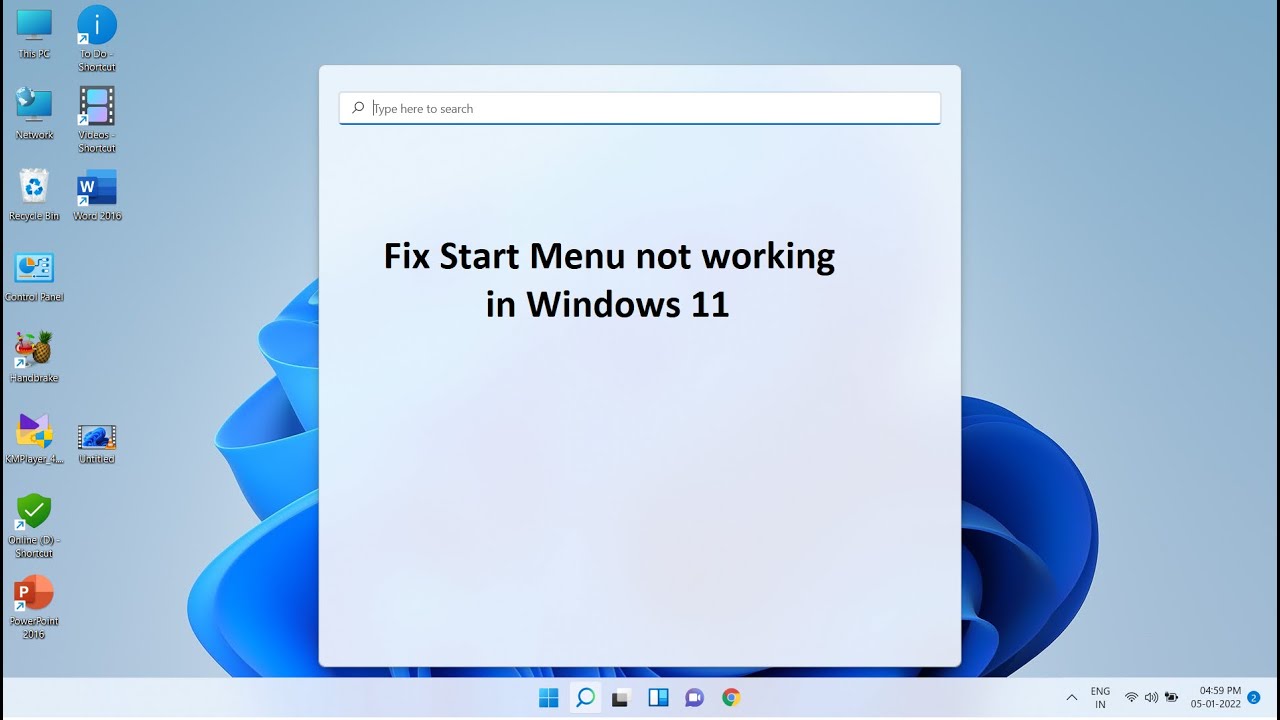
Table of Contents
How to fix Windows 11 Start menu not working
Method #1: Restart your PC
This is the simplest method that comes to mind when trying to fix most problems on a Windows 11 PC. Normally, when you reboot the system, you essentially force all processes, including including Windows, restart all services and their processes. This also restarts the Start Menu process which should help with it.
If it’s not clear, here are the steps to restart your PC.
Make sure all your applications and files are closed. Or, just go to the Desktop by tapping <strong>Windows</strong> <strong>key + D</strong>. Now, press the keys together on your keyboard to get the “Shutdown Windows” screen. Alt + F4
Click the drop-down menu, select ‘Restart’ and press the ‘OK’ button.
After your PC restarts, you’ll be able to use the Start menu again. If you still can’t, try the next method.
Method #2: Restart Windows Explorer using Task manager
The next easy fix for a frozen Start Menu is to use the Task manager. Task Manager can be the perfect tool to manage any process running on a Windows PC.
If you have a Start Menu that doesn’t want to respond to your clicks, follow the steps mentioned below to see if it fixes your problem.
Press the Ctrl + Shift + Esc keys to activate Task manager. If your Task manager looks like this, click the ‘More details’ button to get access to a detailed view.
Once inside the Task manager, scroll through the Processes list to find the ‘Windows Explorer’ process. Right click on the process and click on the ‘Restart’ option.
Once clicked, Windows will immediately restart the Windows Explorer process and that should fix your start menu.
Restarting the Windows Explorer process is similar to restarting your PC. The only difference is that here you restart only a single process, while in reboot you restart all the processes. Plus, a lot of people in the past have had success fixing their Start menu with this method, it’s well worth a try.
Method #3: Check for updates for Windows
If you still can’t open the Start Menu, you should try Windows Update. The problem may be more common than you think, and Microsoft may have released a fix to patch the unresponsive Start menu.
Here’s how you can do it.
Open the Settings app with Win key + i the keys together. Once open, click on the ‘Windows Update’ option.
Click the big ‘Check for updates’ button to start checking for any available updates for Windows for your PC. If available, let Windows install all updates.
When Windows finishes updating your PC, just restart your PC and try opening the Start menu. If you still can’t open the Start Menu, we think it’s time to do more advanced fixes.
Method #4: Run DISM and SFC
DISM (Deployment Image Servicing and Management) and SFC (System File Checker) are two of the most powerful tools for identifying and repairing corrupted Windows installations. These tools can be used with Command Prompt or Windows PowerShell. For this tutorial, we will be using them with Command Prompt.
Let’s start with DISM. DISM can be used to get new copies of corrupted Windows files.
Tap Win key + r to open the Run box, type cmd and then press Ctrl + Shift + Enter together (instead of pressing enter) to open an elevated Command Prompt.
Once you are in the Command Prompt, paste the code below and press enter.
DISM /Online /Cleanup-Image /RestoreHealthDISM will now attempt to recover damaged files (if any) from your current installation by requesting a fresh copy of that file from a Windows update. The whole process will take about 15-20 minutes. This is how the command works.

Once the command has restored all the corrupted files, you should see something like this.

Once you’ve done this step, keep the Command Prompt window open to run the next command.
The next step is to verify the integrity of all your Windows 11 files to make sure they are in good shape. For this we will use the SFC tool.
Here’s how to do it.
Paste the code below into the Command Prompt window and press enter.
sfc /scannowThis is how the command looks like.

The above command will only take a few minutes to complete the integrity scan of your Windows files. Once done, the result will look like this.

Tip: Make sure your PC has a stable internet connection for this method to work.
It’s time to restart.
Still stuck with the broken Start menu, it’s time to try the next method.
Method #5: Recreate the Search Index
The Start menu and Windows Search are tightly integrated. Problems with search and indexing could have made their way into the Start Menu and affected it. So let’s rule out this possibility.
Let’s see the steps to do it.
Open the Run box by pressing Win key + r. Then paste the text below into the Run box and press Enter.
control /name Microsoft.IndexingOptionsYou will see a popup titled ‘Indexing Options’ open. Click the ‘Modify’ button.
Click the ‘Show all locations’ button.
On this screen, uncheck all locations and click the ‘OK’ button. We only have one location highlighted, so we’re just unchecking one in this list.
Click the ‘Advanced’ button.
Click the ‘Rebuild’ button.
Now Windows will start rebuilding the Search Index. Rest assured, the entire process will now be handled by Windows and doesn’t actually require any user input, although it does take quite a while to complete.
Once Windows has rebuilt your Search Index, restart your PC. After you get back into Windows, try opening the Start Menu. If it still doesn’t work, we think it’s time to opt for a more flexible method.
Method #6: Remove third-party programs that modify Start Menu
If you have installed any third-party programs to modify the look or function of the start menu, we recommend that you remove all of them. It is possible that one of these programs is not compatible with the new Windows 11 start menu, that’s why you are having problems with your system. If you have one of the following apps mentioned below, then we recommend that you revert their settings and uninstall them as soon as possible. Most of these apps are designed for Windows 10 and are not compatible with the Windows 11 Start menu code to a certain extent. The recent Windows 11 update may have broken their compatibility causing the start menu to malfunction on your system.
- Open Shell
- Classic Start
- WinAero Tasbar
- TaskbarX
And more. If removing a third-party app that modifies your start menu restores its functionality, you can wait for a compatibility update to use the app again.
Method #7: Revert Windows Registry changes used to have an older start menu
Did you use a Registry hack to get the start menu of Windows 10 older on Windows 11? If that’s the case, then it’s very likely that the functionality of this Registry was broken with the recent Windows 11 update. In such cases, you can use the instructions below to revert the changes on your system.
Press <strong>Windows + R</strong> on your keyboard and type the following in the Run dialog box.
regedit
Press Enter on your keyboard when you’re done to launch the Windows Registry editing software. You can also click ‘Ok’ instead.
Now copy and paste the address given below into the address bar at the top of the Windows Registry editing software and press ‘Enter’ on your keyboard.
Computer\HKEY_CURRENT_USER\Software\Microsoft\Windows\CurrentVersion\Explorer\Advanced
Search for ‘Show_StartClassicMode’ on your right and right click on it.
Select ‘Modify’.
Change its value data to ‘0’ and click ‘Ok’. Do not close the Windows Registry editing software.
Press on your keyboard to launch Task manager. Now click and switch to the ‘Details’ tab at the top. Ctrl + Shift + Esc
Click and select Explorrer.exe from the list and press Delete on your keyboard.
Confirm your choice by clicking ‘End Process’.
Now click ‘File’ in the top left corner and select ‘Run new task’.
Type ‘Explorer.exe’ and press Enter on your keyboard. You can also click ‘Ok’ instead.
Explorer will now be restarted on your system. Go back to the Windows Registry editing software and click and select ‘Start_ShowClassicMode’.
Press Delete on your keyboard and confirm your choice to delete the registry value.
Reboot your system for good measure now.
If your Start Menu is not working due to Windows Registry hack to get older start menu then it should be fixed by now. You can check the same thing by clicking the Start Menu icon on your Taskbar.
Method #8: Use PowerShell to reinstall basic apps including start menu
Windows 11 has come a long way when compared to its predecessors. Background processes, tasks, and applications are now more streamlined, and various features and elements seem to have their own dedicated packages. These specialized packages make it easier for you to debug certain Windows features and even reinstall them in worst-case scenarios. If the start menu still doesn’t work for you then you can reinstall the Windows 11 basics, which will also reinstall the Start Menu module on your system. This will help fix any background conflicts and get the Start menu up and running on your system. Follow the instructions below to get you started.
Press Windows + S on your keyboard and search for PowerShell. Click ‘Run as administrator’ when the application shows up in your search results.
Now type the following command and press ‘Enter’ on your keyboard.
Get-appxpackage -all *shellexperience* -packagetype bundle |% {add-appxpackage -register -disabledevelopmentmode ($_.installlocation + “\appxmetadata\appxbundlemanifest.xml”)}
Ignore any warnings you get and continue with the process. Once done, reboot your system for good measure.
Now that the Start Menu and other basic features have been reinstalled on your system, rebuild your system index so everything is back up and running again. Press <strong>Windows + R</strong> on your keyboard to open the Run dialog box.
Type the following command and press Enter on your keyboard.
control /name Microsoft.IndexingOptions
Click ‘Modify’ and select ‘Show all locations’.
Uncheck all boxes in the current list.
Click ‘Ok’.
Click ‘Advanced’ now.
Select ‘Rebuild’ under debug.
Click ‘Ok’ when the warning pops up on your screen.
After the process is finished, we strongly recommend that you reboot your system.
Now you can try clicking the Start icon after your system reboots. Reinstalling the Start Menu should fix any problems with the Start Menu on most systems.
Method #9: Install any pending Windows and driver updates
This might be a bit obvious, but you should definitely install any driver updates or pending Windows updates on your system. This will get you up and running on the latest drivers and make your system compatible with all the hardware installed on your system. Although drivers rarely cause problems with Windows features, you can never be sure. Therefore, we recommend that you install the latest available drivers on your system. You can use the link below to go to our detailed guide to update drivers on Windows 11. If you are using a pre-built system or a laptop, then we recommend you to check the support page. support your OEM for dedicated driver updates.
Method #10: Create a registry value for the Start menu Xaml process
There is a registry value that, if modified, can completely disable your Start Menu. If you are using Windows Registry modifiers, cleaners and more, there is a chance that this registry value has been modified resulting in the disabling of the Start Menu on your system. In addition, the functionality of the Start menu was moved to the Xaml process after Windows 10 was released. This process is known to malfunction
Use the guide below to check if the start menu is disabled on your system and re-enable it if necessary.
Press Windows + R on your keyboard and enter the following command given below.
regedit
Now type Enter on your keyboard or click ‘Ok’.
Copy and paste the following address into the address bar at the top of your Windows Registry editing software.
HKEY_CURRENT_USER\Software\Microsoft\Windows\CurrentVersion\Explorer\Advanced
Now right click on your right tab and select ‘New’.
Select ‘DWORD (32-bit value)’.
Enter the name ‘EnableXamlStartMenu’.
Enter the value as ‘0’.
Restart your PC now.
After the reboot, try activating the Start Menu now. If the Xaml process encounters conflicts, they will be fixed now and the Start Menu will be back up and running again on your system.
Method #11: Restart Windows Background Services
If the Start menu still won’t start, it’s time to restart all background Windows services. Usually restarting ‘ShellExperienceHost.exe’ is enough but if that doesn’t work for you you can try restarting all the services listed below. This usually keeps the Start menu back up and running on most systems.
Press Ctrl + Shift + Esc tyour keyboard to open ‘Task manager’ . Now click on ‘Details’ at the top to switch to the Details tab.
Find ‘StartMenuExperienceHost.exe’ in the list and click and select it.
Press Delete on your keyboard or click ‘End Task’ in the bottom right corner. Click ‘End Process’ again to confirm your selection.
ShellExperienceHost.exe will now be killed. The process will automatically restart within a few seconds. After reboot, try to enable Start Menu on your system. If the start menu works, you’re good to go. However, if it still doesn’t work then use the instructions above to restart the following services on your system.
- SearchIndexer.exe
- SearchHost.exe
- RuntimeBroker.exe
And that’s it! If a background process is preventing you from accessing the Start Menu then the problem should be fixed for you by now.
Method #12: Run the Windows Troubleshooter
In the Windows 1909 feature update in 2019, the Start menu was basically broken due to a background conflict. To fix this bug for many people, Microsoft has released a debugger to help fix this bug. If the Start Menu is still not working for you then you can try running this debugger on your system. Use the instructions below to download and run the debugger on your system.
Download Microsoft Start menu Troubleshooter
 Loading...
 Loading...
Now copy and paste the file ‘startmenu.diagcab’ on your desktop.
Double click and run the file from your desktop. Click ‘Advanced’.
Tick the ‘Apply repair automatically’ box. Click ‘Next’ when you are done.
The debugger will now do its job and try to fix the Start Menu on your system. Any errors or problems found will be automatically fixed and the functionality of the Start Menu will now be restored on your system .
However, if the debugger doesn’t fix the Start Menu then this could indicate a more serious problem on your system. In such cases, verify if Windows is actually able to access and initiate the process for the Start menu on your system. Use the checks below to help you through this process.
Method #13: Check if Start Menu works in new local administrator account
Now we need to check if the Start menu is actually available in the Windows 11 installation. Let’s create a new Local Account to help you verify its functionality. If the Start Menu is working in the new account, it could be an issue with your existing user account.
Press <strong>Windows + i</strong> on your keyboard and click ‘Account’ on your left.
Click ‘Family and other users’.
Now click ‘Add account’ under other users.
Click ‘I don’t have this person’s credentials’.
Click ‘Add a user without a Microsoft Account’.
Now enter the username for the new account and the password if necessary.
Click ‘Next’ when you are done.
A new user account will now be created. Sign out of your current account and sign in to the new account.
Try activating the Start Menu now in the new temporary Local Account. If it is working then this is a problem specific to your user account. However, in case the Start Menu fails to open, then this could indicate a more serious problem with your Windows 11 installation.
Method #14: Check if start menu works in safe mode
Now it’s time to check if the Start Menu works in Safe mode. In such a case, a third-party application may interfere with the functionality of the Start Menu. You can remove any third-party apps used to modify the Start Menu to try and fix this. Follow the instructions below to enable Safe Mode on Windows 11.
Press Windows + i on your keyboard and select ‘Windows Update’.
Now click on ‘Advanced options’.
Click and select ‘Restore’.
Now click ‘Reboot now’ next to ‘Advanced startup’.
Click ‘Reboot now’ again.
Your PC will now reboot to the recovery screen. Click and select ‘Bug Fix’.
Now click on ‘Advanced options’.
Click ‘Startup Settings’.
Press ‘F4’ to start your PC in safe mode now.
After your PC restarts, safe mode should work on your system. Now try to activate the start menu. If the menu activates then it is likely that a third party application is causing the problem on your Windows 11 system. You can try removing the apps used to customize the Start Menu one by one to find the culprit on your system.
Method #15: Run anti-malware and anti-virus scans
We recommend that you try and run a malware scan before choosing the last resort. If any malware or malicious service is causing problems with the Start Menu, a scan should help resolve these issues. Use the instructions below to scan for malware through Windows Defender.
Press <strong>Windows + S</strong> on your keyboard and search for ‘Windows Security’. Click and launch the app when it shows up in your search results.
Click ‘Virus and threat protection’.
Click ‘Scan Options’.
Select ‘Full Scan’.
Finally, click ‘Scan now’.
Windows Defender will scan your entire PC for malware and malware. In case anything is found, they will be automatically quarantined and you will be prompted to take the necessary action as soon as possible.
Last 2 options
Option 1: Reinstall Windows
If you have no luck with all the previous methods, we think you should try Reset Windows. It has been known to solve a wide range of problems in Windows 11 while keeping your personal files intact. Furthermore, resetting Windows to factory settings can give your PC a fresh start.
Here are the steps.
For this method, you will need an enhanced version of PowerShell.
Click <strong>Win key + r</strong> to open the Run box, then type ‘PowerShell’ and press <strong>Ctrl + Shift + Enter</strong> to open PowerShell as administrator.
When opened properly, you are already inside C:\Windows\system32 the folder.
Now type in ‘ system reset ‘ and press enter. You will be given two options, keep all your files or delete everything. Click ‘Keep my files’.
Within a few minutes, Windows will give you a list of apps that will be removed from your PC after the reset. Here’s what our list looks like.
Once you’ve scrolled through the list of apps, simply click the ‘Next’ button.
Windows will now initiate the reset process. Just follow the instructions and your PC will be reset within minutes. Start Menu should be active now.
Option 2: Reinstall Windows from scratch
Well, if you are really considering this method, then you can rest assured that no other method will work for you. At this point, we think now is the time for a clean install of Windows 11, which will probably erase your current Windows partition (if you want).
Note: Before continuing with this method, we recommend that you make a complete backup of all your files stored inside folders on the Windows drive, such as in Downloads, Documents, and files. similar.
Once you’ve backed up all your files from your Windows drive, consider what you need.
- 8GB or more USB stick (no external hard drive, unless you want to lose all your precious data)
- Rufus
- Windows 11 installation ISO
Once you have gathered all the resources, you can follow the instructions to create a Windows 11 installation USB drive
Once your USB installer is ready, you can follow this guide to install Windows 11 from USB on your PC.
We hope that after following this guide, you were able to fix the annoying and unresponsive Start menu in Windows 11 and get it working again.

