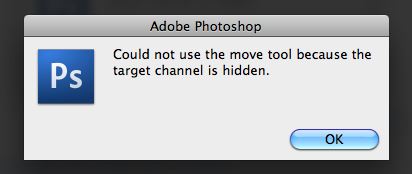
Fix Photoshop liquify not working Mac. Question: “Hi, Currently have IMAC using OS X Yosemite version 10.10.5. I USED to be able to use the Liquify tool. Now, the screen opens, I hit the top tool on the left, and the circle shows up but when I click on the item I want to liquify NOTHING happens. Preview IS checked off so that is not the issue…anybody? Thank you!!”
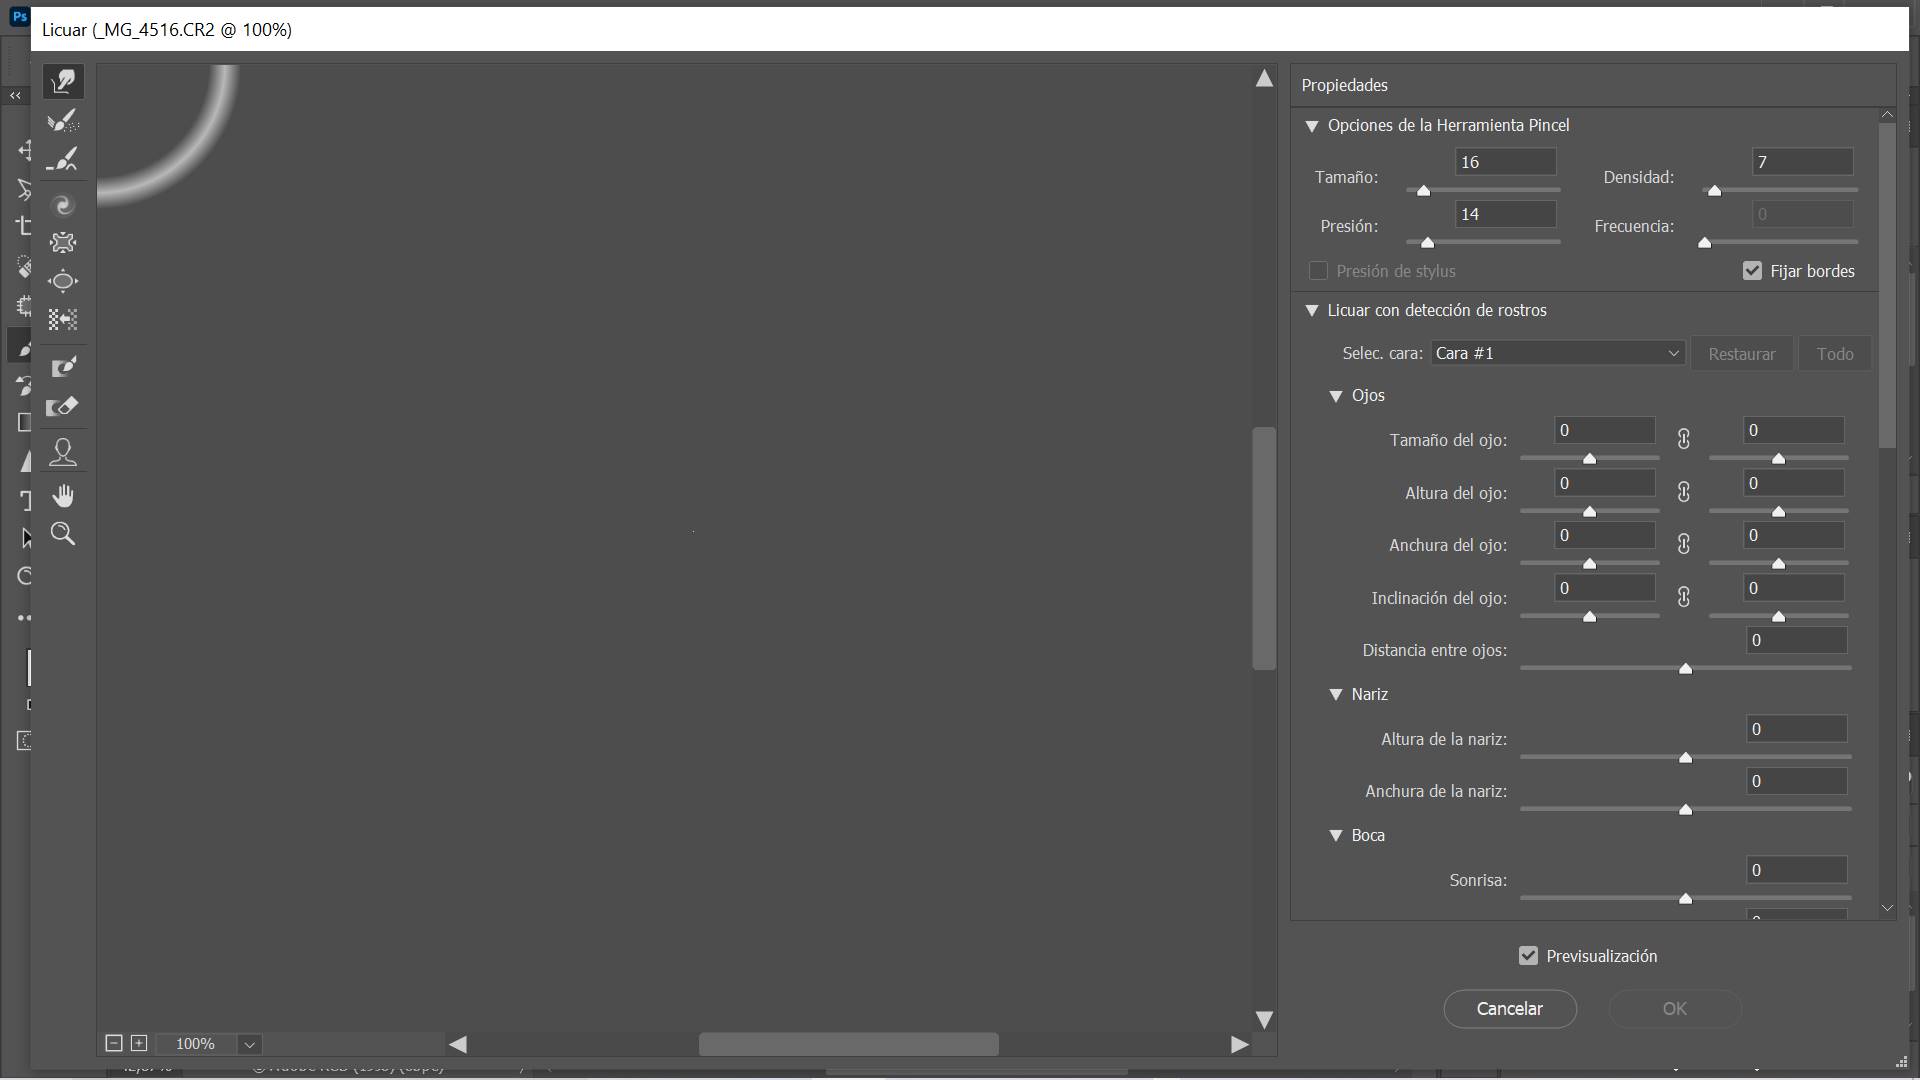
Table of Contents
Fix Photoshop liquify not working Mac
Preview needs to be checked on so you see the results of the Liquify tool as you work with it.
Unchecking Preview causes the problem you describe.
when “Show Backdrop” is checked on and the opacity under that section is 100%
You would need to uncheck “Show Backdrop” to see if that’s so.
Lastly, hold down the Mac’s Option key and the Liquefy dialog’s Cancel button will change to Reset.
Click on Reset to restore defaults and hopefully that takes care of it.
If still no results, exit Photoshop.
Hold down Cmd-Opt-Shift, start Photoshop and answer Yes to Delete Settings file and let Photoshop finish loading.
Other Photoshop errors on Mac
1. Error “Application Name” Can’t be opened because it is an undentified developer
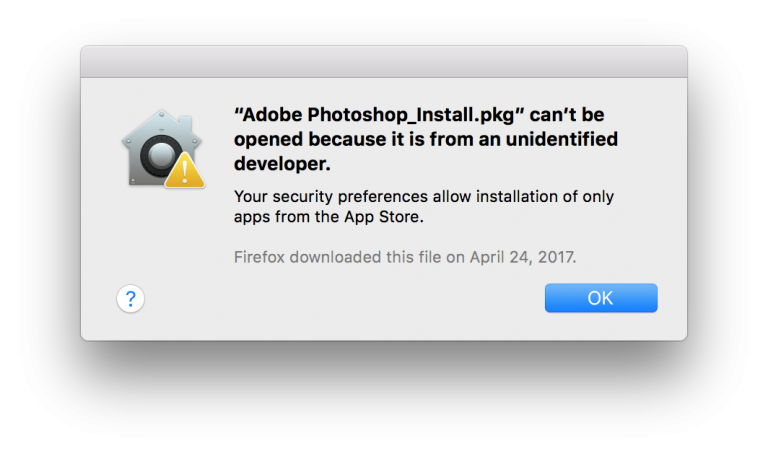
This can be said to be the most basic mistake but most people make. This error not only appears when installing Photoshop but can appear on all the software you download on the Internet today. To handle this error, you simply need to follow the instructions to turn off GateKeeper to allow running applications outside the App Store as the link below is done:
2. Error We’ve encountered the following issues… or The installation Failed
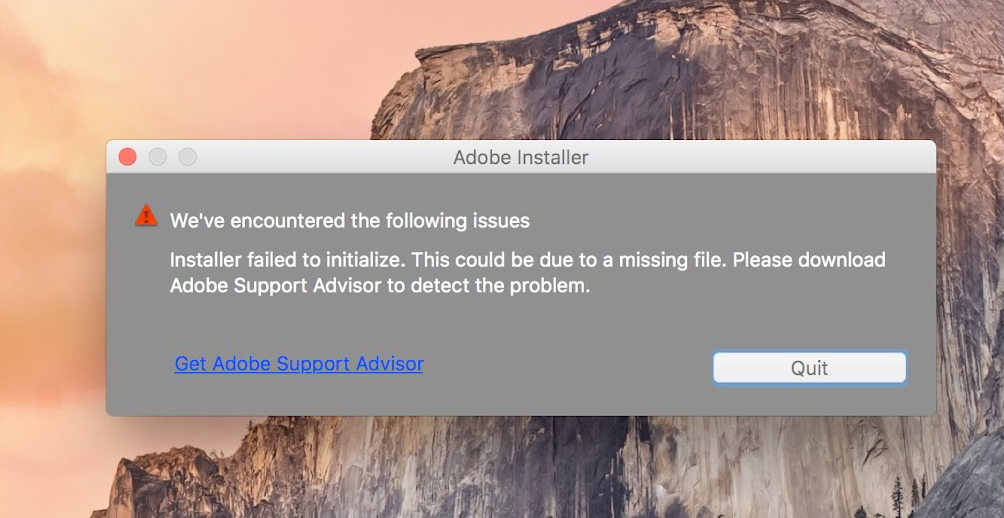
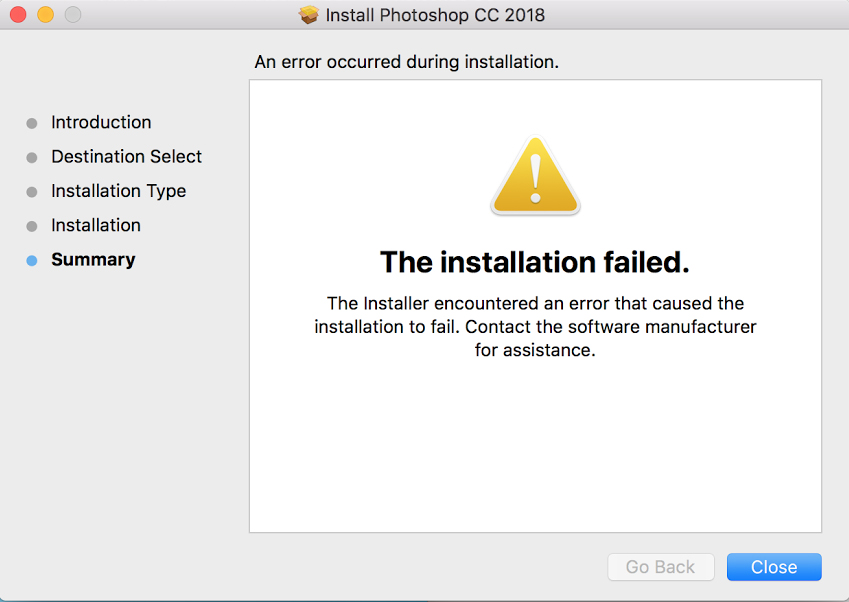
This error is just as common as the one above. But usually only appear on versions of Photoshop CC 2017 and earlier. Most of these errors appear when your download process fails, the installation file is corrupted or you have previously run a software of the Adobe suite (not necessarily Photoshop). To handle this error, do one of the following two ways:
Method 1 : Run the file Photoshop uninstall.pkg included with the installer, click next, enter the password to log in, continue to click next until done. Then run the installation file again.
Method 2: Use Adobe Create Cloud Cleaner Tool
Step 1: Download AdobeCreativeCloudCleanerTool
Step 2: Run the downloaded AdobeCreativeCloudCleanerTool file to mount it, run the Adobe Creative Cloud Cleaner Tool file inside, enter the computer password
Step 3: At the main interface with a check box on the right, drop down to select the version you want to install.
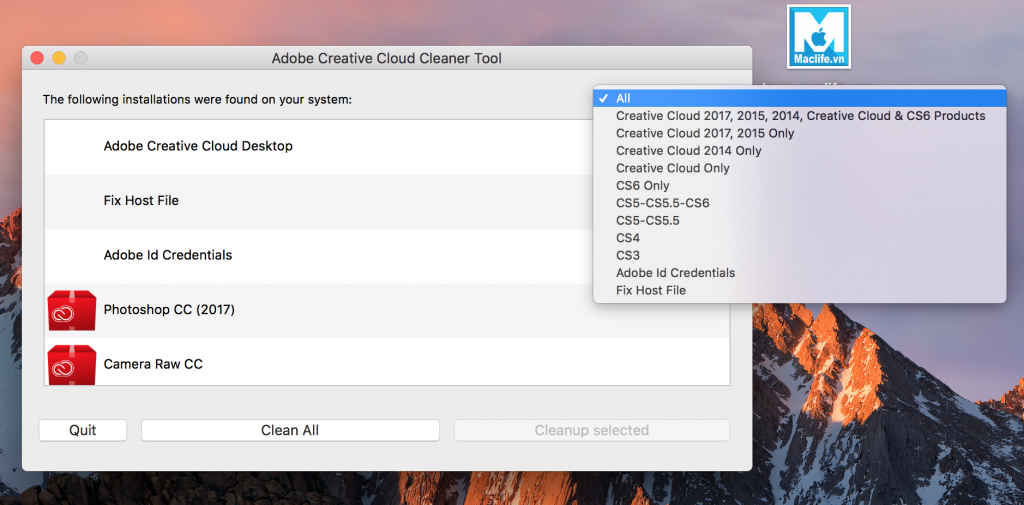
Then select the Clean Separated button.
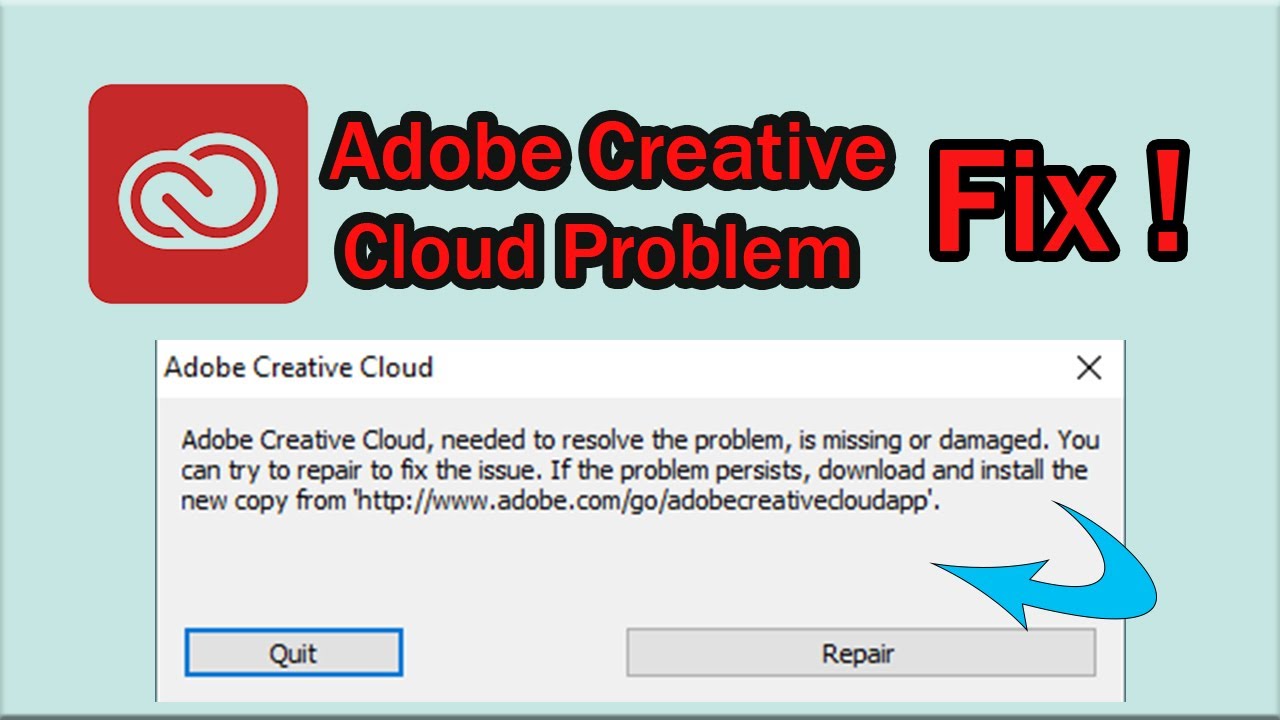
In my experience, most errors are caused by being stuck with Adobe Creative Cloud Desktop (first in the picture) You try to remove this and then run the installation file again, the error will be gone.
If you have followed the above method and still have the error. You should download another installer. It is recommended to download the installer at Maclife.vn if you previously downloaded it elsewhere, the installations at Maclife.vn have all been tested before uploading.
3. Error “Sign In Required” when installing or after installation is complete
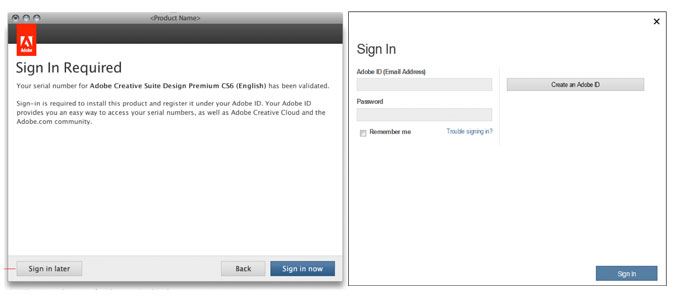
Error when installing, you just need to turn off the network before installing.
or you can create a free Adobe account at the following link: accounts.adobe.com After creating an Adobe account, you can log in to install without shutting down the network.
As for the error after installing, you just need to crack it and won’t ask for Sign In anymore
4. Error “The installation cannot continue as the installer file may be damaged. Download the installer file again“
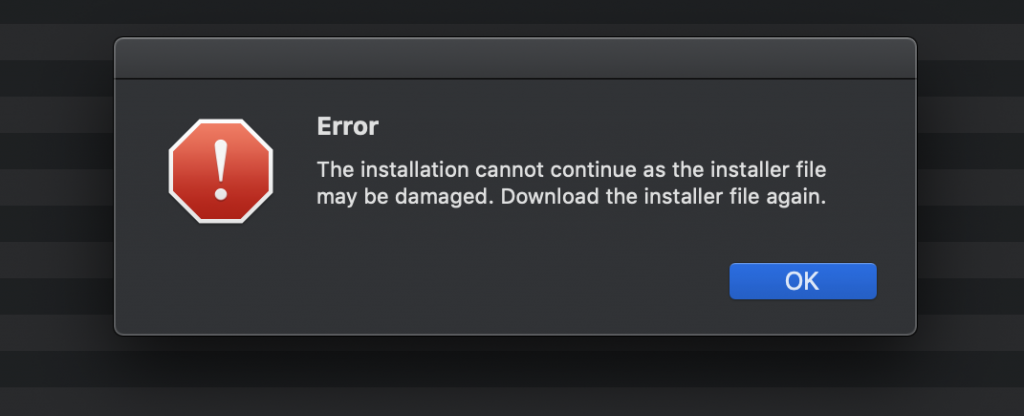
This error often appears when installing Adobe versions from CC 2018 and later. To fix this error, follow these instructions:
Open the DMG file (Installation file) then Right-click on the Install file and select Show Package Content
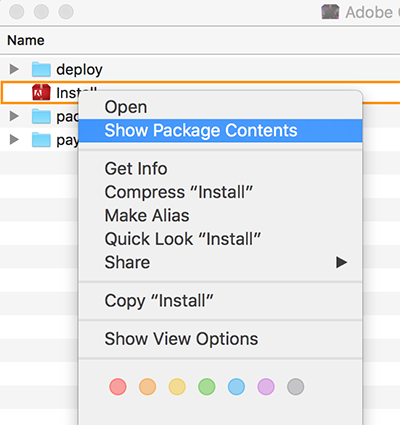
Go to Contents > MacOS.

Run the Install file, the installation window will appear. Please disconnect the network and install as usual. If you have a Permission denied error, open Terminal and typechmod +x [space]then drag the Install file into the terminal window and Enter will be
Error #5: Error Code: 1, 182, 82,81, 41 … – This error is common when installing Premiere Pro CC 2019 – 2020
This error is mostly because you have previously installed a certain version in the Adobe suite (different version from the currently installed version). Anyone who has just reinstalled and installed the Adobe suite with the same version will almost never get this error (However, for example, anyone who installs Premiere 2017, but installs Photoshop 2020 may still get the error)
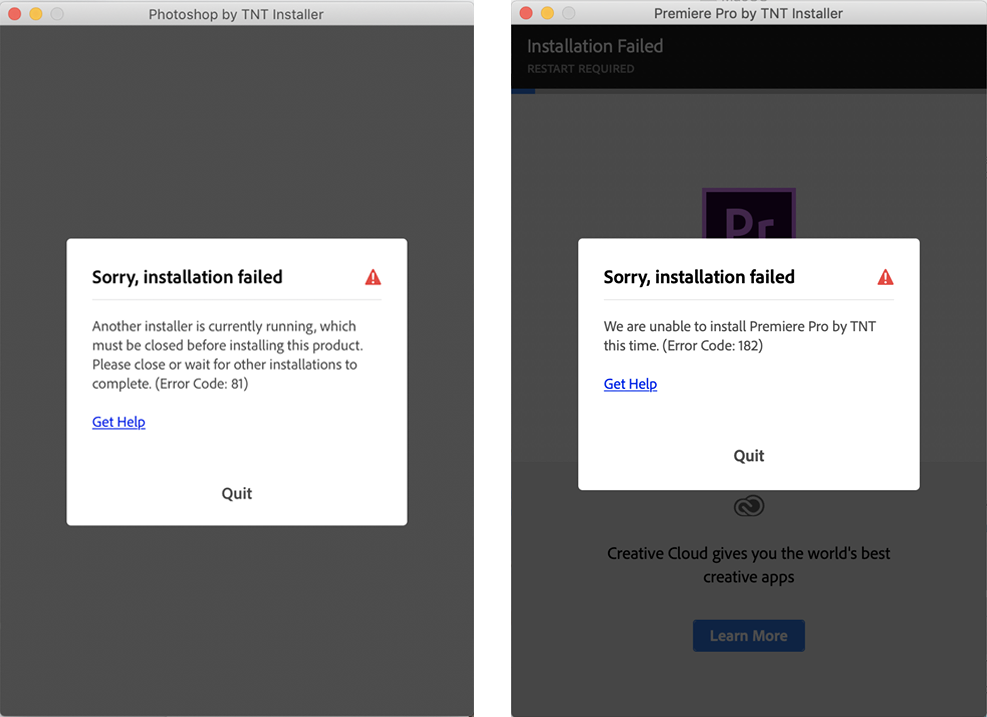
With this error, you also have Adobe Cleaner Tool at the following link: download.macromedia.com/SupportTools/Cleaner/mac/AdobeCreativeCloudCleanerTool.dmg
After the download is complete, open the downloaded file > Run the file: Adobe Creative Cloud Cleaner Tool and select as shown
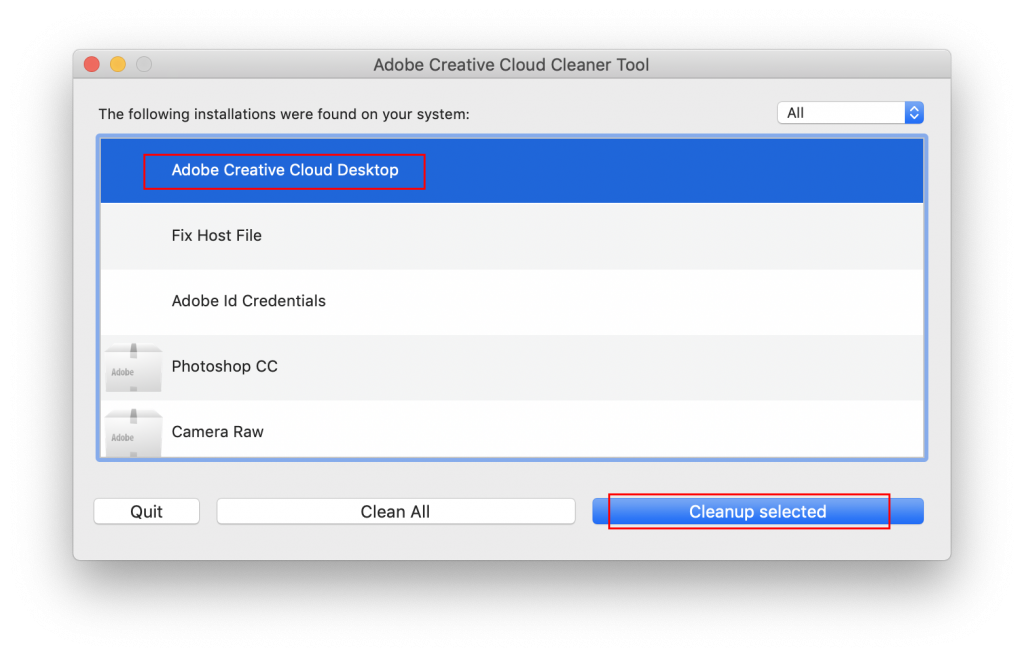
Then you restart the machine. Then proceed to reinstall the software in the Adobe suite to try.

