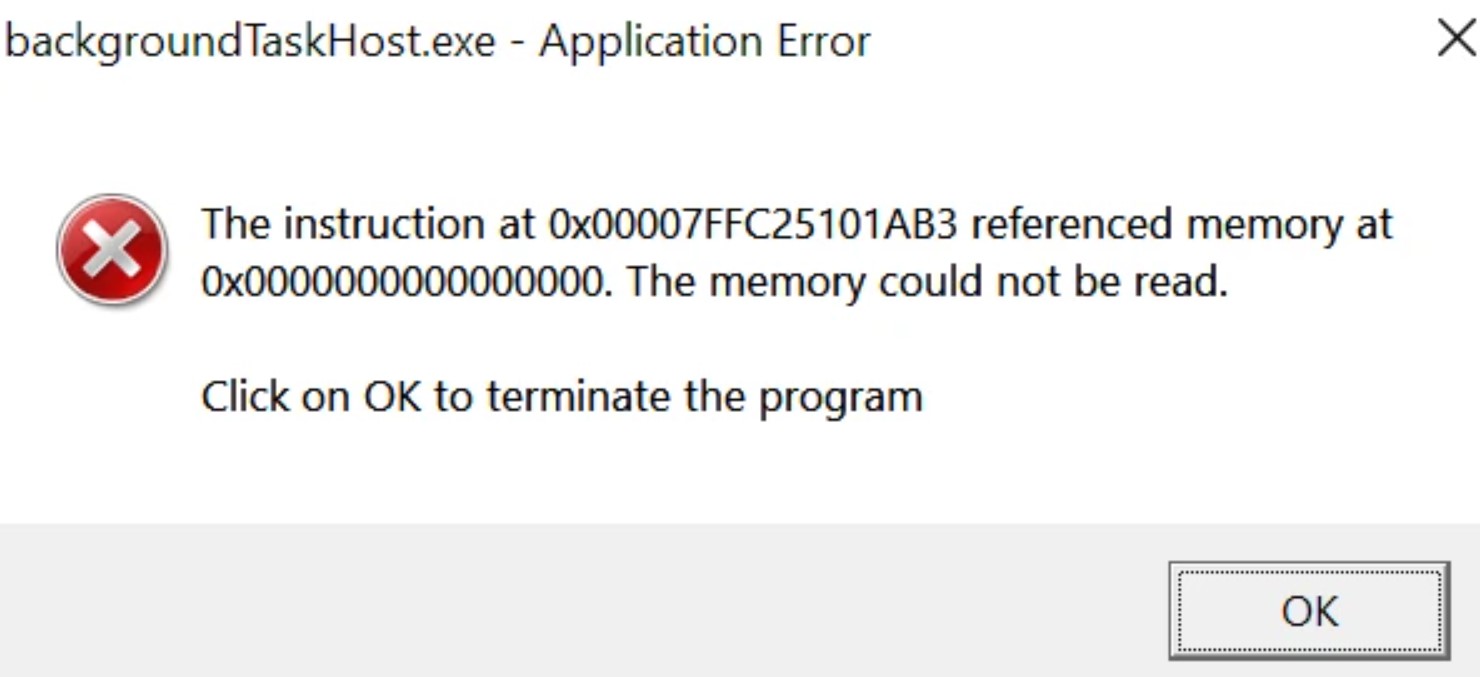
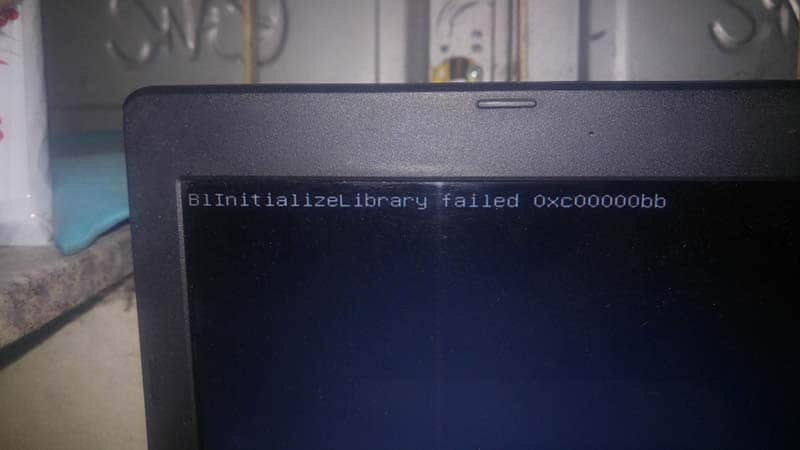
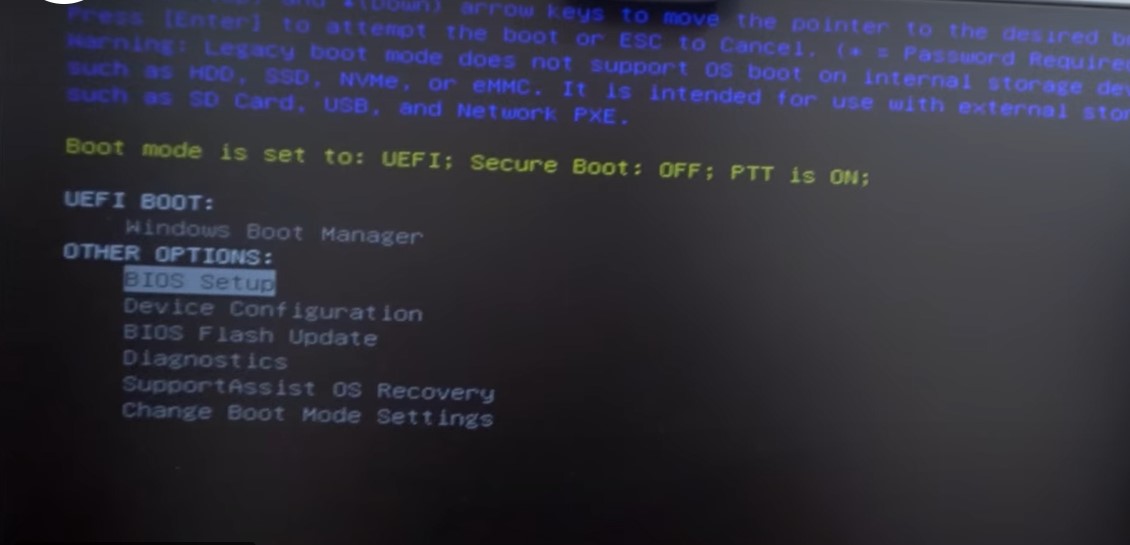
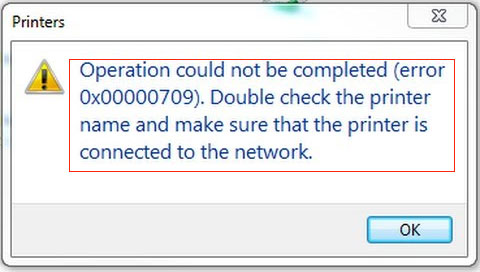
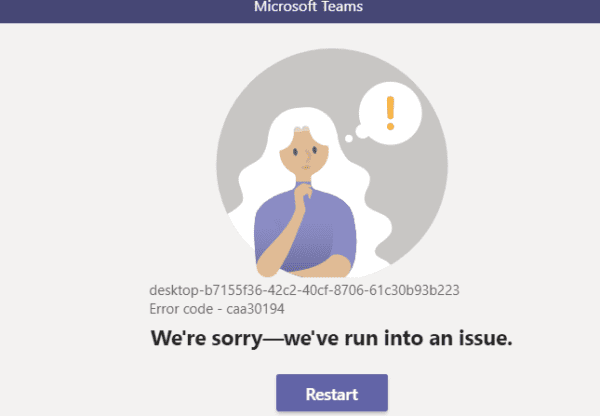
How to Fix Windows 11 error 0xc1900101. System errors often occur on a new system, including the latest Windows 11 or even Windows 10. Different devices may experience different error code messages, so Ngolongtech would like to recommend you to do so. Check the specific error first and find a suitable and effective solution to fix it.
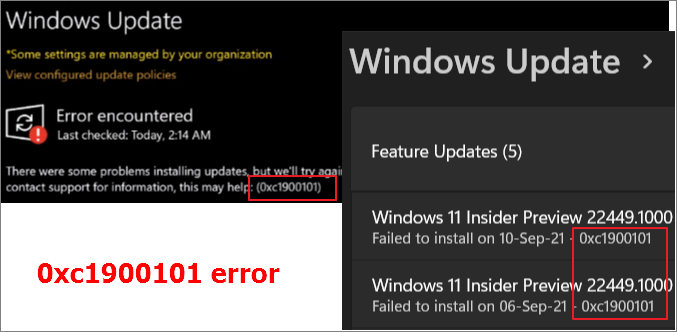
Table of Contents
What causes Windows 11 error 0xc1900101?
Errors with Code 0xC1900101 on Windows 11/10 usually indicate system problems caused by hardware drivers. In general, the following errors are all caused by outdated drivers, missing drivers, drivers that are not compatible with your hardware, after upgrading to Windows 11.
- 0xC1900101 – 0x2000c
- 0xC1900101 – 0x20017
- 0xC1900101 – 0x30018
- 0xC1900101 – 0x3000D
- 0xC1900101 – 0x4000D
- 0xC1900101 – 0x40017
How to Fix Windows 11 error 0xc1900101
The steps below will help you fix it, if not, take the computer to repair.
Step 1: You confirm that your device has enough free space . Windows 11 requires at least 16 GB of free space to upgrade 32-bit OS or 20 GB for 64-bit OS. If your system cannot meet this minimum system requirement, Windows 11 will not function properly.
Step 2: Update Windows 11. In case of any of the above 0xC1900101 errors, you can try to check for Windows 11 updates and update to the latest version.
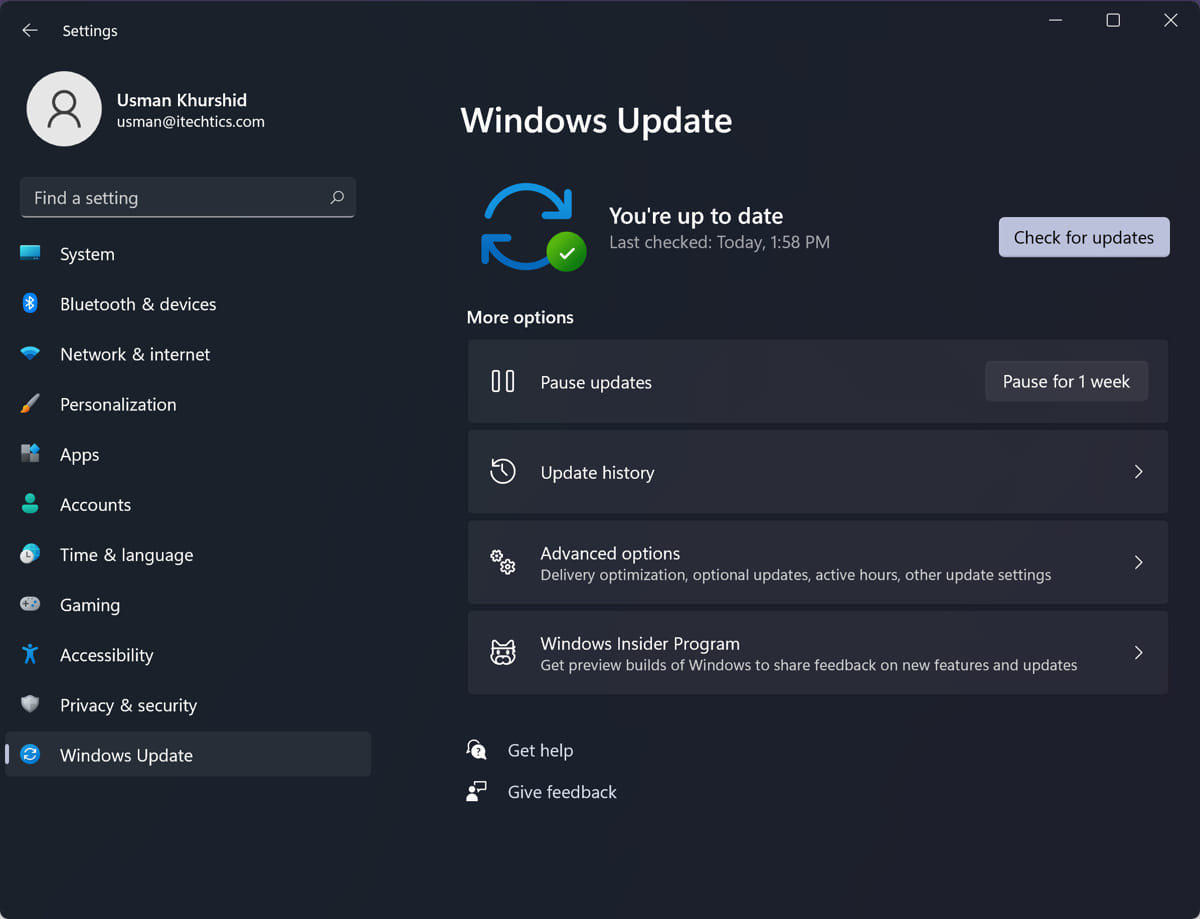
- Select Settings after launching the Start menu;
- Select Windows Updates in the left-hand menu;
- Click the blue button Check for updates; if any new updates are detected, please continue to update Windows 11 and restart your PC to check if error 0xC1900101 has been fixed.
If the general methods mentioned above do not fix the error 0xC1900101 on Windows 11, then we should move on to the hardware driver check step.
Step 3: Scan for outdated, missing or incompatible hard drives on your Windows 11 device. And there are two methods that will be recommended to help you update your Windows 11 drivers.
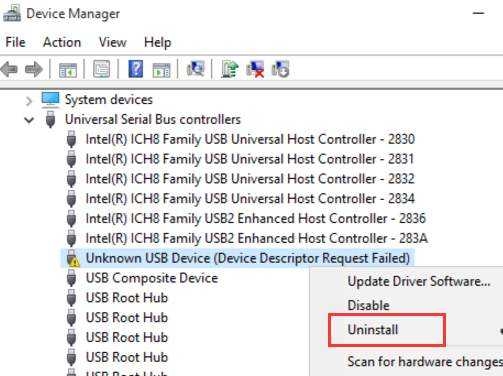
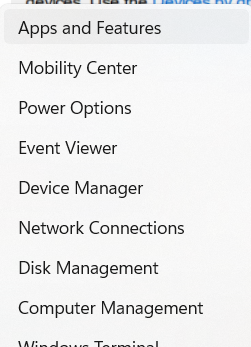
Step 3A: Run Device Manger to check for device drivers and update using Windows 11 itself. Right-click Start Menu and select Device Manager in the pop menu.
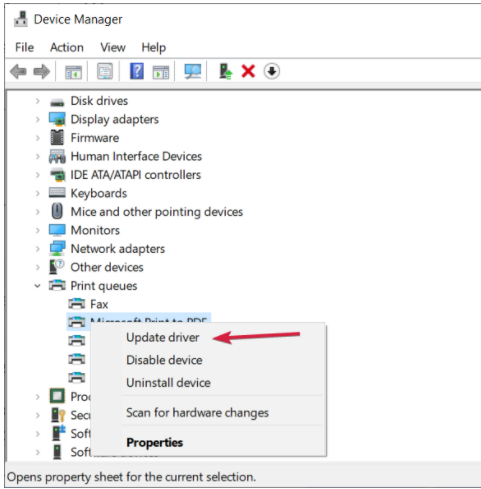
Expand the device list and the device that is causing the 0xC1900101 error will have a yellow exclamation mark before the name of the device.
Then you need to right click on the faulty driver, select Update Driver and let Windows find the latest drivers for you. If any update is detected, Windows 11 will install it and reboot.
Step 3B: Third-party driver updater software is also your effective solution to scan and update all drivers automatically.
Many driver updaters will automatically scan for drivers or game components at no cost, but you’ll have to pay if you want to update all problematic drivers in no time. It’s worth it to get IObit Driver Booster that will keep all drivers up to date, by automatically scanning and updating more than 6,000,000 device drivers.
After all drivers have been updated, please restart your PC to run gain, then error 0xC1900101 will be eliminated.
Furthermore, it is possible that third-party security software can cause system failure. Uninstalling them and enabling Windows Defender will help protect your device in real time to reduce system errors. Another factor could be drives and external storage devices. Therefore, if any system failure occurs, an external device may have been plugged into your device that is not required for basic functionality. In this case, just unplug them and restart your PC.

