
How to fix Valorant Win 11 error. Recently, Valorant added TPM 2.0 and Secure Boot to the minimum requirements. Windows 11 minimum requirements also include TPM 2.0 and Secure Boot. According to user feedback, even with components installed on Windows 11 PCs, some users are still unable to start Valorant, receiving TPM or Secure Boot errors. A TPM 2.0 bug will prevent you from playing Valorant on Windows 11. Fortunately, TPM 2.0 bugs are fixable. In this article, Ngolongtech will describe the solution to the TPM 2.0 problem in Valorant.
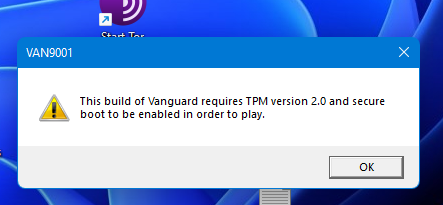
Table of Contents
What is TPM 2.0 Valorant error?
Riot Games has always been committed to fighting cheating. Now they have added TPM 2.0 and Secure Boot to their list of minimum requirements to upgrade their game. These two components add an extra layer of security, making it harder for players to cheat in the game. That’s why Valorant has been having problems with TPM 2.0 recently.
How to fix Valorant Win 11 error
Method 1: Enable TPM 2.0 and Secure Boot
While the minimum requirements for Windows 11 include TPM 2.0 and Secure Boot, they are not necessarily enabled after installation, so even if the components are already installed, make sure they are has been enabled before.
- Open the Start menu and click Settings under Pinned Apps.
- Select the System tab in the left column of the Settings window.
- On the left side of the window, scroll down and click Restore.
- Click the Restart Now button at the far right of Advanced Startup in the Recovery Options section.
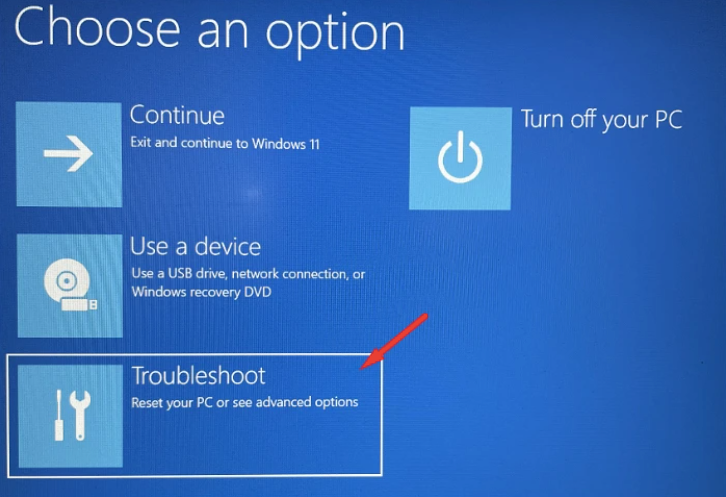
After the PC restarts, locate and click the Troubleshooting box.
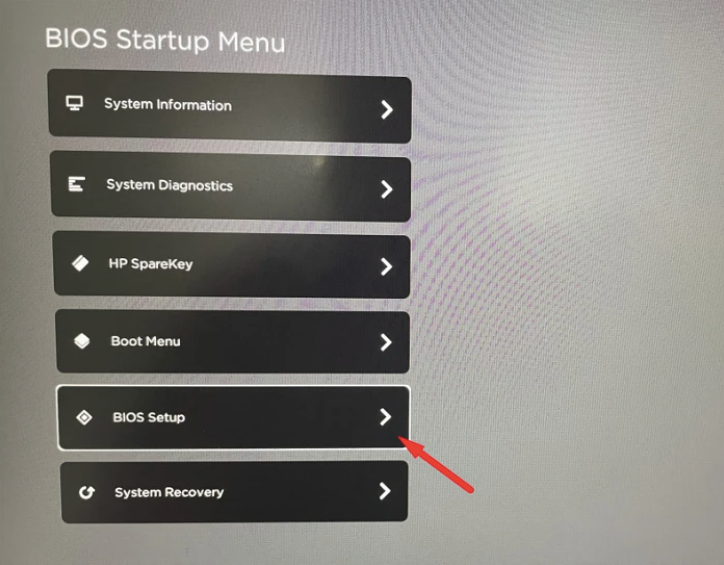
Use the arrow keys to focus on the options listed on the screen and highlight the Enter BIOS Setup option. Then, press Enter on the keyboard to load the BIOS settings on the device.
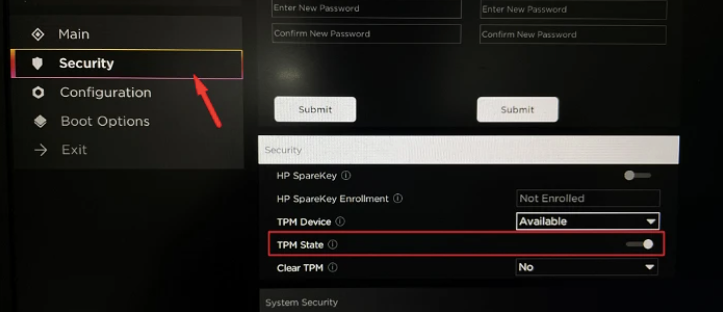
Once in the BIOS setup screen, click Security on the left side of the screen. Enable TPM / Trusted Platform Module option on the right side of the screen. If there is a drop-down menu, select the Enable option.
On the left side of the screen, click Startup Options. In the right section, enable the Secure Boot option. If there is a drop-down menu, click the menu and select the Enable option from it.
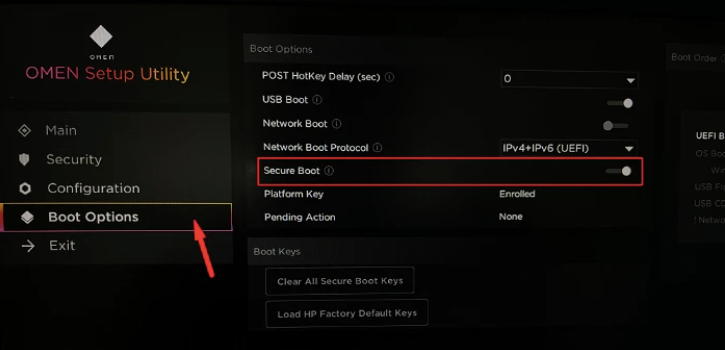
Press the F10 key on your keyboard or click the “Save Changes and Exit” button on the screen. The computer will restart.
After the computer restarts, relaunch the Valorant game to check if the TPM 2.0 error persists.
Method 2: Turn off Discord’s auto-launch
Try disabling the Discord app’s autostart on Windows startup to see if that resolves the TM2.0 issue.
Open the start menu and search for and open Discord.
In the Discord window, click User Settings in the lower right corner of the left sidebar.

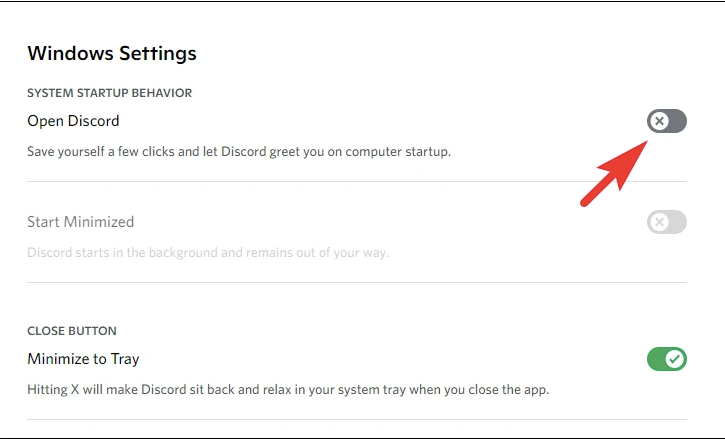
Scroll down to the left sidebar and click Windows Settings.

On the right side of the window, turn off Open Discord.
As a precaution, also disable its access from task manager.
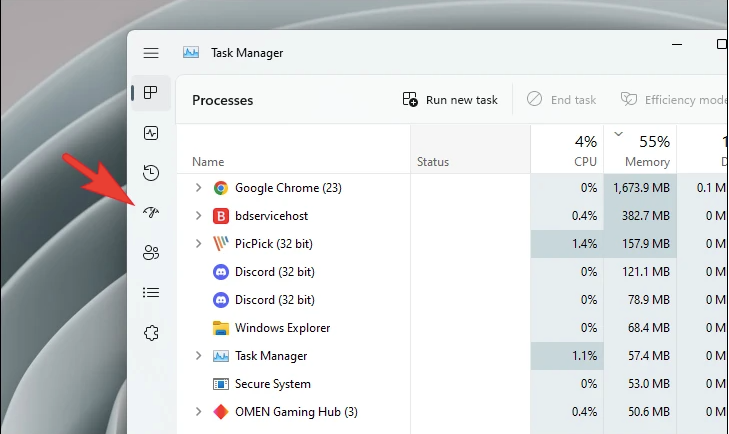
Open start menu, search for and open task manager.
In the Task Manager window, click Start Applications.
In the Launch Applications window, click the Discord list. Click the Disable button in the upper-right corner of the window.
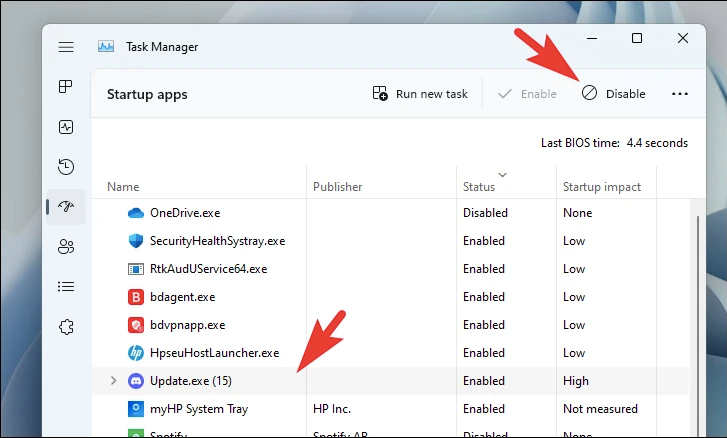
Once disabled, run the game and check if the problem is resolved.
Method 3: Quit the Windows Insider Program
If neither of the first two methods work, you can try leaving the Windows Insider Program.
Note: Quitting the Windows Insider Program will not move you immediately to the stable build. Therefore, until you use the stable public release, you may not be able to play the game even with this fix applied.
Open the start menu, search in the menu and open Settings.
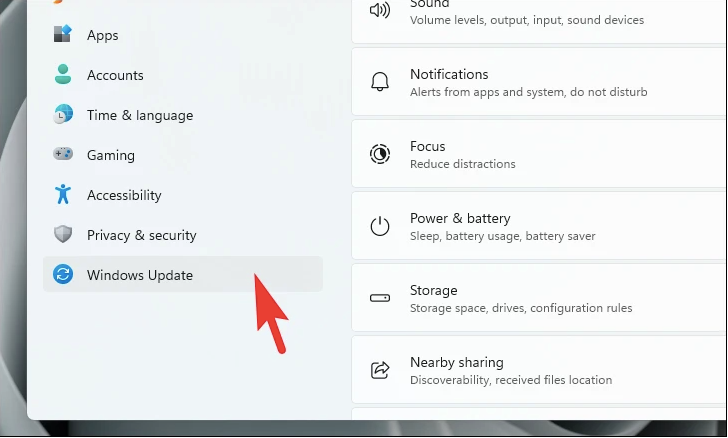
In the Settings window, find and click Windows Update on the left sidebar.
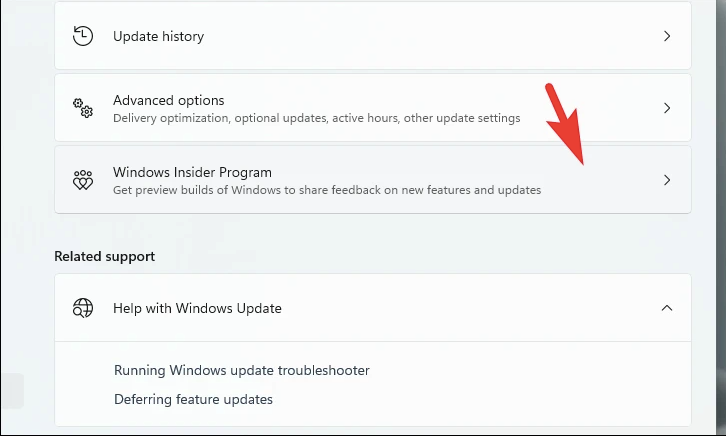
Scroll down on the right side of the window and click Windows Insider Program under More options.
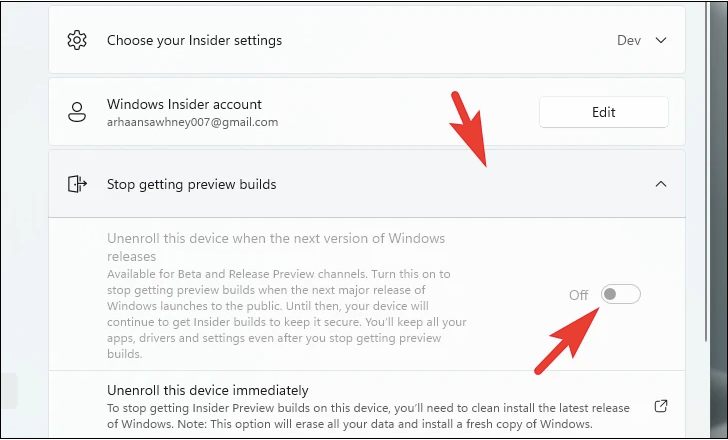
Click the toggle after the option to enable Unenroll this device when the next version of Windows releases.
If you are on the Windows Insider Program Development Channel, you need to reinstall or reset Windows 11. If you have never reinstalled Windows, you can create a bootable USB to install Windows or install set directly from the Settings app.


