How to take picture of night sky with phone. The article includes a summary of night photography genres, mainly exposure and astronomy, along with some suggestions on effective shooting techniques for each case.
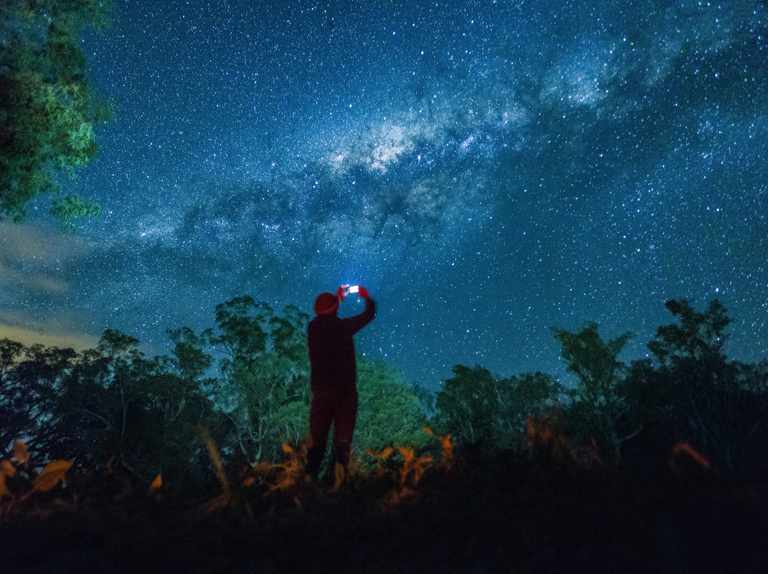
Table of Contents
How to take picture of night sky with phone
The night sky always has a mysterious and poetic beauty indescribable. However, shooting at night is much more difficult than shooting during the day, and capturing the night sky is even more difficult. There is also no fixed rule for this genre because the weather is different every day. However, if you want to pursue this type, there are two points you must pay attention to. The first is to have a tripod with a cord or remote ready, and the second is to be very patient because the exposure time of a photo can last up to several hours.
Shooting Star Trails
Since the Earth always moves in an orbit around the Sun, it also revolves around itself with an axis that is the line connecting the two earth poles. So, standing on the ground looking up at the sky, we have the feeling that the stars seem to be revolving around the earth slowly. In fact, every 5 to 10 minutes, we can easily feel this change, and if you use a camera to capture movement, it is even more pronounced. The result will be an image with light trails with circular orbits in the night sky.
To shoot Star Trails genre photos, you must first prepare a tripod, place it on the tripod and carefully align the frame so that the frame does not tilt. Then focus at infinity, and set the shooting setting to M (Manual) or Bulb. You will use a soft press cord to perform the shooting operation. Exposure time will range from a few minutes to a few hours, depending on the needs of the photographer. Most cameras limit the exposure time to 30s, to be able to expose as long as above, remember to use Bulb mode. You can also take multiple photos with 30s exposure time, then download Star Trails software and it will automatically stitch together. To shoot this genre, you need to master some knowledge of astronomy, composition, shooting techniques, and not least, ensure battery life.
Choose a location
The best places to take pictures of the night sky, and astrophotography are often in the countryside, or in the hills. The city is not suitable for this category at all because there are many artificial lights of the streets, and buildings, in addition to polluted air also makes the sky much more blind. The best weather for shooting Star Trails are nights with a really black sky, the darker the better. On moonlit nights, you should not shoot, because too long exposure time up to tens of minutes will make the Moon light become very strong, at this time the photo is very easy to be damaged because of overexposure. In fact, with just 10 minutes of exposure to the light of the Moon, you have a picture as bright as daylight. To make it easier to remember, the best time to do the exposure is when the moon is just up or about to set, when the light from the stars will be much more prominent.
Use a long exposure time
When photographing the night sky with a long enough exposure time, usually 15 minutes or more, the movement of the Earth is clearly visible. The equipment that needs to be prepared is a really sturdy tripod, soft cord, or remote. Focus at infinity, and set to B (Bulb) mode, the aperture to f/4 for the best optics, then hold the shutter button on the soft cord. You should set ISO at 100 to limit the appearance of grit, because the exposure time is very long, up to more than 15s. To end shooting, after an exposure time that you feel is long enough, press the button on the soft cord or remote again to close the shutter.
Capturing aurora light
Aurora is an amazing natural phenomenon, and of course, to be able to capture these wonderful moments is an extremely difficult thing that not all skilled photographers can do. The difficulty here is due to the movement, and the constant change in the intensity of the light. These electromagnetic particles from the sun move very quickly, sometimes hiding and appearing, making recording quite difficult. However, if you follow the instructions below, you will find that shooting this genre is not too difficult.
First, firmly attach your camera to the tripod, find a stable tripod position because the exposure time is quite long. Set ISO between 100 and 400, exposure time ranges from 30s or more, depending on the brightness of the aurora. Before that, take a few test shots to adjust the metering system and WB correctly, because the metering mode is designed for day shooting, so there may be a slight difference in this condition. Wide-angle and fast focusing lenses are recommended for use in the aurora photography genre.
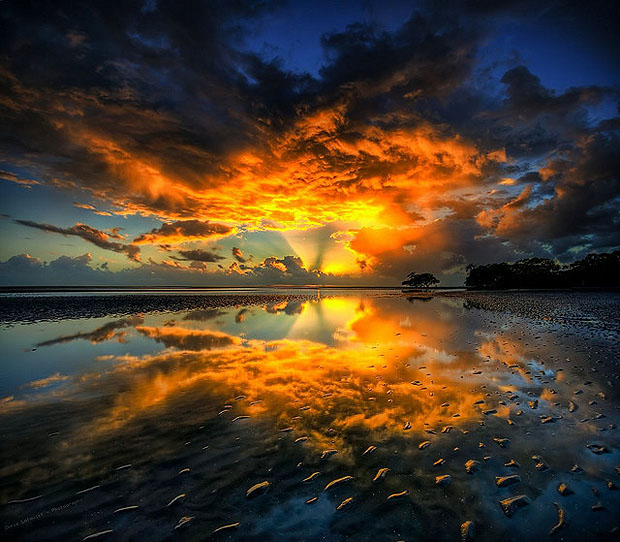
Capture the cloudy sky
As night falls, the sunlight gradually recedes behind the clouds. This is the best time to point the camera up to the sky to take pictures. The floating clouds, plus the beautiful light effect caused by the scattering phenomenon, will definitely make for great photos. Although the light is not strong enough at this time, it is also a bit dark, but you should still use an 80A blue filter to increase the blueness of the sky, and limit the yellow color of artificial light (street lights). Use a wide-angle lens to cover a large scene. Before we start, take a few test shots to analyze how the metering mode, WB, and other specifications should be adjusted.
Recommended settings
Metering at night is always an obstacle for many people, and it is also difficult to come up with a fixed formula for all cases. If you are in an environment with both bright and dark patches, you should set the spot metering mode to be most accurate. If it is almost completely dark, it is more appropriate to use the metering setting of Center Weighted or Evaluative. Recommended shooting modes are Manual and Bulb, also don’t turn on flash as it won’t help in this genre.