How to organize layers in Photoshop. Layer groups can help you organize a document in Adobe Photoshop so it’s easier to find text and other design elements as you create. Layer groups also make it easier to work with several layers at once. In this article, Ngolongtech will show you How to organize layers in Photoshop.

Table of Contents
What is layer merge? How to merge layers in Photoshop
Merge Layer is the operation of merging 2 or more overlapping layers into a single layer.
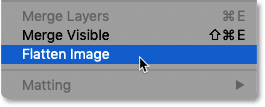
What is image flattening? How to flatten in Photoshop
Why shouldn’t images be flattened in Photoshop?

Problem with image flattening
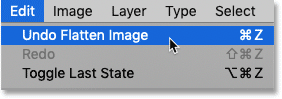
How to merge layers in photoshop on Mac without flattening
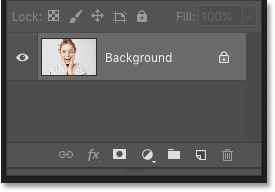
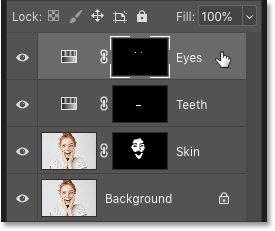
Step 1: Select the top layer in the Layers panel
Step 2: Merge the entire layer into a new layer (do not lose the old layer)
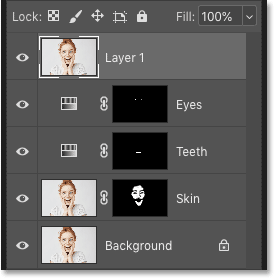
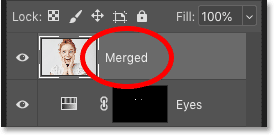
Step 3: Rename the new layer “Merged”
Change the order of layers and layer groups
To change the order of layers and layer groups, do any of the following:
-
Drag the layer or group up or down in the Layers panel. Release the mouse button when you see a highlighted line at the position where you want to place the selected layer or group.
-
To move a layer into a group, drag a layer to the group folder
 . If the group is closed, the layer is placed at the bottom of the group.
 -
Select a layer or group, choose Layer > Arrange, and choose a command from the submenu. If your selected item is in a group, the command applies to the stacking order within the group. If the selected item is not in a group, the command applies to the stacking order within the Layers panel.
-
To reverse the order of selected layers, choose Layer > Arrange > Reverse. These options appear dimmed if you do not have at least two layers selected.
By definition, the background layer is always at the bottom of the stacking order. Therefore, the Send To Back command places the selected item directly above the background layer.
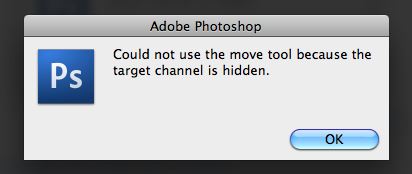
Move the content of layers
-
In the Layers panel, click to select the layers containing the objects you want to move.
-
Select the Move tool
 .
.You can select the layers that you want to move directly in the document window. In the Move tool’s options bar, select Auto Select and then choose Layer from the menu options that show up. Shift-click to select multiple layers. Select Auto Select, then choose Group to select the entire group when you select one layer in the group.
-
Do one of the following:
-
In the document window, drag any object onto one of the selected layers. (All objects on the layer will move together.)
-
Press an arrow key on the keyboard to nudge the objects by 1 pixel.
-
Hold down Shift and press an arrow key on the keyboard to nudge the objects by 10 pixels.
-
Rotate a layer
-
From the Layers panel, select the layer you want to rotate.
-
If anything is currently selected in the image, choose Select > Deselect.
-
Choose Edit > Transform > Rotate. A box defining the boundaries of the layer (called a bounding box) appears.
-
Move the pointer outside of the bounding box (the pointer becomes a curved, two-sided arrow), and then drag. Press Shift to constrain the rotation to 15° increments.
-
When you’re satisfied with the results, press Enter (Windows) or Return (Mac OS), or click the check mark in the options bar. To cancel the rotation, press Esc, or click the Cancel Transform icon on the options bar.
Lock a layer
You can lock layers fully or partially to protect their contents. For example, you may want to lock a layer fully when you finish with it. You can lock a layer partially if it has the correct transparency and styles but you are still deciding on positioning. When a layer is locked, a lock icon 
Lock all properties of a layer or group
-
Select a layer or group.
-
Click the Lock All
 option in the Layers panel. Layers in a locked group display a grayed out lock icon .
Partially lock a layer
-
Select a layer.
-
Click one or more lock options in the Layers panel:
- Lock Transparent Pixels: Confines editing to the opaque portions of the layer. This option is equivalent to the Preserve Transparency option in earlier versions of Photoshop.
- Lock Image Pixels: Prevents modification of the layer’s pixels using the painting tools.
- Lock Position: Prevents the layer’s pixels from being moved.
For type and shape layers, Lock Transparency and Lock Image are selected by default and cannot be deselected.
Apply lock options to selected layers or a group
-
Select multiple layers or a group.
-
Choose Lock Layers or Lock All Layers In Group from the Layers menu or the Layers panel menu.
-
Select lock options, and click OK.