How to Fix error the program can’t start because mfc110u.dll is missing
It is safe to disable it for a few minutes but as soon as you’ve fixed the issue, re-enable.
mfc110u.dll – is part of Microsoft Visual Studio 2012
If you’ve recently uninstalled the software, reinstall it
Run Windows Update
Install all updates including visual basic

Table of Contents
Method 1: Run the Safety Scanner
http://www.microsoft.com/security/scanner/en-us/default.aspx
Note: Any data files that are infected may only be cleaned by deleting the file entirely, which means there is a potential for data loss.
Method 2: Start the system in cleanboot to check if the issue persists
Step 1: Follow these steps to start the computer in clean boot.
a)Press the ‘Windows + R’ key on the keyboard.
b)In the ‘Run’ windows type ’MSCONFIG’ and click ‘Ok’.
c)Click the ‘Boot’ tab and uncheck ‘Safe Boot’ option.
d)On the ‘General’ tab, click to select the option ‘Selective startup’, and then click
to clear the option Load startup items check box.
e)On the ‘Services’ tab, click to select the ‘Hide all Microsoft services’ check box,
and then click ‘Disable all’.
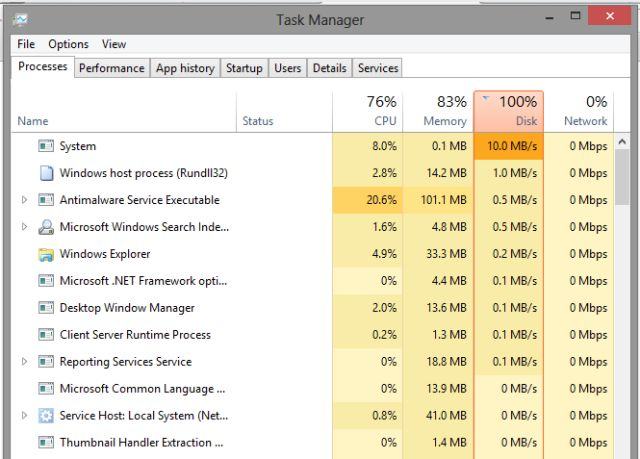
f)On the ‘Startup’ tab, click ‘Open Task Manager’. In the Task Manager window under
startup tab, right click on each startup item which are enabled and select ‘Disable’.
g)Click ‘OK’, and then click Restart.
Step 2: Enable half of the services
a)Follow ‘steps 1a ‘and ‘1b’ to start the System Configuration utility.
b)Click the ‘Services’ tab, and then click to select the ‘Hide all Microsoft services’
check box.
c)Click to select half of the check boxes in the Service list.
d)Click ‘OK’, and then click ‘Restart’.
Step 3: Determine whether the problem returns.
a)If the problem still occurs, repeat ‘step 1’ and ‘step 2’. In step 2, click to clear
half of the check boxes that you originally selected in the Service list.
b)If the problem does not occur, repeat ‘step 1’ and ‘step 2’. In ‘step 2’, select only
half of the remaining check boxes that are cleared in the Service list. Repeat these steps until
you have selected all the check boxes.
c)If only one service is selected in the Service list, and you still experience the problem,
the selected service causes the problem. Go to ‘step 6’. If no service causes this problem, go to
‘step 4’.
Step 4: Enable half of the Startup items.
If no startup item causes this problem, a Microsoft service most likely causes the problem. To
determine which Microsoft service may be causing the problem, repeat ‘step 1’ and ‘step 2’ without
selecting the ‘Hide all Microsoft services’ check box in either step.
Step 5: Determine whether the problem returns.
a)If the problem still occurs, repeat ‘step 1’ and ‘step 4’. In ‘step 4’, click to clear half
of the check boxes that you originally selected in the Startup Item list.
b)If the problem does not occur, repeat ‘step 1’ and ‘step 4’. In ‘step 4’, select only half
of the remaining check boxes that are cleared in the Startup Item list. Repeat these steps until you
have selected all the check boxes.
c)If only one startup item is selected in the Startup Item list, and you still experience the
problem, the startup item that is selected in the list is the service that is causing the problem. Go to ‘step 6’.
d)If no startup item causes this problem, a Microsoft service most likely causes the problem. To determine which Microsoft service may be causing the problem, repeat ‘step 1’ and ‘step 2’ without selecting the ‘Hide all Microsoft services’ check box in either step.
Step 6: Resolve the problem.
After you determine the startup item or the service that causes the problem, contact the program
manufacturer to determine whether the problem can be resolved. Or, run the System Configuration utility,
and then click to clear the check box for the problem item.
Note: After you have finished troubleshooting, follow these steps to boot to normal startup.
a)Press the ‘Windows + R’ key on the keyboard.
b)In the ‘Run’ windows type ’MSCONFIG’ and click ‘Ok’.
c)On the ‘General’ tab, click the ‘Normal Startup’ option, and then click ‘OK’.
d)When you are prompted to restart the computer, click ‘Restart’.
–Ajeshdsouza, Support Engineer–
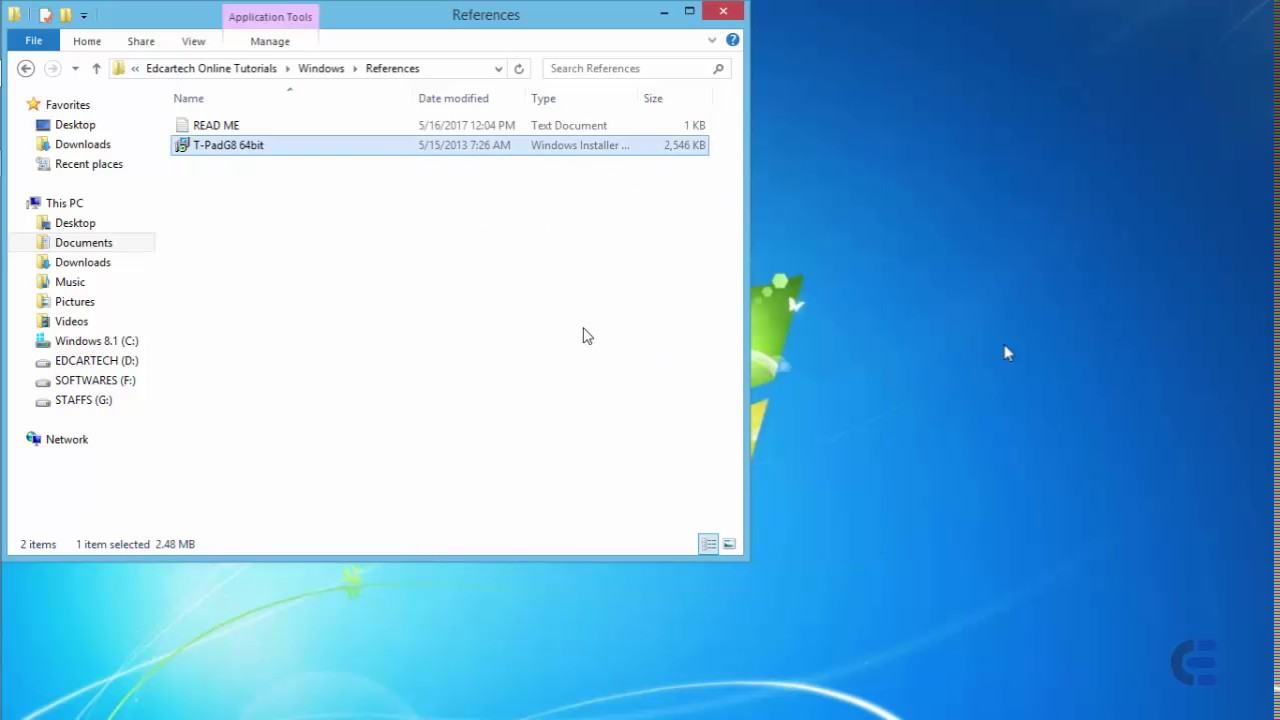
Method 3: Disconnect all the external devices except keyboard and mouse and try installing Windows
Method 4: Disable the security software temporarily. Special is Aviral
Note: Antivirus software can help protect your computer against viruses and other security threats. In most cases, you should not disable your antivirus software. If you do have to temporarily disable it to install other software, you should re-enable it as soon as you’re done. If you are connected to the Internet or a network during the time your antivirus software is disabled, your computer is vulnerable to attacks.