How to create Signature Photoshop. Almost all jobs and operations need to be done via electronic devices, and signatures are no exception. In this article, let’s take a look at 2 extremely simple and easy ways to create a signature in Photoshop! The article is done on a Dell Inspiron laptop running Windows 10 operating system and using the Adobe Photoshop CC 2018 version. You can perform the same operation on computers and laptops running Windows and macOS operating systems. other versions of Adobe Photoshop.
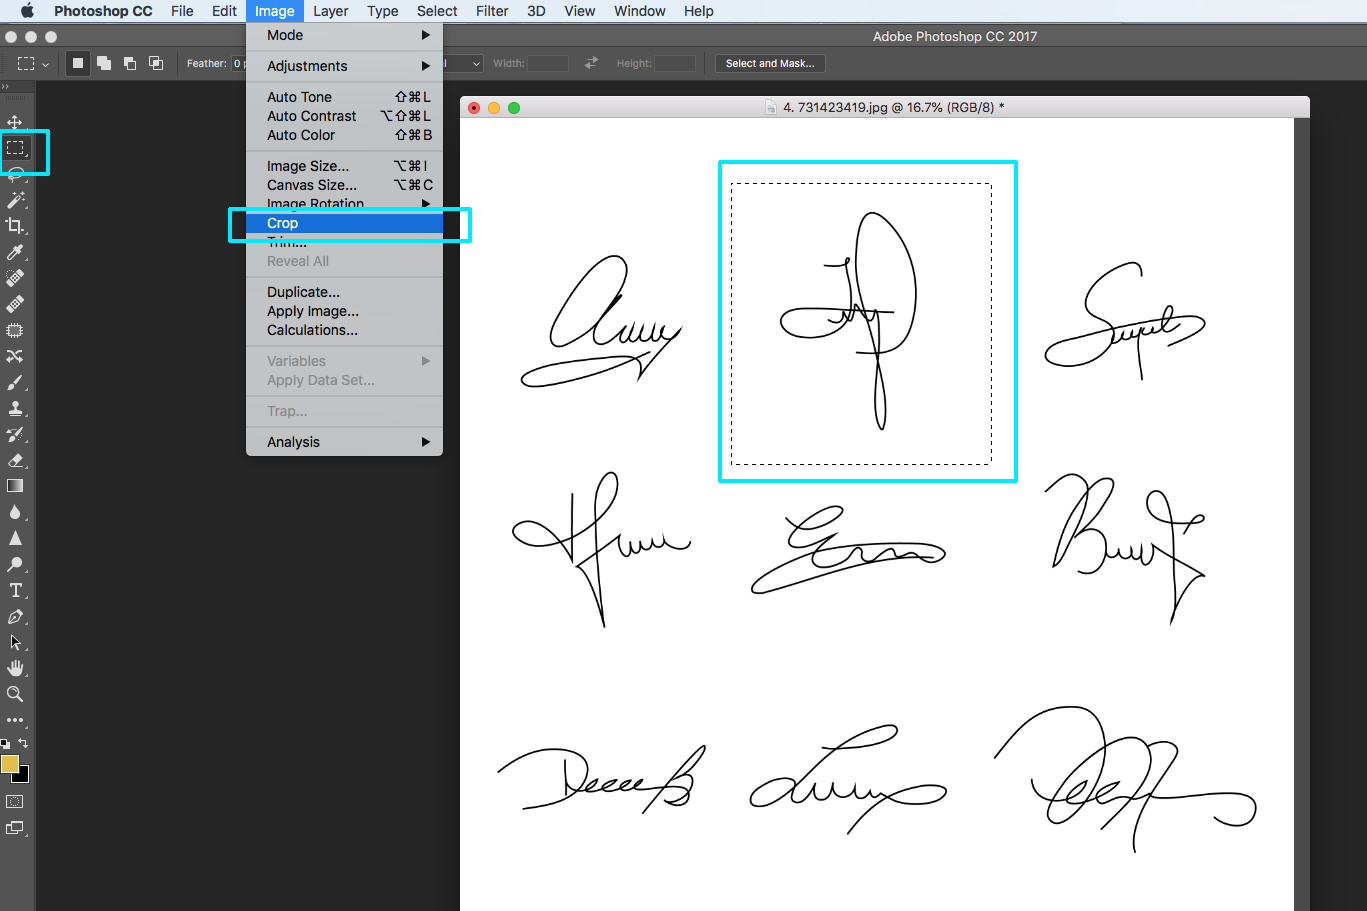
Table of Contents
I. How to create a signature with a font
1. Quick Guide
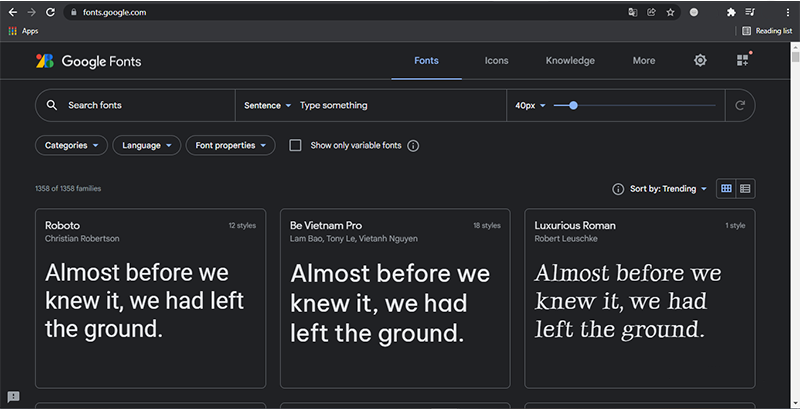
- Find font: Go to Google Fonts > Type “script” in the search bar > Choose the font you like > Download .
- Create a signature: Open Photoshop > Choose Create new > Customize the size , background color and other parameters of the canvas > Select Create > Select the Horizontal Type tool on the toolbar > Open the Character window > Select the downloaded font > Choose a color black for text > Enter signature.
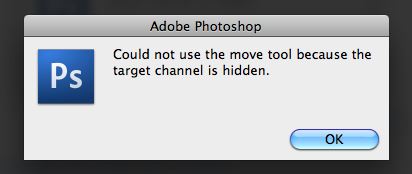
- Customize the signature: Customize the parameters of the signature in the Character window > Select the Brush tool on the toolbar > Press Ctrl + T to rotate the signature to the angle you want > Create a layer above the signature > Adjust the size, The opacity, flow, smoothing of the brush is similar to the stroke > Draw an underline for the signature > Click the eye icon of the background layer to hide it > Save the file as PNG .
2. Detailed instructions
Step 1: Visit the Google Fonts website.
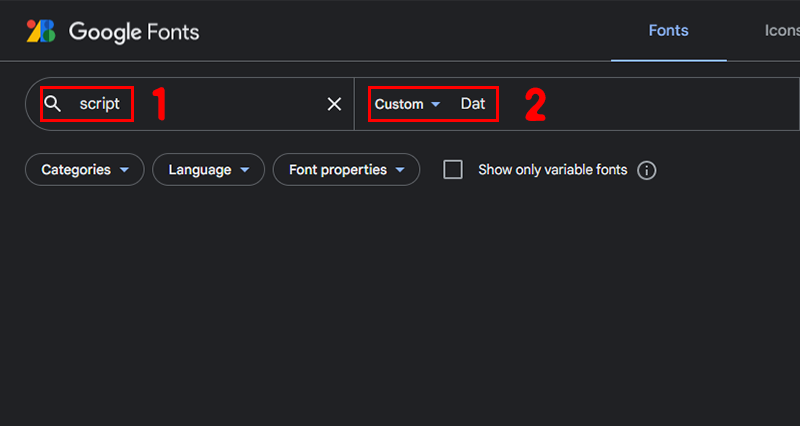
Step 2: Enter “script” in the search bar, you can enter “your name” in the box next to it to see an example > Choose the font you like and download.
Step 3: Open Photoshop > Select Create new.

Type “script” in the search bar, you can enter “your name” in the box next to it to see an example
Step 4: Customize the size, background color and other parameters of the canvas > Select Create.
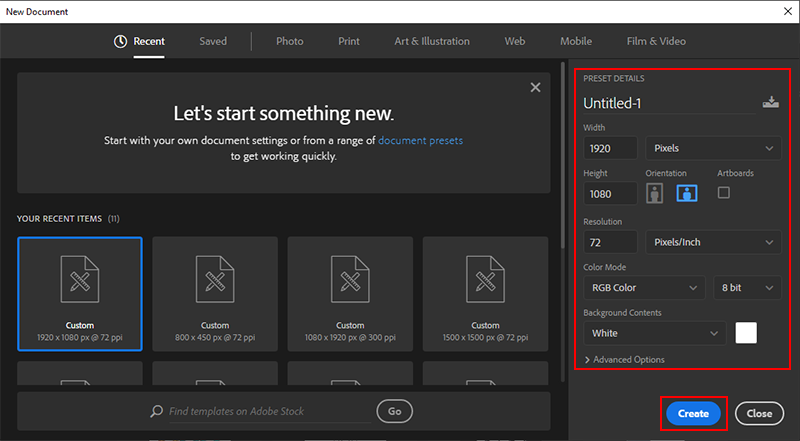
Customize the size, background color and other parameters of the canvas > Select Create
Step 5: Select the Horizontal Type tool on the toolbar (Shortcut: T ).
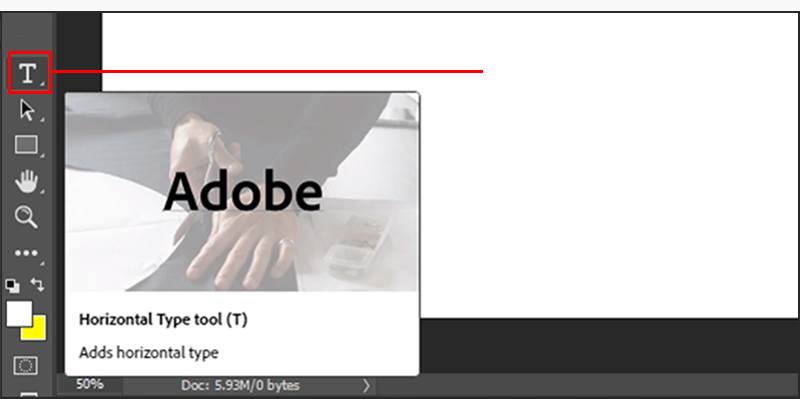
Select the Horizontal Type tool on the toolbar (Shortcut: T)
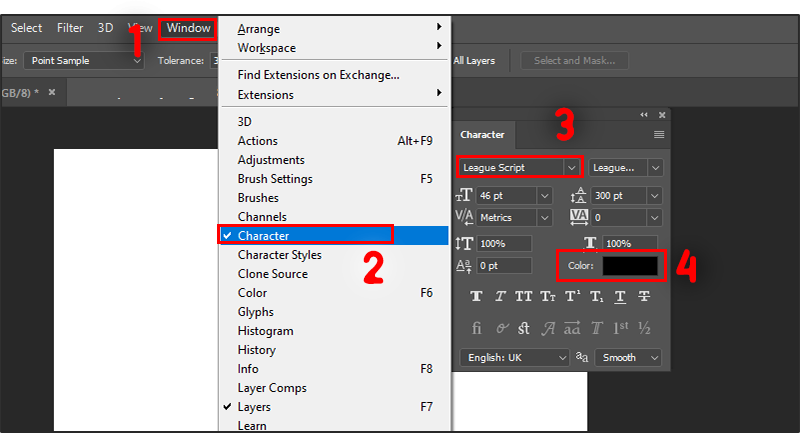
Step 6: Open the Character window > Select the font you just downloaded > Choose black for the text.
Step 7: Enter the signature > Customize the signature’s parameters in the Character window .
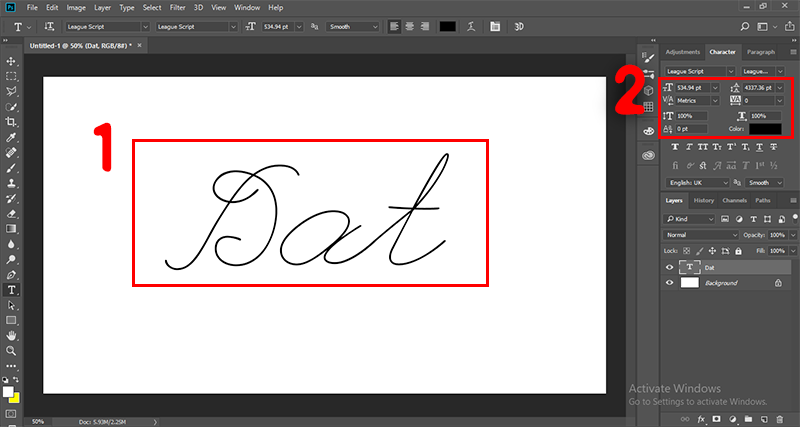
Enter a signature > Customize the parameters of the signature in the Character window
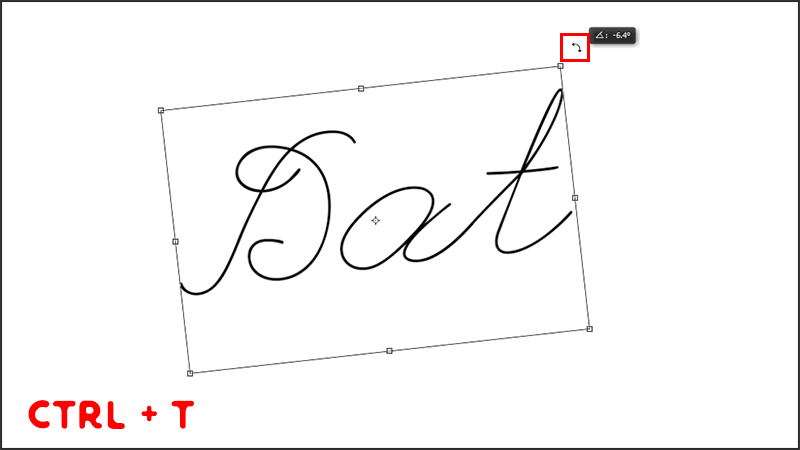
Step 8: Press Ctrl + T to rotate the signature to the angle you want.
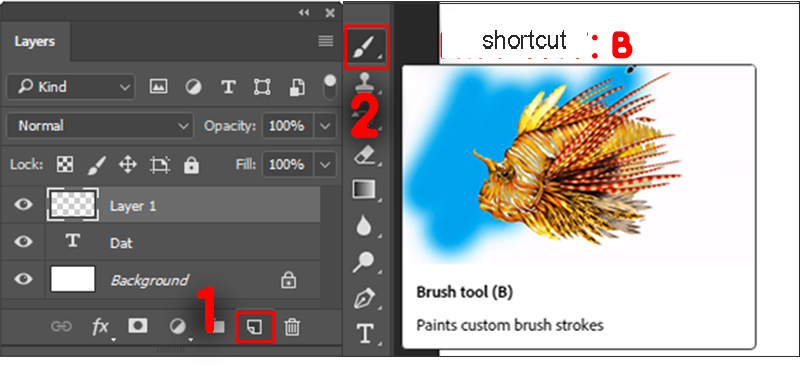
Step 9: Create a layer above the signature > Select the Brush tool on the toolbar (Shortcut: B ).
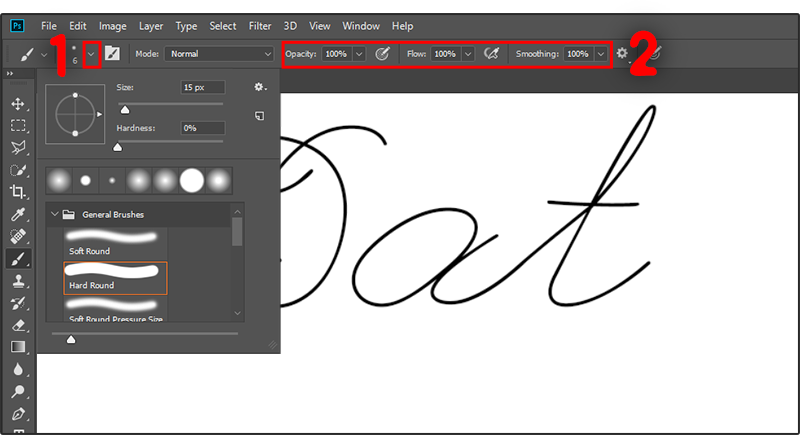
Step 10: Adjust the brush ‘s size, opacity, flow, and smoothing to match the stroke.
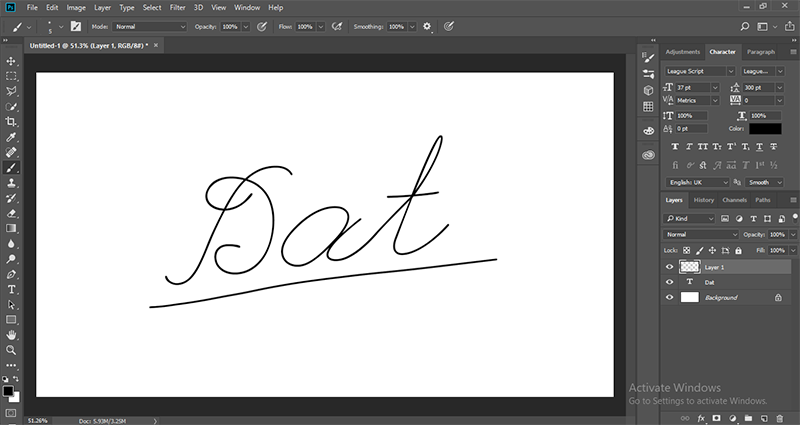
Step 11: Draw an underline for the signature.
Step 12: Click the eye icon of the background layer to hide > Save the file in PNG format > Done
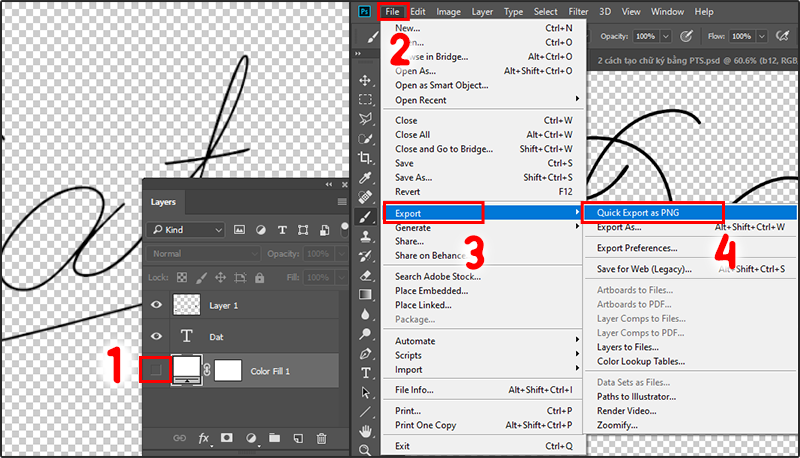
Click the eye icon of the background layer to hide it > Save the file as PNG > Done
II. How to create a signature with the Magic Wand Tool
1. Quick Guide
- Sign a blank sheet of paper > Take or scan again.
- Open Photoshop > Open the signature image file > Select Image > Select Auto contrast > Use the Zoom in tool to enlarge the signature > Select the Magic Wand tool > Click on the signature stroke > Select Select > Select Similar > Select Select > Select Select and Mask > Select OK > Select the Layer mask icon > Save the file in PNG format .
2. Detailed instructions
Step 1: Sign on a blank sheet of paper (paper without lines) > Take or scan again (as close and clear as possible).

Step 2: Open Photoshop > Open the signature image file.

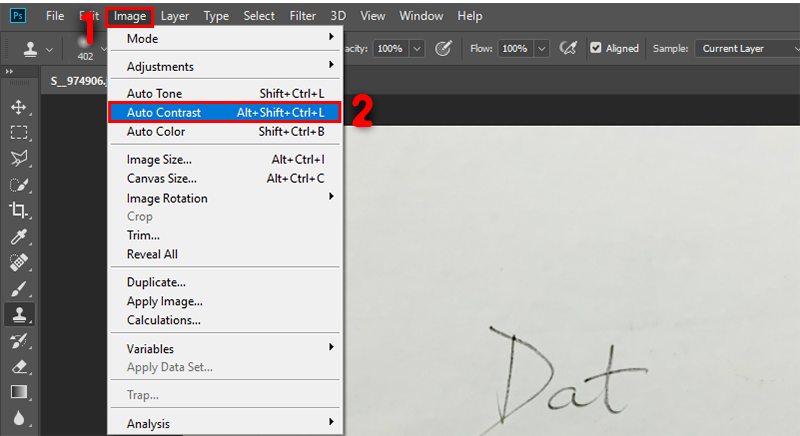
Step 3: Select Image > Select Auto contrast (to increase the clarity between the signature and the background).
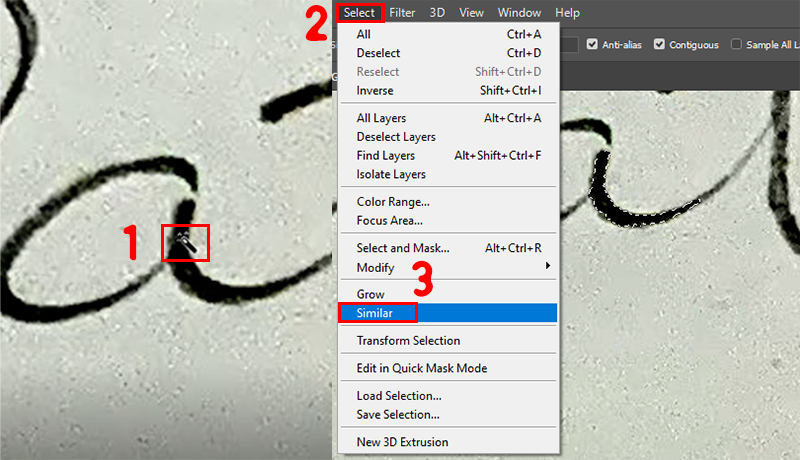
Step 4: Use the Zoom in tool to zoom in on the signature > Select Magic Wand tool .
Step 5: Click on the signature stroke > Select Select > Select Similar.
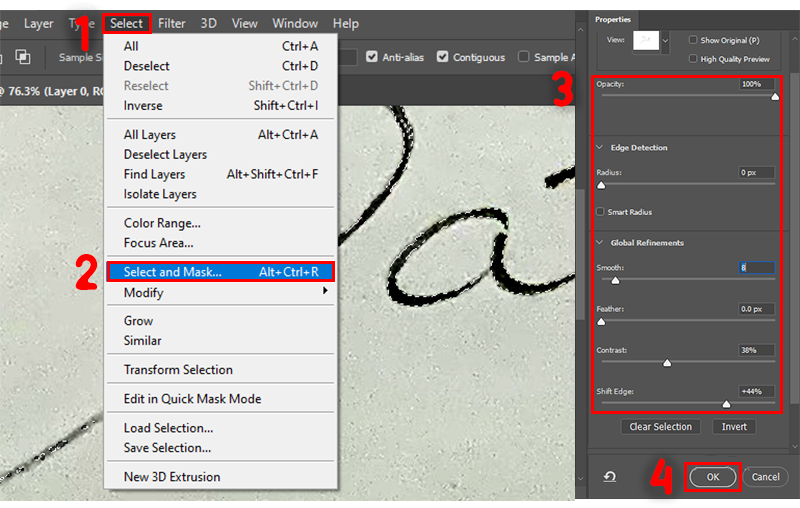
Step 6: Select Select > Select Select and Mask (to edit the selection, make sure all signature strokes are selected) > Select OK .
Step 7: Select the Layer mask icon (to separate the background of the signature).
Step 8: Save the file in PNG format > Done.

Above is an article detailing 2 ways to create a signature using Photoshop super simple and effective. Just follow the instructions above and you already own a “signature 4.0”, what are you waiting for, see this article right away!