Fix laptop not getting mouse sure success with 2 steps. Windows does not recognize the mouse is one of the errors that often appear on different computer lines. Although not very serious, this error often causes discomfort and inadequacies when users manipulate. So, how to fix Windows not receiving mouse? Let’s find out in this article.
Table of Contents
How to fix a computer that does not recognize USB
Convert mouse USB port
The USB port that does not recognize the mouse may be the cause of the computer mouse not working. In this case, you should change the USB port plug mouse to fix.
If the USB ports still do not recognize the mouse, use a cotton swab to clean the dirt on these ports. Prolonged use may lead to dirty USB ports that prevent them from receiving the mouse. Cleaning will help you fix the error in the simplest way.
Fix computer not receiving USB laptop port by checking Human Interface Device Service
One of the causes of Windows not receiving a mouse is a known error from the USB ports. In this case, you can use the Human Interface Device Service feature to check and fix errors. When this feature works, the computer error that does not recognize the mouse will be quickly fixed.
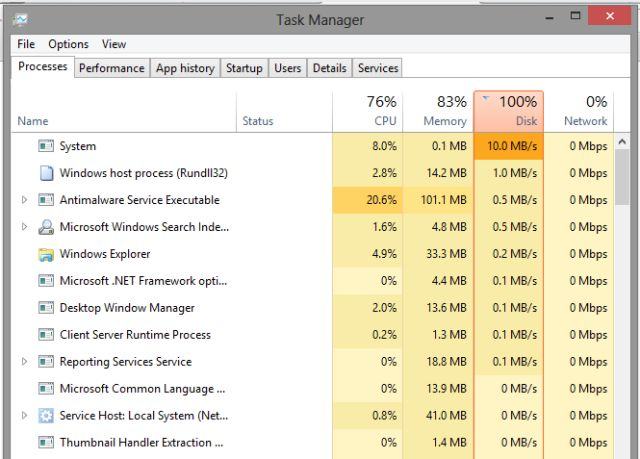
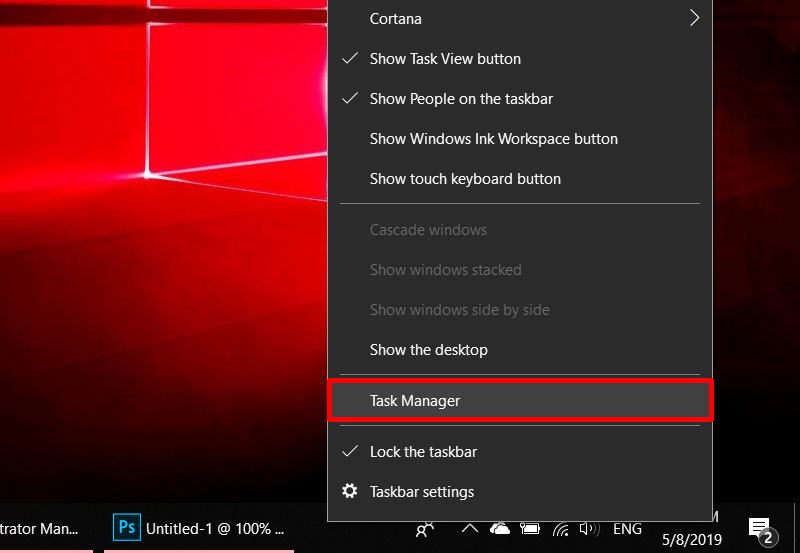
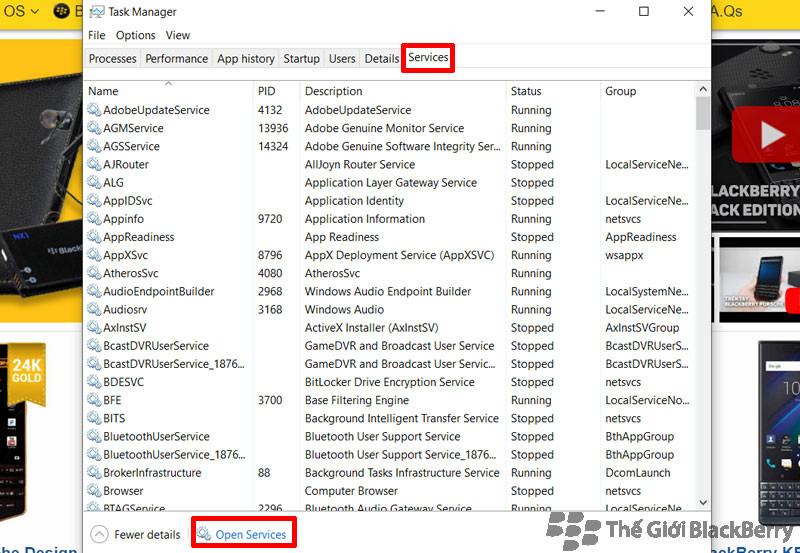
Step 1: Right-click the “Taskbar” bar located at the bottom of the screen. In the menu, select the “Task Manager” tab.
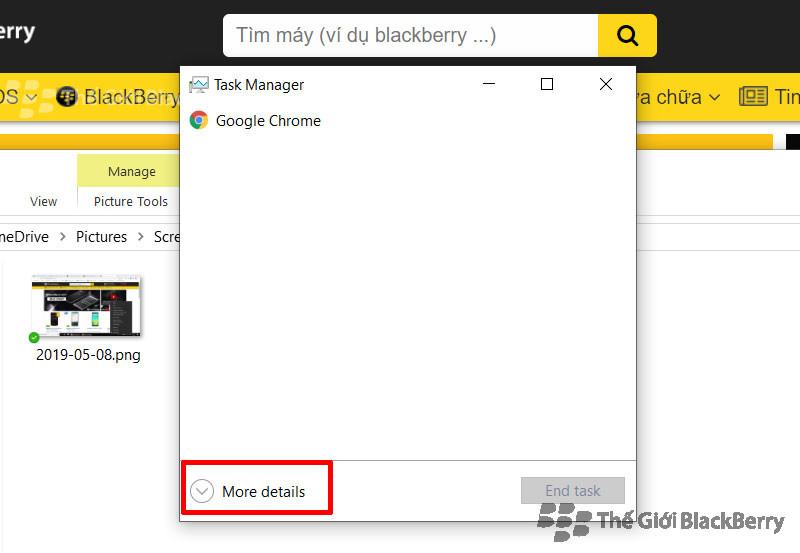
Step 2: In the new Task Manager window that appears, select the “Services” tab. In this part, click on the words “Open services text” at the bottom of the screen.
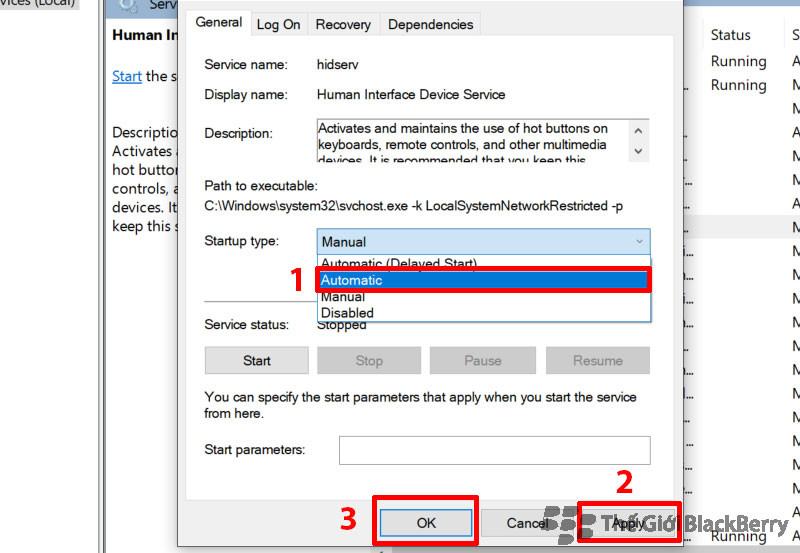
Step 3: Scroll down the screen and find the tab “Human Interface Device Service”. If the feature setting is “Automatic” then the software is running normally. If not, reset the Automatic status for this tab.
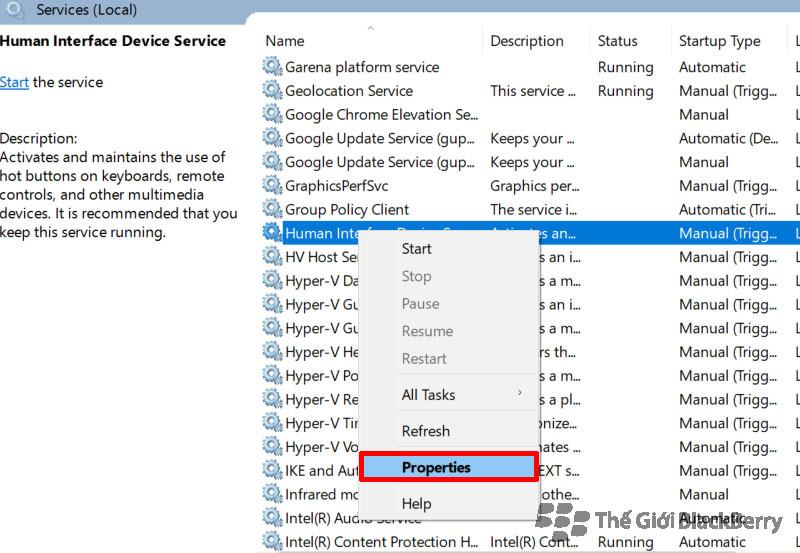
Step 4: Right-click on the “Human Interface Device Service” tab and select “Restart”.

Step 5: Check if the mouse on the computer is working normally or not. If you have used the “Human Interface Device Service” feature and the computer still has not received the mouse, try updating the Driver or checking the USB connection port.
Fix Windows not accepting USB mouse by starting Safe Mode
Starting Safe Mode is the best solution to fix Windows not receiving mouse. If you have tried other methods but failed, you should try turning on Safe Mode.
When Safe Mode is turned on, all applications, drivers, and computer features are disabled. Therefore, you can find the cause of the error of not receiving the mouse and have a timely solution.
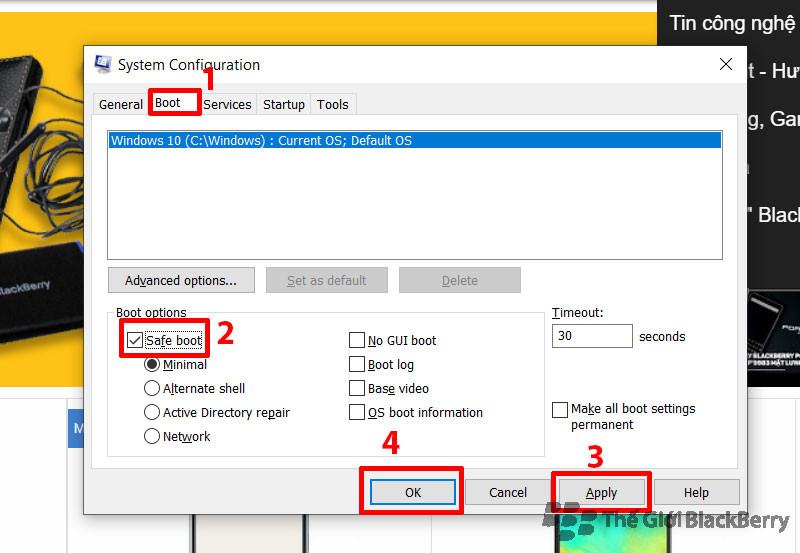
Step 1: Press the “Windows + R” key combination on the computer to open the Run dialog box and type in the search box “msconfig” and press Enter.

Step 3: A new window called “System Confoguration” will appear on the screen. In this window, select the “Boot” tab and press the “Safe Boot” button and click “OK” button.
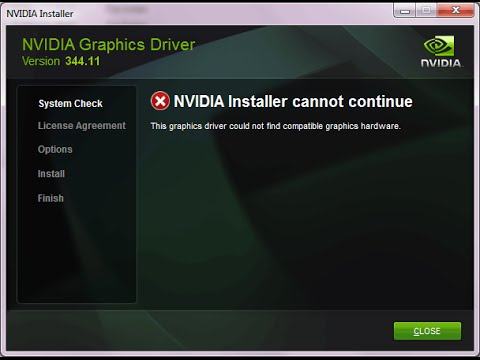
When Save Mode runs, all computer features will be stopped. Therefore, you can detect errors that do not recognize the mouse on the computer. If this error is caused by a mouse driver, uninstall the driver and restart it. Then, visit the Microsoft website to reinstall the new Driver.
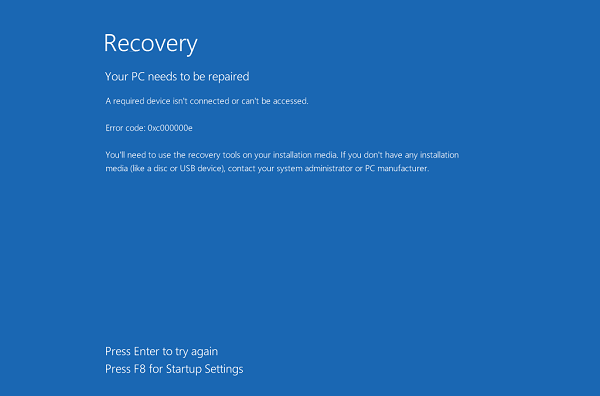
If the above method does not work, please create a Windows 10 installer on usb to reinstall Windows, which will surely fix the situation.
Turn on and turn off the Mouse Driver on laptop
Driver may be the cause of the mouse not accepting error. In this case, you should restart the Driver to check if the Driver is faulty or not. If you are lucky, this can help you reconnect to the computer mouse normally without encountering a freeze. This method is also applicable to wireless mice.
Step 1: Right-click the My Computer icon on the laptop. In the menu that appears, select “Manage”.
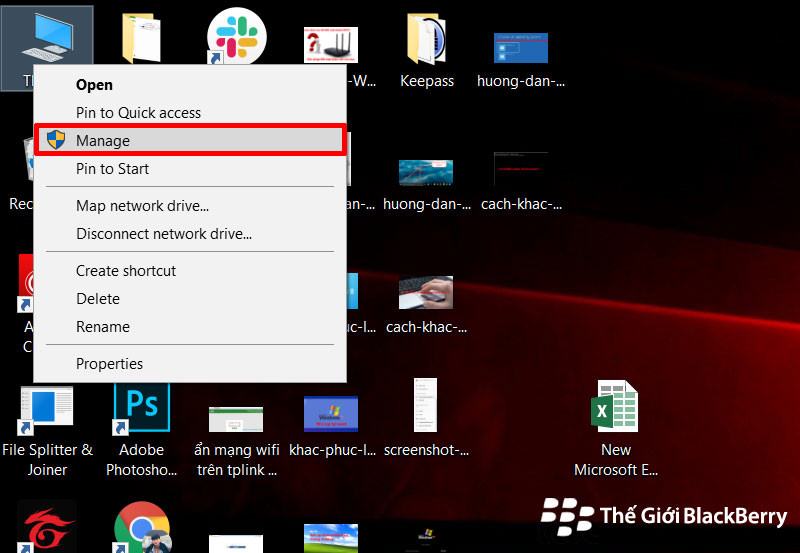
Right click and select “Manage”
Step 2: In the new window, select the “Device Manager” tab. select the tab “Mice and other pointing devices”. At the bottom select the words “HID Complaint mouse”. Right click here and select “Disable device”.
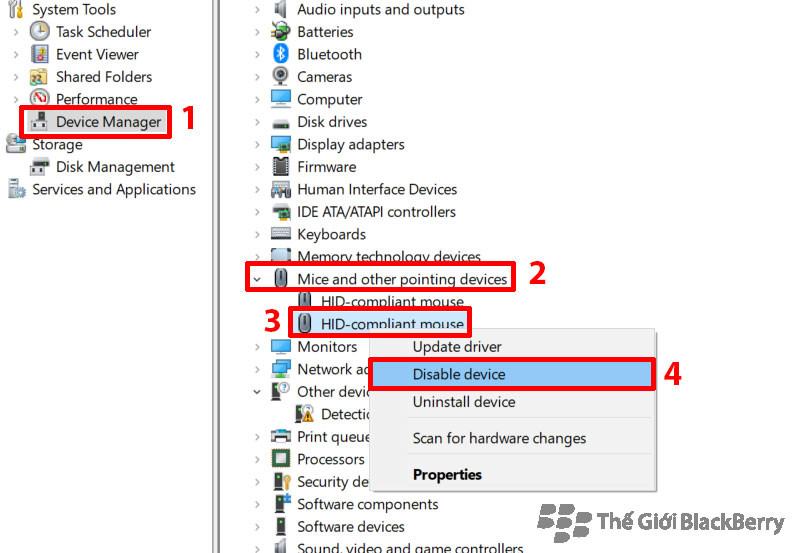
You choose “Disable device”
Step 4: At this time, the computer mouse will be turned off. Use your tablet on your laptop to right-click on the words “HD Complaint mouse” and select “Enable device” to reopen the mouse.
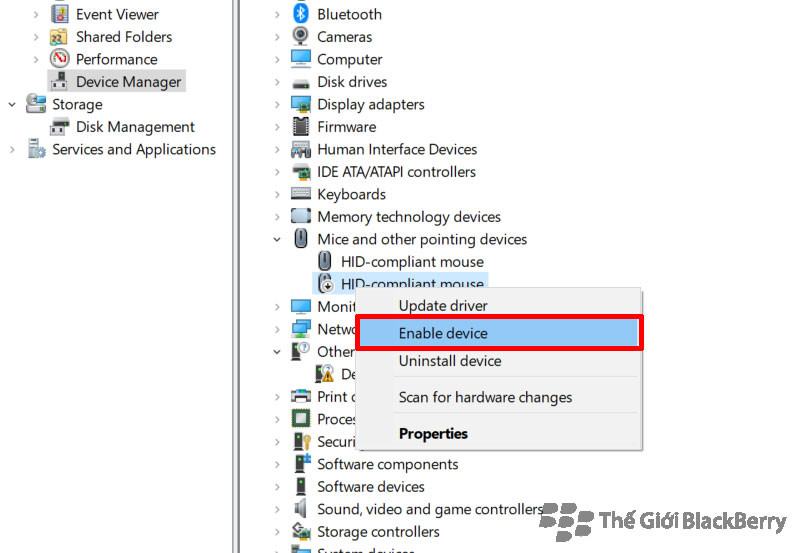
Select “Enable device” again
Above are the easiest ways to fix Windows not receiving mouse. Win 10 is an incomplete version, so in the update often occurs conflicts between applications so often encounter error status. To avoid conflicts between applications, you should turn off update Windows 10 during use, to avoid encountering the worst possible scenario.
If you’ve done all these steps and the computer mouse is still not working, then the most likely is that your mouse is broken. In this case, you should consider buying a new mouse!