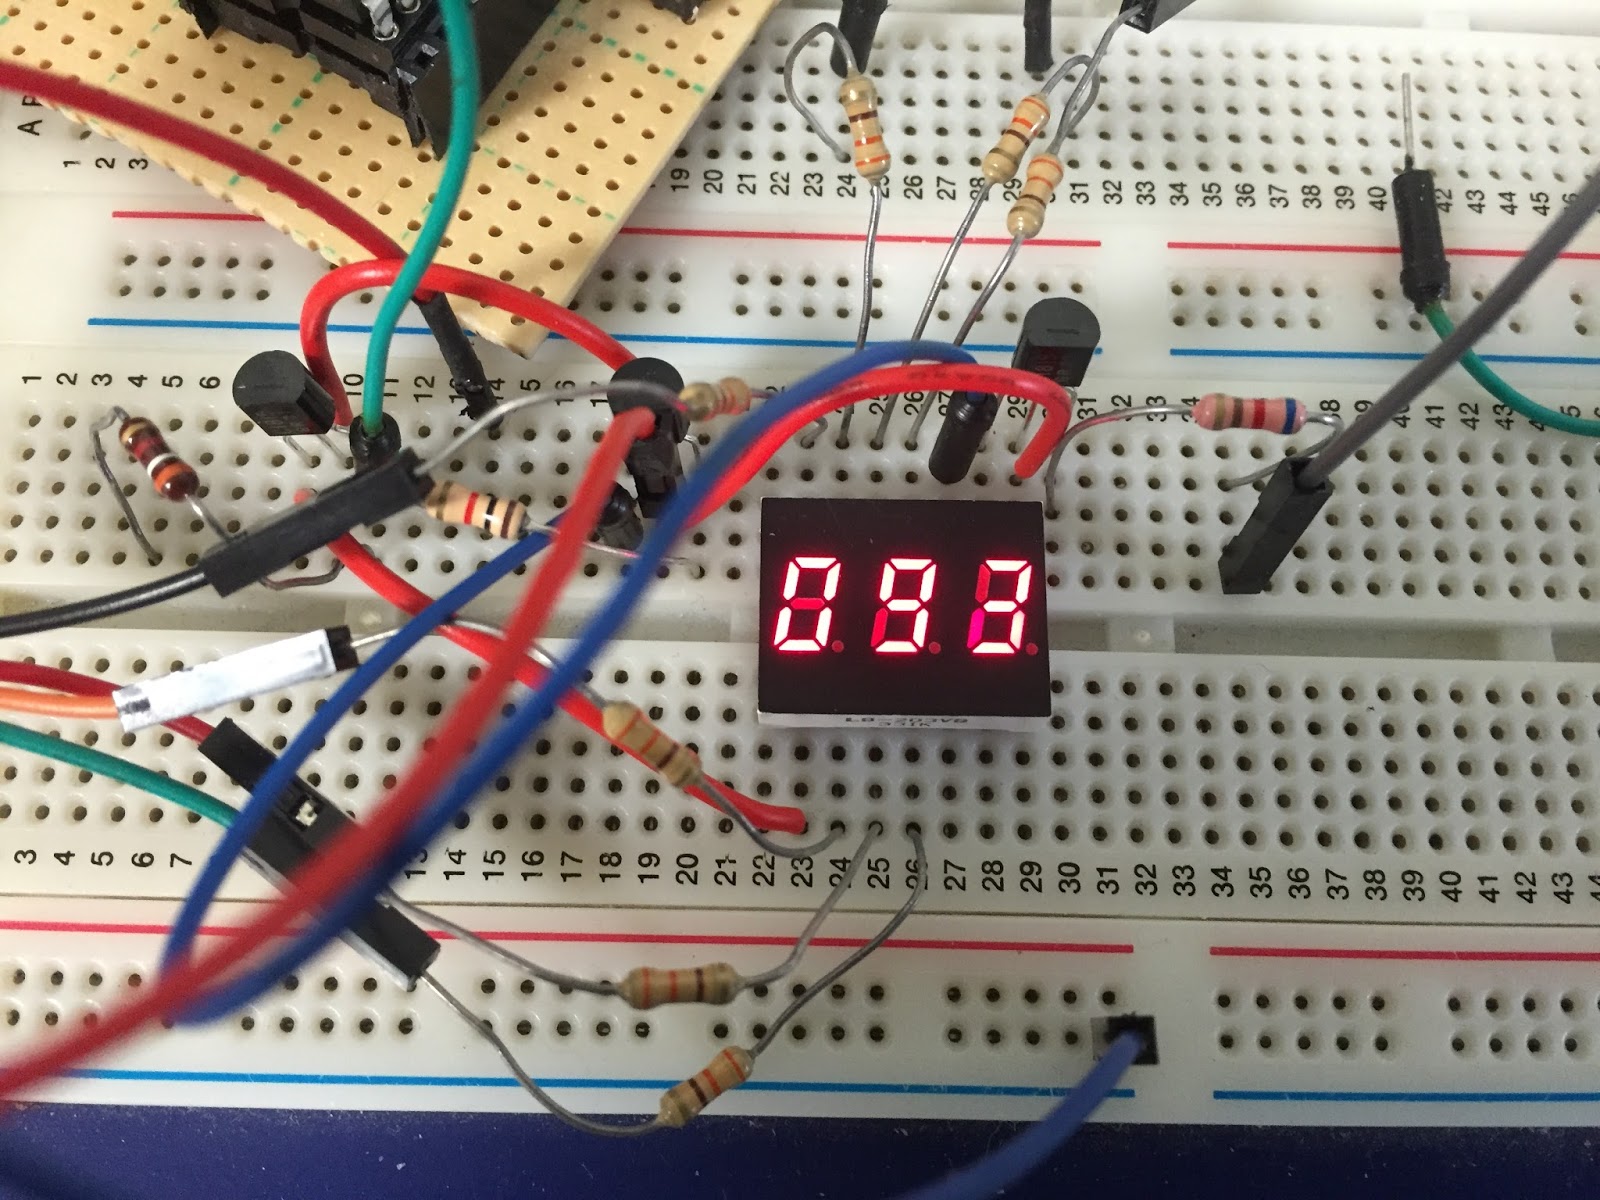
Raspberry pi IoT example (upload 6 dof imu sensor data to web). In my test , I use raspberry pi to get data of imu sensor and temperature sensor and public it to local web server . You also public it to internet by openning port of your router. I use ssh to remote control raspberry pi.
Table of Contents
Use:
Raspberry pi 3 model B

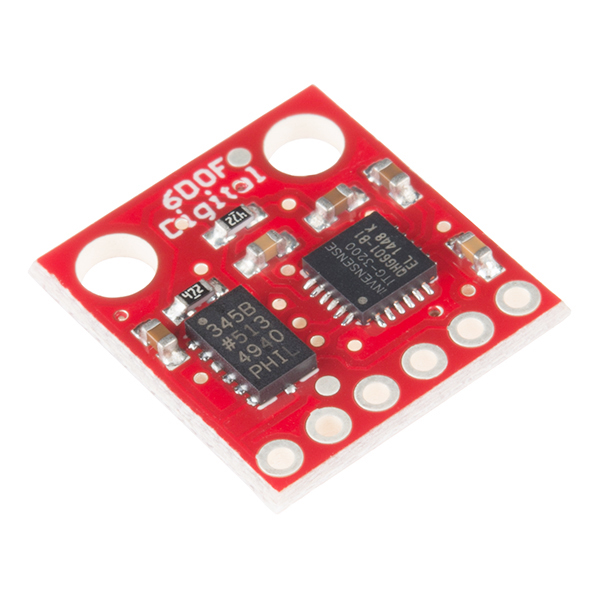
6dof sensor included temperature sensor. :
1. Access raspberry pi
sudo ssh pi@192.168.0.1
Input your password
2.mkdir python
cd python
mkdir templates
before edit code you may be install smbus , flask …package like
sudo apt-get install python-flask
sudo apt-get install python-smbus
..etc
3. vim test.py
code
——————————————————————————————————————–
import smbus # use I2C
import math # mathmatics
from flask import Flask ,render_template, request, jsonify
from time import sleep # time module
app = Flask(__name__)
#
# define
#
# slave address
GYRO_ADD = 0x68 # device address
ACC_ADD = 0x53 # device address
# register address
ACC_XOUT = 0x32
ACC_YOUT = 0x34
ACC_ZOUT = 0x36
TEMP_OUT = 0x41
GYRO_XOUT = 0x1D
GYRO_YOUT = 0x1F
GYRO_ZOUT = 0x21
TEMP_OUT = 0x1B
bus = smbus.SMBus(1)
def write_data(ADD,adr,val):
bus.write_byte_data(ADD,adr,val)
write_data(GYRO_ADD,0x16,0x1A)
write_data(GYRO_ADD,0x15,0x09)
write_data(ACC_ADD,0x2D,0x08)
# Sub function
#
# 1byte read
def read_byte(ADD,adr):
return bus.read_byte_data(ADD, adr)
# 2byte read high->low
def read_word_hl(ADD,adr):
high = bus.read_byte_data(ADD, adr)
low = bus.read_byte_data(ADD, adr+1)
val = (high << 8) + low
if (val >= 0x8000): # minus
return -((65535 – val) + 1)
else: # plus
return val
# 2byte read low->high
def read_word_lh(ADD,adr):
low = bus.read_byte_data(ADD, adr)
high = bus.read_byte_data(ADD, adr+1)
val = (high << 8) + low
if (val >= 0x8000): # minus
return -((65535 – val) + 1)
else: # plus
return val
# Main function
#
@app.route(“/”,methods=[‘GET’, ‘POST’])
def loop():
while 1:
gyro_x=float(read_word_hl(GYRO_ADD,GYRO_XOUT))/14.375
gyro_y=float(read_word_hl(GYRO_ADD,GYRO_YOUT))/14.375
gyro_z=float(read_word_hl(GYRO_ADD,GYRO_ZOUT))/14.375
acc_x=float(read_word_lh(ACC_ADD,ACC_XOUT))/255*9.8
acc_y=float(read_word_lh(ACC_ADD,ACC_YOUT))/255*9.8
acc_z=float(read_word_lh(ACC_ADD,ACC_ZOUT))/255*9.8
temp_=(float(read_word_hl(GYRO_ADD,TEMP_OUT))+13200)/280+35
data_gyro =’vx=%2.2f___ vy=%2.2f___vz=%2.2f’ %(gyro_x, gyro_y, gyro_z)
data_acc= ‘ax=%2.2f___ay=%2.2f___az=%2.2f’ %(acc_x, acc_y, acc_z)
data_temp= ‘%2.2f’ %temp_
return render_template(‘index.html’, gyro =data_gyro,acc=data_acc,temp=data_temp)
if __name__ == “__main__”:
app.run(host=”0.0.0.0″, port=1010,debug=True)
——————————————————————————————————–
save and create new file:
vim template/index.html
code
——————————————————————————————————–
<html>
<body>
<h1>Gyro: {{gyro}}</h1>
</br>
<h1>Acc : {{acc}}</h1>
</br>
<h1>Temperature : {{temp}} °C</h1>
</body>
</html>
———————————————————————————————————-
run
sudo python test.py
save it and open your browser as firefox.
Video Raspberry pi IoT example
In my case :
192.168.0.1:1010