
Microsoft Print to PDF driver download Windows 10 64 bit. Question: “When I first upgraded to the Windows 10, I enjoyed the new “Print to PDF” option under the list of printer options. However, for some strange reason, it stopped working a couple of weeks ago. I tried going back to previous “Builds”, systems restore before updates, etc., but nothing fix the issue. I notice that “Print to PDF” was listed as a device under the Devices: Printers & Scanners within settings, similar to actually my Kodak Printer. So I thought I could just remove the “Print to PDF” device/printer/driver and reinstall it, similar to reinstalling my Kodak printer or a Kodak printer diver. However, I have been unsuccessful in locating a download or driver on Microsoft/Windows website for the “Print to PDF”. Where can I find the Microsoft/Window 10 “Print to PDF” DOWNLOAD or DRIVER to download/install to get back my “Print to PDF” as a printer function/printer option?”
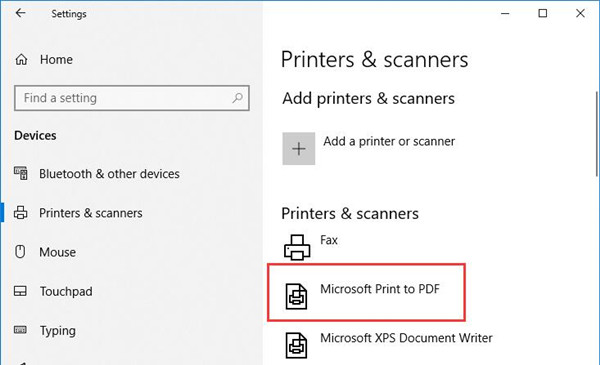
Table of Contents
Fix Microsoft Print to PDF driver download Windows 10 64 bit
Are you able to see “Microsoft Print to PDF” option under Device and Printers?
Are you getting this option when you print other documents or from Web browser?
Suggest you to check this issue by printing other Documents to see if ‘Microsoft Print to PDF’ option appears. Also try printing on web browsers to check if it lists the ‘Microsoft Print to PDF’ correctly. I understand that Microsoft Print to PDF option is selected under Windows Features. However let us try clearing and selecting the option to see if it makes any difference.
- Right-click on Start button and select Programs and Features.
- In the Programs and Features window, click Turn Windows features on or off
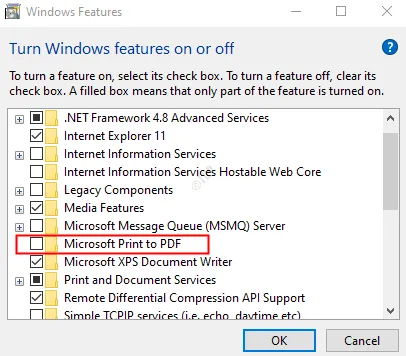
- Under Windows Features dialog, uncheck Microsoft Print to PDF and click OK.
- Reboot your PC once.
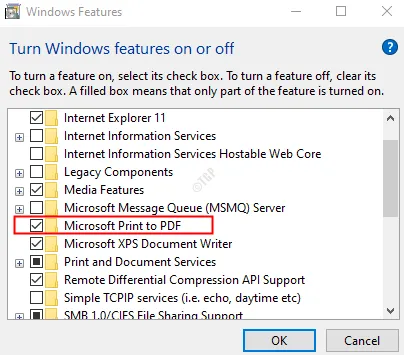
- Once you reach desktop screen, reopen the Windows Features dialog, and this time enable the Microsoft Print to PDF checkbox, and click OK.
Now see if Microsoft Print to PDF option shows correctly.
Fix 1: Disable and re-enable the Microsoft Print to PDF feature
Step 1: Search for Turn Windows Features On or Off in the search box.
Step 2: In the window that appears, untick Microsoft Print to PDF and click OK
Step 3: Restart the computer.
Step 4: Open Windows features by searching for it in windows search box.
Step 5: In Windows Features window, Now check Microsoft Print to PDF option back again and click OK
Now, try to see if Microsoft Print to PDF has started working. If not, try the next repair.
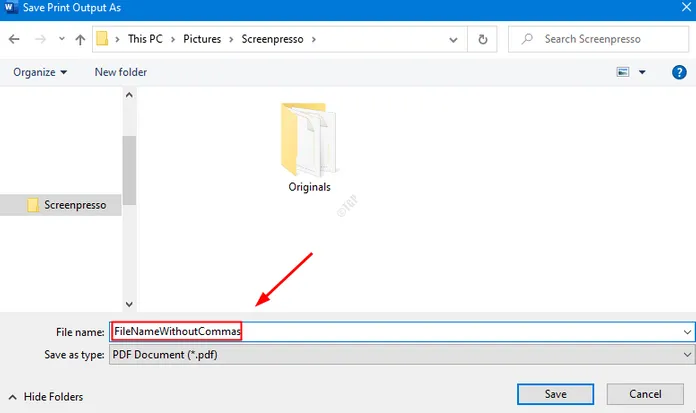
Fix 2: Don’t use commas/special characters in filenames when saving
While you are saving the file, make sure that there are no commas in the filename. Sometimes when comma or any other special symbol is used, a file of size 0 Bytes will be created in the save directory. Therefore, it seems that Microsoft Print to PDF is not working
Fix 3: Set Microsoft Print to PDF as default printer
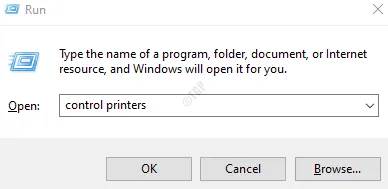
Step 1: Open the Run dialog box
Step 2: Write control printers and press Enter
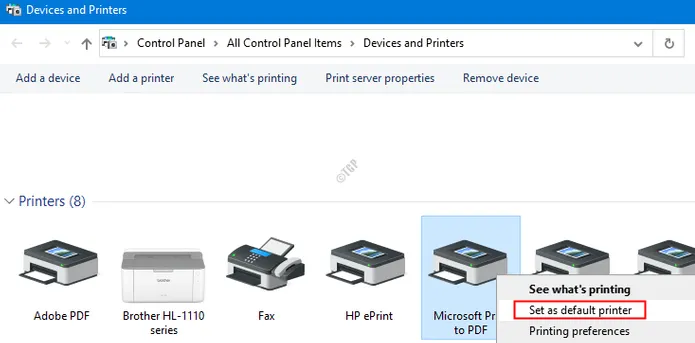
Step 3: In the Devices and Printers window that opens, Under Printers section , locate Microsoft Print to PDF
Step 4: Right-click on Microsoft Print to PDF and select Set as default printer
Step 5: Reboot your system and check if Microsoft Print to PDf feature starts working or not
Fix 4: Uninstall and reinstall Microsoft Print to PDF Drivers
Step 1: Open the Run dialog box ( Windows + R)
Step 2: Enter control printers and press OK
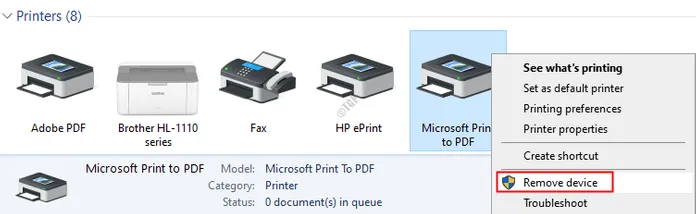
Step 3: In Devices and Printers that opens, Under Printers section, locate Microsoft Print to PDF
Step 4: Right-click on Microsoft Print to PDF and select Remove device
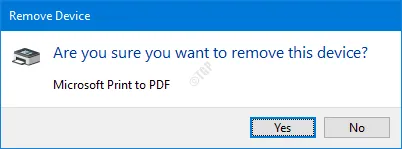
Step 5: You will see a confirmation dialog. Click Yes
Step 6: Complete the uninstall process
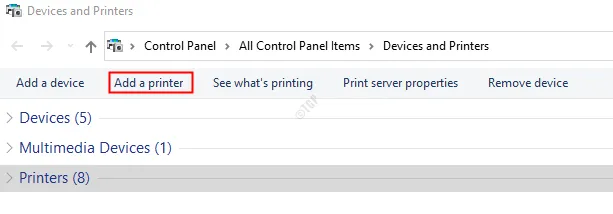
Step 7: In the Devices and Printers window, click Add a printer at the top
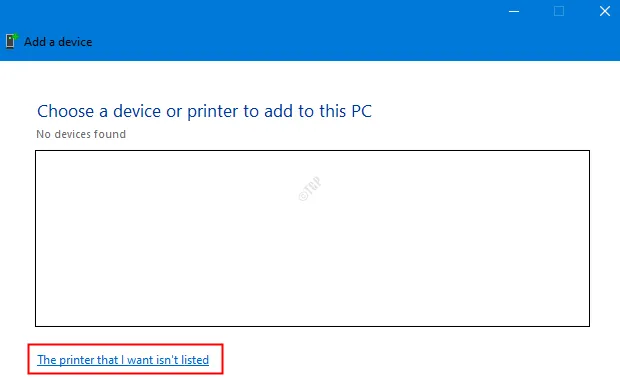
Step 8: In the wizard that opens, click The printer that I want isn’t listed as shown below
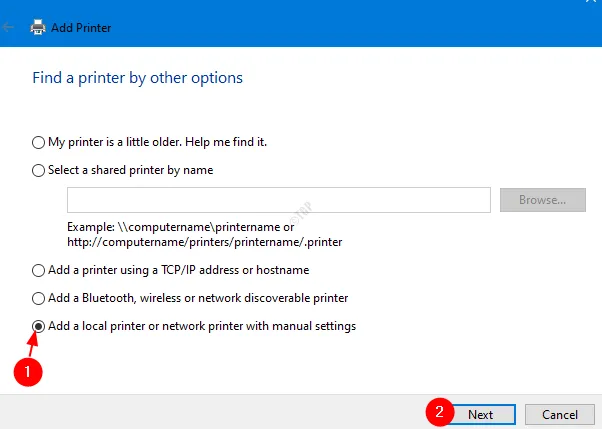
Step 9: Click Add a local printer or network printer with manual settings and click Next
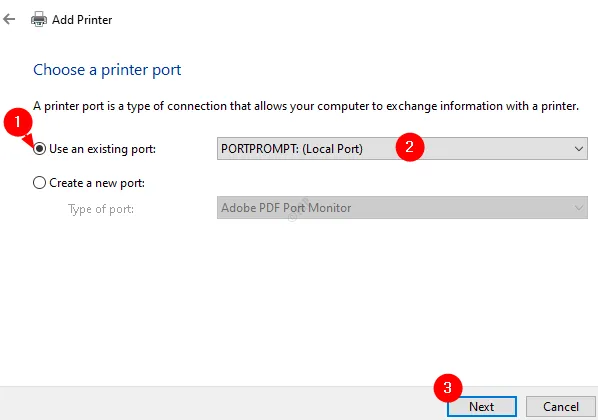
Step 10: Tick Use an existing port and select PORTPROMPT: (Local Port) from the drop-down menu
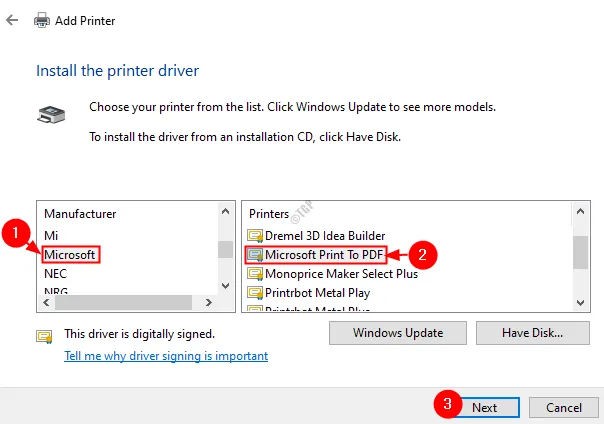
Step 11: From the Manufacturer list, select Microsoft. From Printers select Microsoft Print To PDF. Click Next
NOTE: If you cannot find Microsoft Print To PDF in the list, click Windows Update and then try again.
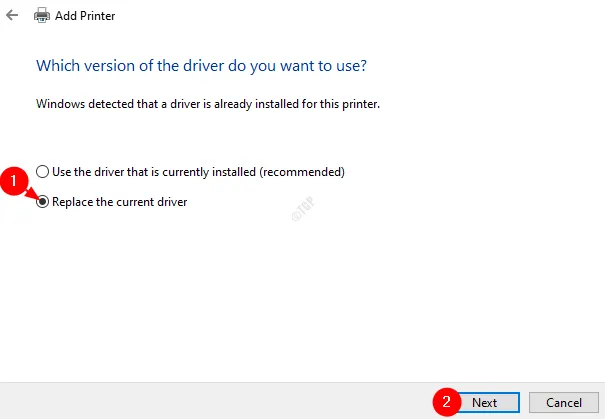
Step 12: In the window that appears, check Replace the current driver and click Next
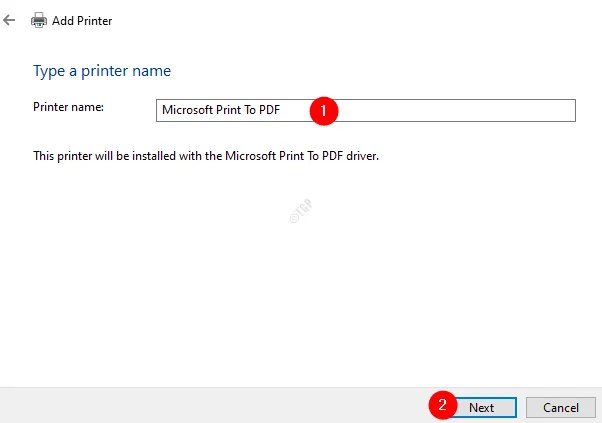
Step 13: Give a Printer Name and click Next
Step 14: In the window you can see that the printer installation is in progress
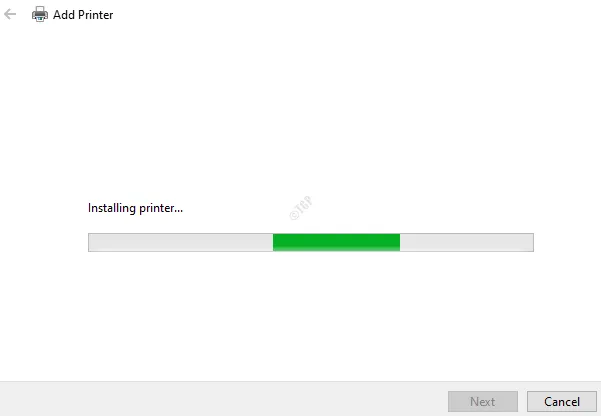
Step 15: Once done, click Finish
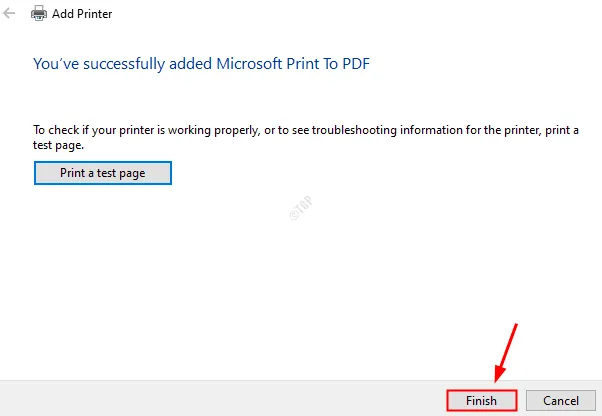
Now, check if Microsoft’s Print to PDF feature starts working as expected.
Fix 5: Check files in Default folder
The files are usually saved in the destination folder specified by the User. However, sometimes, these files are saved in the default location. Therefore, the user may feel that the Microsoft Print to PDF feature is not working, while it is working but saving the files in the default location.
Step 1: Open Windows Explorer with Windows+E
Step 2: In the address bar, copy-paste the address below and press Enter key
C:\users\%username%
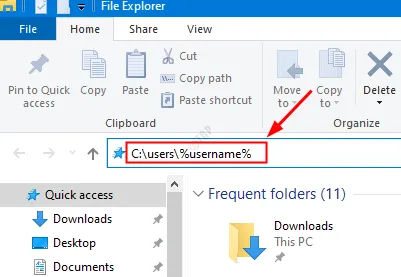
Step 3: Check if the file is in this location.
Step 4: If the file is not found in the above location, check if the file is in the below location using the steps above.
C:\users\%username%\Documents
If the requested PDF files are not found in the above locations, try the next fix.
Fix 6: Change the directory where the files are saved
Some people have reported that this simple trick worked in their case.
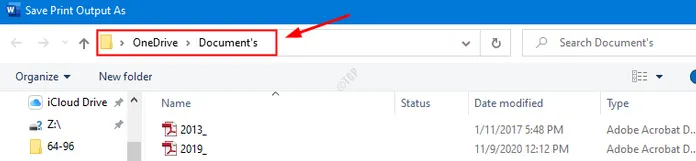
When you are saving the file, try setting a different location and see if this works for your case.
In the address bar, type a different location.
In case this doesn’t help, try the next fix.
Fix 7: Check Windows Update
Most of the time, just updating your Windows Operating System can fix most of your windows related problems.
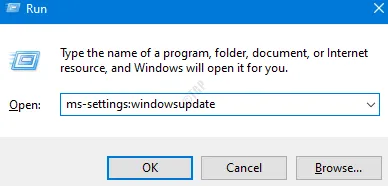
Step 1: Open the Run Dialog. One can use keyboard shortcut Windows+CHEAP
Step 2: Type ms-settings:windowsupdate and press Enter.
Step 2: Click Check for updates.
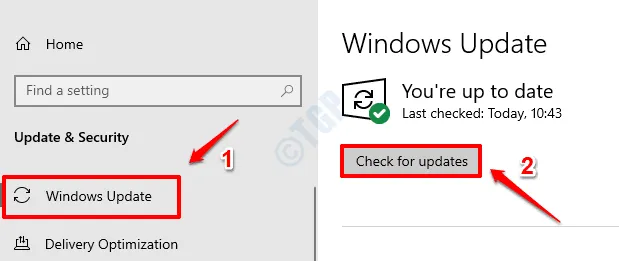
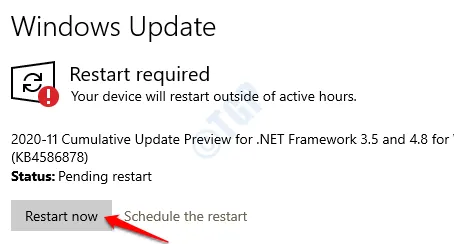
Step 3: Windows will check if there are any new updates available. If any new updates are found, they will be downloaded and installed.
Step 4: Click Restart now for the changes to take place.
Theartcult hopes this article is informative. Thank you for reading.
Please leave a comment and let us know if these fixes worked for you.
Visit Macwintips.com to update the most practical and useful tips for Mac and Window!


