
How to hide files in Windows 11. In this article, let’s learn with Ngolongtech how to display hidden files and folders on Windows 11 through File Explorer options and some minor tweaks in the Registry Windows 11.
Table of Contents
Show hidden items from the View menu in File Explorer
To show hidden files in File Explorer, access the View menu on the command bar.
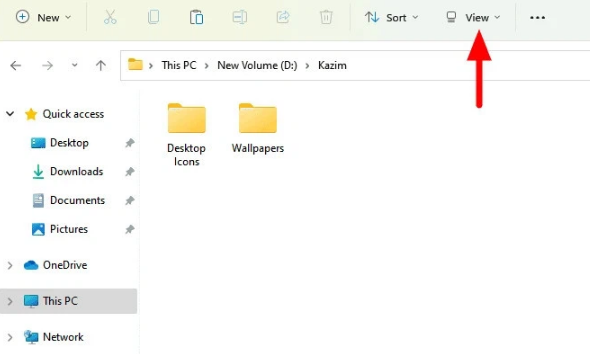
In the drop-down menu, select the Show option, then select the Hidden items item.
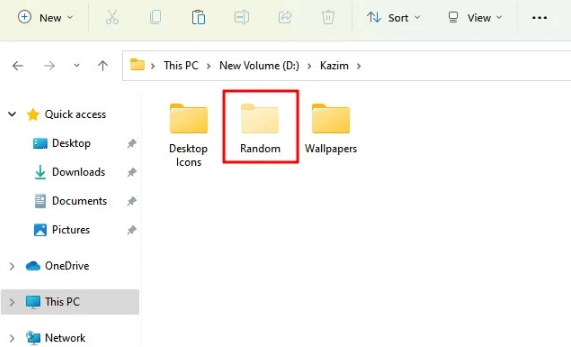
System-wide hidden files will now be visible. You’ll find that the hidden files icon is slightly translucent or opaque, so it can be distinguished from other existing files and folders.
Show hidden files and folders from File Explorer preferences
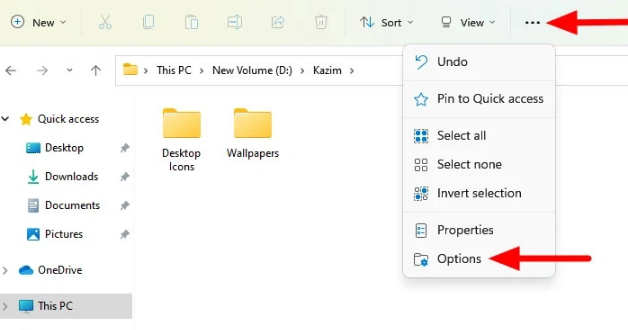
To show hidden files in File Explorer, click the More icon (three-dot icon) to the right of the View menu and select Options from the drop-down menu.
In the displayed dialog box, select the View tab, then click the Hidden files and folders item, in the drop-down submenu click the Show hidden files, folders, and drive s option, then click the OK button to save the changes and close. window.
This will show hidden files, folders, and drives in File Explorer. However, if you want to see hidden system files, you can also enable this option from the options in File Explorer.
To view hidden system files , still on the View tab of the Folder Options window, uncheck the Hide protected operating system files (Recommended) option under the Advanced settings pane.
A confirmation dialog box displays stating that these files are important to the operation of Windows and that editing or deleting them may render the system unusable. Click the Yes button to continue.
Finally, click the OK button to save the changes. Now all the hidden files of the operating system will be displayed.
Note: We recommend that you do not make any changes to important system files or delete them unless clearly understood. Also, it’s a good idea to hide them again after you’ve finished your work to avoid others mistakenly deleting them.
Show hidden files and folders from Registry Editor
As is the case with other settings, you can also show hidden files and folders by modifying a few data values in Registry Editor .
Step 1: Press Windows + R to activate the Run dialog box , then enter regedit in the blank box and click the OK button.
Step 2: In the displayed Registry Editor window, access the path like in the address bar of the image below.
In the right pane, find the Hidden key and double-click it.
Note: If you can’t find the Hidden key, right-click anywhere on the free space, in the menu displayed select New > DWORD (32-bit) Value and name the newly created key Hidden.
In the displayed dialog box, change the value under the Value data frame from 2 to 1 . The default value of 2 means that hidden files will not be displayed, while changing it to 1 will show hidden files. Click the OK button to save the changes.
To view hidden system files, find the ShowSuperHidden key in the same location and double-click it.
Note: If the ShowSuperHidden key is not found, you can create a new one in the same way, right-click and select New > DWORD (32-bit) Value to create a new key and name it ShowSuperHidden.
Now change the value in the Value data frame from 0 to 1 . When the value is 0, the system files are still hidden, while changing to 1 will show the system files. Click the OK button at the bottom to save the changes. Changes will be made immediately in File Explorer. In case you don’t see the display, close and relaunch File Explorer.
With the above methods, you can easily display not only regular files and folders but also system files in File Explorer on Windows 11.
Show hidden items from the View menu in File Explorer
Access the View menu on the command bar -> Show option , then select Hidden items -> System-wide hidden files will now be displayed
Show hidden files and folders from File Explorer preferences
Click the More icon (three dots icon) to the right of the View menu and select Options from the drop-down menu -> select the View tab -> Hidden files and folders , in the drop-down submenu click the Show hidden files, folders option, and drive s, then press the OK button
Show hidden files and folders from Registry Editor
Press Windows + R -> Enter regedit -> Access the path like in the address bar of the image below -> In the right pane, find the Hidden key and double click it.
How to hide certain file types in search results on Windows 11
On Windows 11, you can filter out any file type and block it from appearing in Windows Search search results. For example, if you don’t want to see any PNG images in the search results, that file type can be added to the system’s exclusion list.
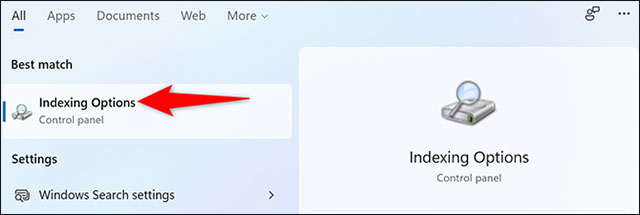
To specify the file type to hide, first open the “Start” menu and search for the keyword “Indexing Options”. Then, click on the corresponding option that appears in the returned results.
On the “Indexing Options” window that opens, click the “Advanced” button.

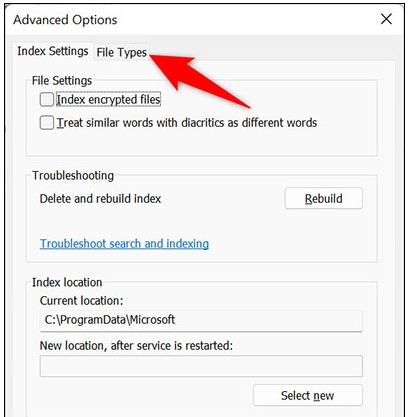
In the “Advanced Options” window , click the “File Types” tab.
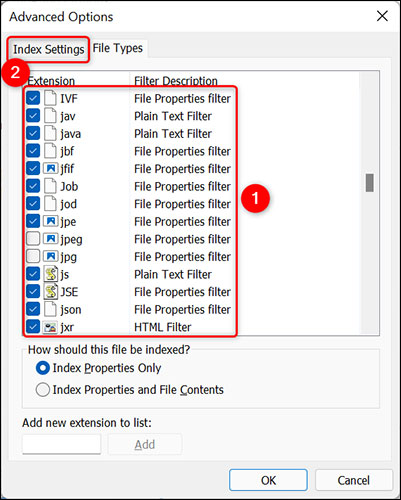
Under the “File Types” tab , you will see all the file formats that Windows currently allows to show up in the system search results. To exclude a specific file type from this list, clear the check box next to it in the list.
Then, at the top, click the “Index Settings” tab.
(Tip: If the file format you want to block is not listed, click “Add New Extension to List” at the bottom, enter your file extension, and click “Add” to add it).
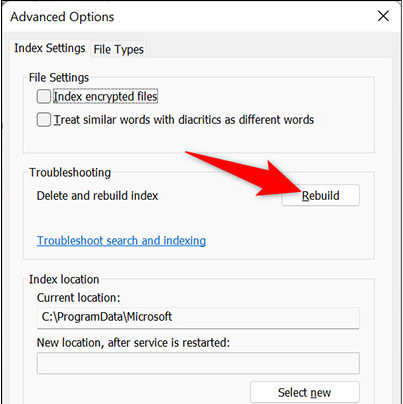
On the “Index Settings” tab, next to the “Delete and Rebuild Index” section, click “Rebuild”. This will create a new search index. When done, the file type you selected will be removed from the Windows Search results.
In the prompt that appears, click “OK” to confirm action.
You are now on the “Indexing Options” window . At the top you will see the current status of the index build. The time it takes to rebuild the index depends on how many files are currently on your PC. If you have a lot of files, this can take up to a few minutes.

From now on, excluded file types will no longer appear in search results on your Windows 11 PC.


