
How to fix update error 0x80071160 on Windows 11/10. Windows updates usually contain several important patches that help protect your system from various malicious attacks. But they can also cause errors sometimes and one of such errors is Windows Update error 0x80071160 that was encountered when trying to update or install security/optional patches on a PC running Windows 11 or 10. This error mainly occurs due to glitches or damaged Windows Update system components. In this guide, Ngolongtech will present you with four useful solutions that will help you to solve this problem.
Table of Contents
What is error code 0x80071160?
This error could occur if Windows Update system components have been corrupted. Error code 0x80071160 may sometimes prevent you from installing the latest Windows updates on your machine
How to fix update error 0x80071160 on Windows 11/10
To fix Windows 11/10 Update Error 0x80071160 use steps –
1]Run the Windows Update troubleshooter
Many times it has been reported to fix such kind of problem simply by running the Windows Update Troubleshooter tool. It identifies the problem and tries to fix it automatically, which protects you from getting into trouble. The procedure to run this tool is as follows:
Windows 11 :
- Press Win + I and navigate to below path –
System > Troubleshoot > Other troubleshooters
- In the Most frequent section, you will find Windows updates. Click the Run available next to it.
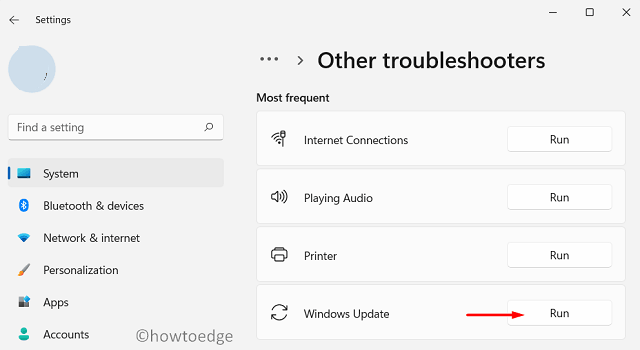
- When the troubleshooter launches, click Next and follow the on-screen instructions.
Windows 10 :
- Right click on the Start menu and select Settings .
- Select Update & Security > Troubleshoot .
- Go to the right pane and select “ Additional troubleshooters ”.
- Select Windows Update and then click Run the troubleshooter to begin the repair process.
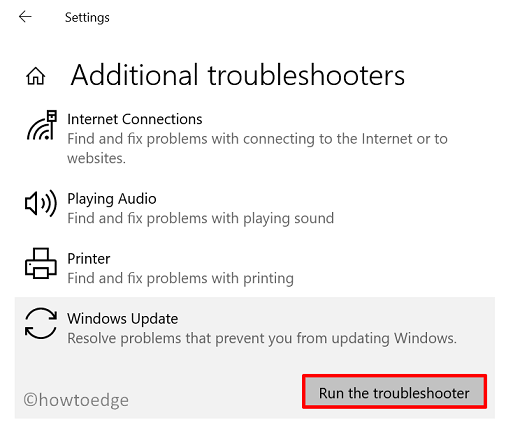
- It may take some time to complete the task. Once done, restart your computer and try to install the updates.
2]Delete the SoftwareDistribution folder
Delete the contents of the Software Distribution folder and try to install Windows Update again. The procedure is as follows:
- Open the Run dialog box using Windows+R .
- Type “cmd” in the text field and press Ctrl + Shift + Enter.
- If the UAC pop-up menu appears on your screen, tap Yes .
- In an elevated command prompt, run the following commands one by one:
net stop wuauserv
net stop bits
Running the above commands will stop Windows Update Service and Background Intelligent Transfer Service.
- Now open File Explorer ( Windows + E ) and navigate to the folder –
C:WindowsSoftwareDistribution
- Select all the contents of the folder and delete them.
| Note: You may not be able to delete the file if it is in use at the time. In that case, reboot your device, execute the above commands then delete the files. |
- After deleting the files, run the following commands:
net start wuauserv
net start bits
This will restart the Windows Update and Background Intelligent Transfer services.
3]Download and install the update manually
If even after deleting the SoftwareDistribution folder the error persists, then download and install the update manually via the Microsoft Update Catalog.
- Open the first Windows 11 / Windows 10 Update history page .
- Go to the left navigation and select your version of Windows 11/10.
- Scroll down to the section below called “In this Release” and click the link at the top.
- Go to the adjacent right pane and note down the KB number.
- Visit the Microsoft Update catalog and look for the “KB” number you noted.
- Then press enter and it will show a list of available updates. Select the update that matches your system architecture.
- Click the Download button and then select Topmost link on the next page.
- Once done, double click on the setup file to start updating your Windows 10 Operating System.
4] Perform Clean Boot
In case none of the above methods solve the Update Error 0x80071160, you can perform a clean boot on your PC. Doing so will eliminate any software conflicts that may arise when you install a non-Microsoft program or update. Here is how –
- Right-click the Windows icon and select Run.
- Type “ msconfig ” in the text file and press enter.
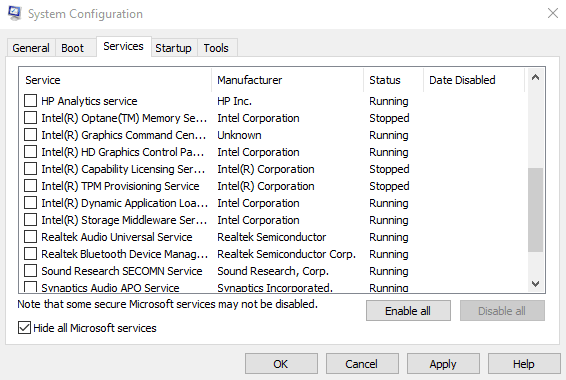
- In the System Configuration window, switch to the Services tab .
- Tick the checkbox next to Hide all Microsoft services and press Disable all .

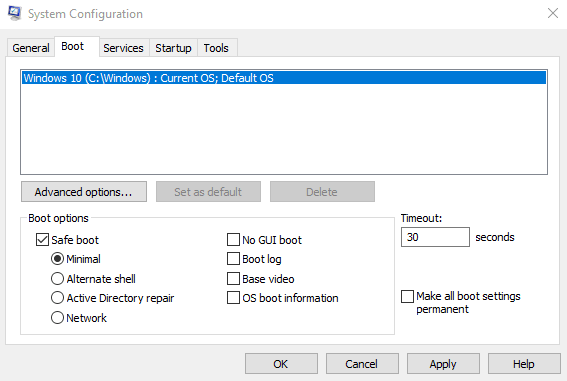
- Then go to Boot and tick the checkbox next to Safe boot .
- Make sure that Minimal is automatically selected, if not, select it.
- Then click Apply > OK to save the changes. At this point, your computer will reboot and will enter Safe Mode.
- Now run Windows Updates , so go to Settings > Update & Security > Windows Update > Check for Updates.
If you get this error on Windows 11, go to Settings > Windows Update and click Check for updates .
Hope the article will help you to fix the error. If you have any comments or questions, let us know by leaving a comment below!


