
How to Fix Snipping Tool error Windows 11. Fix Snipping Tool error Windows 11. You often use the Snipping Tool on Windows 11 to capture, edit and share photos. But if one day this tool does not work, here are the solutions to fix the problem.
Windows 11 users can capture a part of the entire computer screen by pressing the Windows + Shift + S key combination. This command will allow you to select and capture any area of the working computer screen, then store a clipboard to use for other purposes.
This snapshot feature is relatively effective on Windows 11 if you don’t use a third-party capture tool. However, sometimes it doesn’t work as expected. Then you can fix it with one of the solutions below to get the Snipping Tool working again.
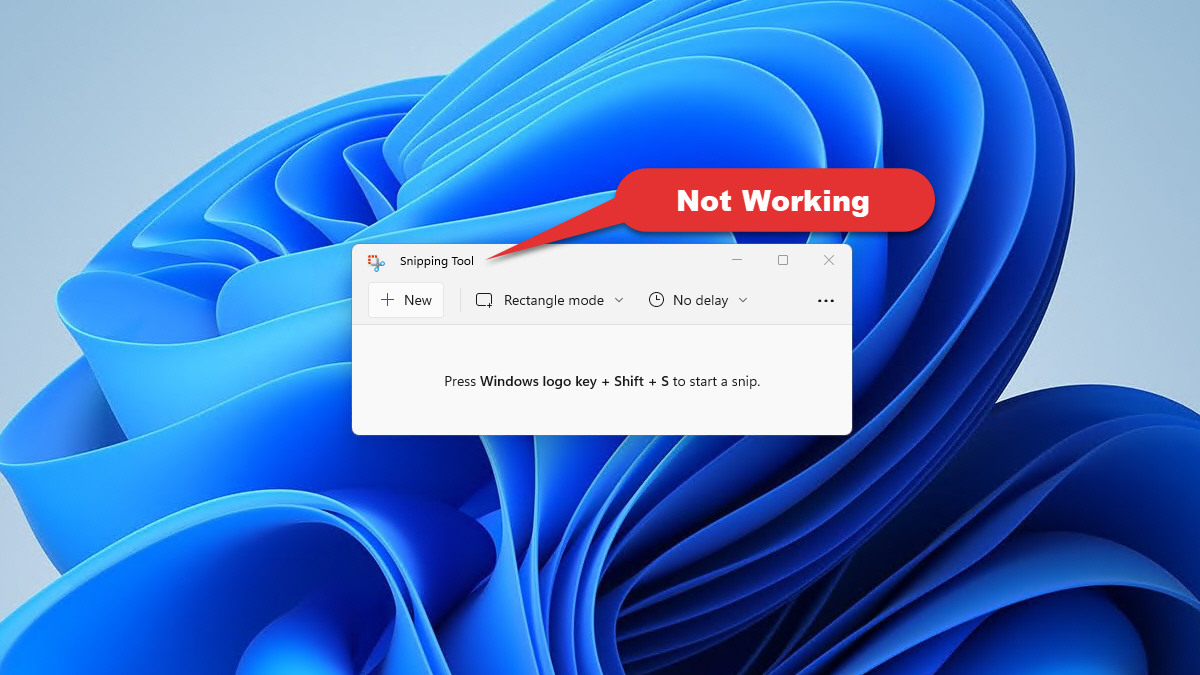
Table of Contents
How to Fix Snipping Tool error Windows 11
Make sure the keys are clean
Before doing any of the solutions below. You need to check the keyboard again and make sure that the keys related to the key combination to take a snapshot with the Snipping Tool include: Windows, Shift or S keys are clean, not stuck. If one of these keys is stuck, pressing the key combination will not work.
Turn on Clipboard History
Step 1: Access the Start menu > Settings (or press the Windows + I key combination ).
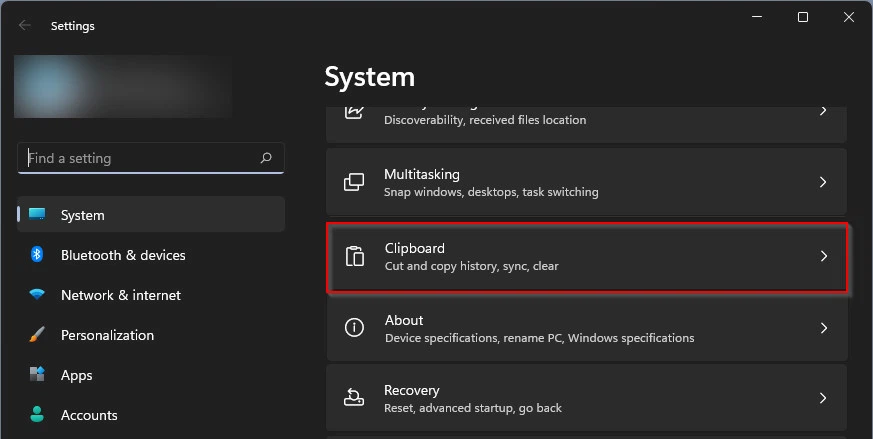
Step 2: Select System in the left pane, in the right pane scroll down and click Clipboard.
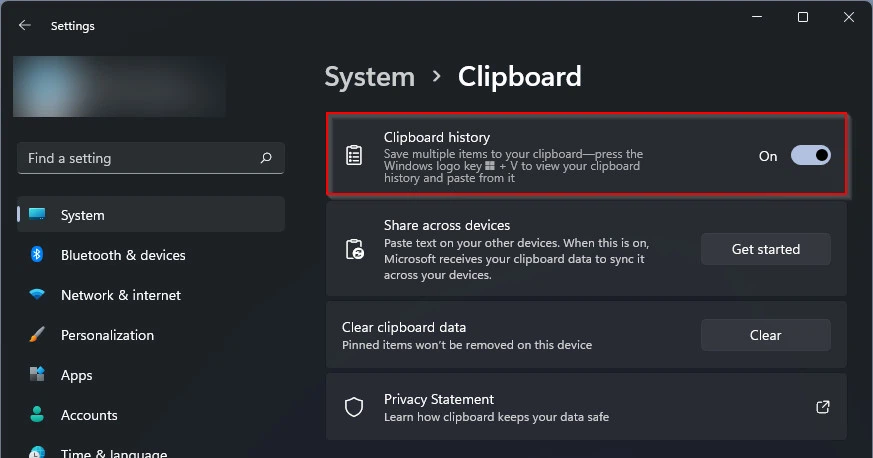
Step 3: Next, switch the Clipboard History setting to On if not already enabled.
Change OneNote keyboard shortcuts
The Windows + Shift + S keyboard shortcut can be changed to another keyboard shortcut using the trick below.
Step 1: Start by pressing the Windows key. Type Regedit editor in the search box. Then click the Registry Editor option under the Best match display result.
Note : Before continuing, you should back up the Registry Editor to avoid any problems, you can restore the Registry Editor keys as they were.
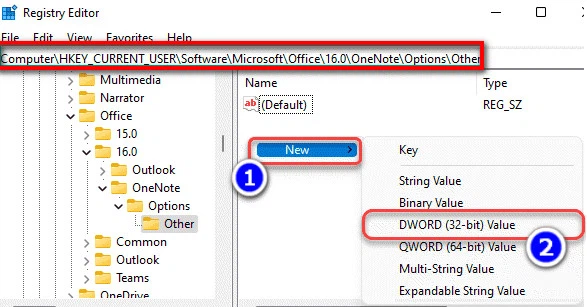
Step 2: In the Registry Editor window that displays, navigate to the following location:
Step 3: Right-click on the empty right pane and select New > DWORD (32 bit).
Step 4: Name the newly created key ScreenClipping Shortcut .
Step 5: Double-click the newly created ScreenClipping Shortcut key.
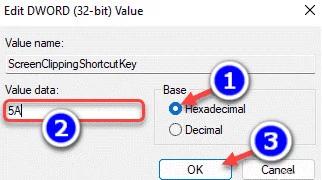
Step 6: In the newly displayed dialog box, click the Hexadecimal option under the Base section , then enter 5A in the box below the Value data section. Finally click the OK button to save the changes.
Step 7: Now close Registry Editor and restart the computer for the changes. From then on, when you need to take a screenshot with the Snipping Tool, just press the Windows + Shift + S key combination .
Reset Snip & Sketch
In case the above methods don’t work, try resetting Snip & Sketch with the following.
Step 1: Press the Windows + I key combination to activate the Settings application.
Step 2: Navigate to Apps option in the left pane, click App & features in the right pane.
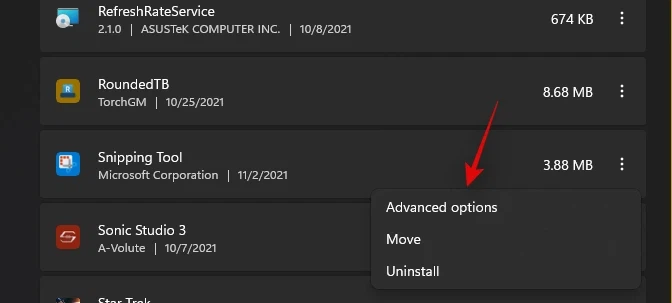
Step 3: Then scroll down to find the Snipping Tool option . Next click on the three vertical dots menu on the right side of the application window to select the Advanced options option .
Step 4: Click the Reset button under Reset to restore the original settings for the application.
Alternatively from the Microsoft Store, you can also uninstall and reinstall apps by . Go to Settings app > Apps > App & features . Click to select the Snip & Sketch application, then click the Uninstall button to uninstall the application immediately. Then find and reinstall the app from the Microsoft Store .
Instead of pressing Windows + Shift + S, use the PrntScrn key
Alternatively, you can press the PrntScrn key instead of the Windows + Shift + S key combination.
Step 1: Open the Settings app by pressing Windows + I.
Step 2: Select Ease of Access, then select the Keyboard option in the left pane.
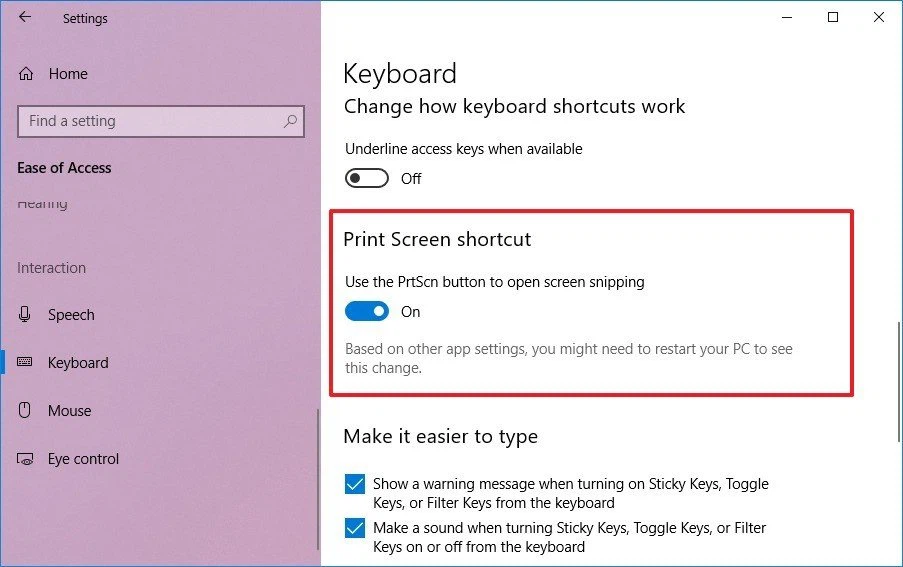
Step 3: Switch the setting under Print Screen shortcut from Off to On.
Step 4: Now you just need to press the PrntScrn key on the keyboard to be able to use Snip & Sketch.
Change the date and revert back
You should try changing the current date and time to a random date and time, and then reverting to the original date and time. Many users said they fixed the problem after trying this.
Step 1: Go to Settings app > Time & language.
Step 2: In the right pane, select the Date & Time option and disable Set time automatically and Set time zone automatically.
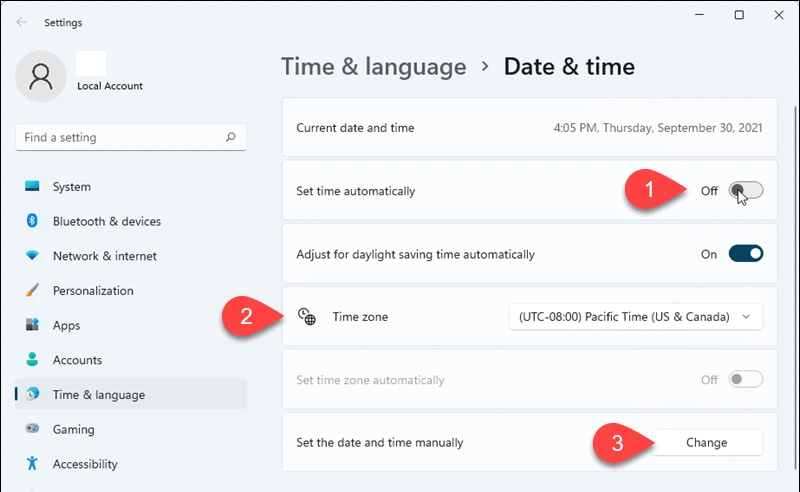
Step 3: Click the Change button right next to Set the date and time manually and set it to a random number of dates and times.
Step 4: After you have changed the date and time, try running the Snipping Tool or pressing the Windows + Shift + S key combination . The Snipping Tool will work on your computer.
Step 5: Now, go back to the Date & Time section of the Settings app and re-enable both Set time automatically and Set time zone automatically disabled in step 2.
Run SFC and DISM
SFC and DISM are two of the tools that can be useful if you want to scan your computer for any problems. SFC and DISM will scan the computer for errors and fix them if any. Proceed as follows.
Step 1: Launch Command Prompt with administrator rights by . Search for CMD in the Start menu. Then right-click Command Prompt in the displayed results, select Run as administrator.
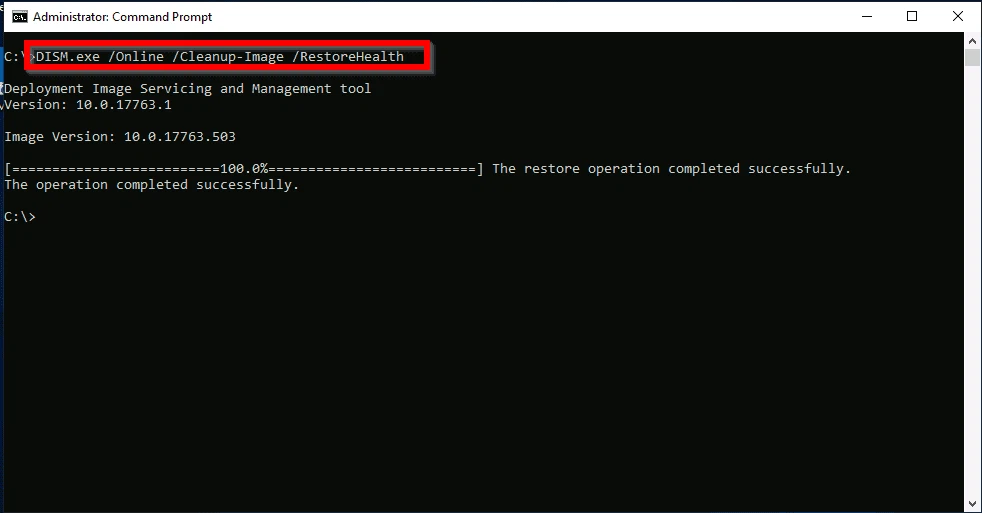
Step 2: In the Command Prompt command window displayed, enter the command below and press Enter to execute.
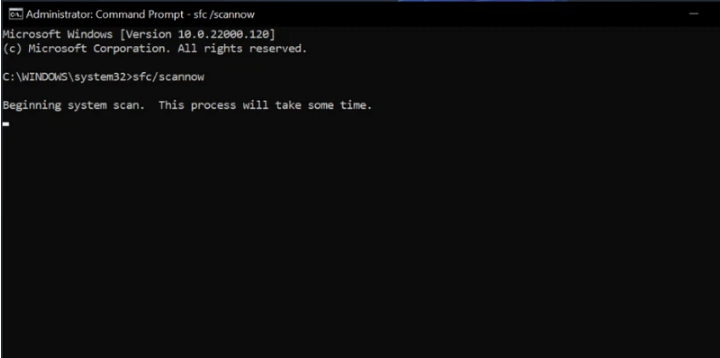
Step 3: Wait for the scan to complete, then restart the computer and check if the Snipping Tool works.
If the SFC scan does not help, then you should continue to run the DISM tool on your computer. Similar to SFC, you must also run Command Prompt with administrative rights. Then from the command window enter the command below and press Enter.
Wait for the process to complete, restart your computer and try running the Snipping Tool again.
Repair and reset apps
If you are having problems with the Snipping Tool, you can try repairing or resetting the application. These are the two most common fixes to try if you’re having trouble with any application on your computer. To repair or reset the app, follow the steps below.
Step 1: Press the Windows + I key combination to activate the Settings application.
Step 2: Navigate to Apps option in the left pane, click App & features in the right pane.
Step 3: Then scroll down to find the Snipping Tool option. Next, click on the three vertical dots menu on the right side of the application window to select the Advanced options.
Step 4: Scroll down to the Reset section. Here you click the Repair button and wait for the system to check and repair the application to complete, then try running the Snipping Tool again.
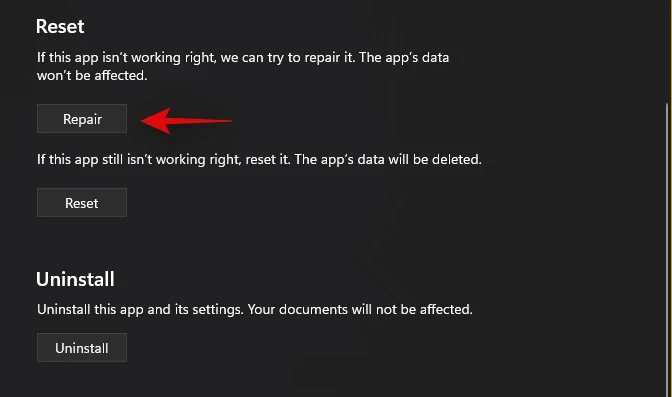
Step 5: If after performing the repair Snipping Tool does not work, press the Reset button to reinstall the application.
Update Windows 11
This problem has been encountered by many users using Windows 11 and if you are facing this problem, then try updating your computer to the latest version by . Go to the Settings app > Windows Update , then click the Check for updates button in the right pane.
The system will automatically scan, find, download and install updates if found. Then restart the computer to make the changes. After installing the updates (if any), try running the Snipping tool again and check if the app is open.
Reinstall Snipping Tool
If any way does not help the problem, then the last solution would be to reinstall the Snipping Tool by .
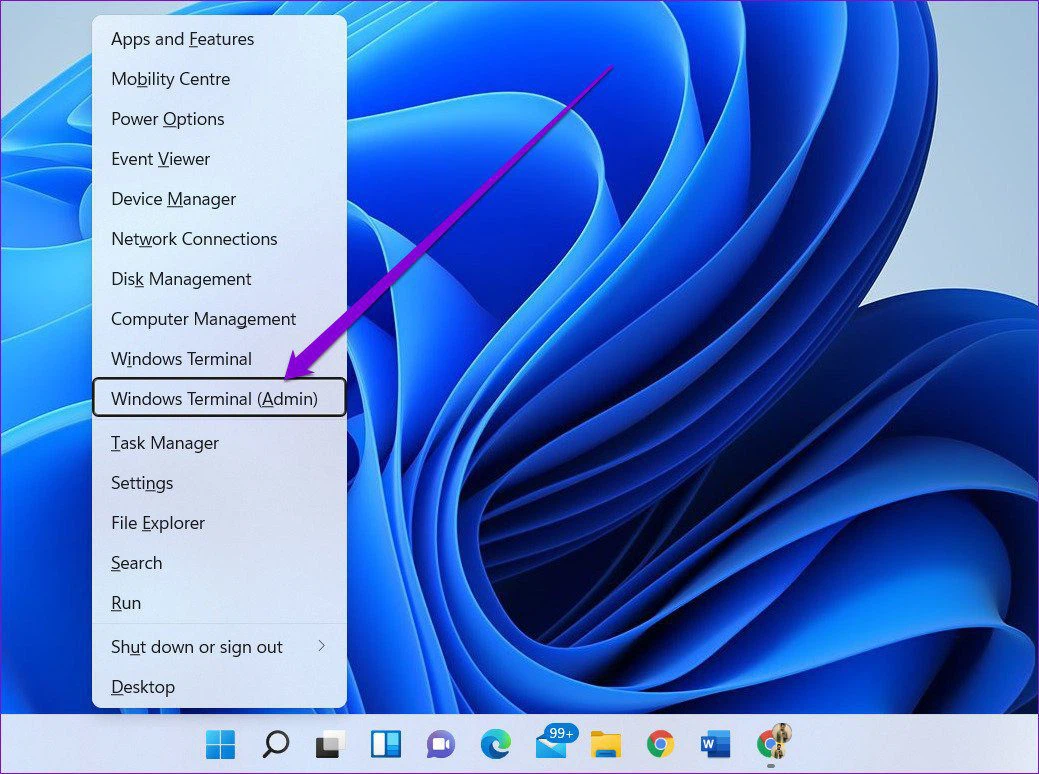
Step 1: Press the Windows + X key combination . From the menu that opens, select Windows Terminal (Admin) to open Windows PowerShell with administrative rights.
Step 2: From the command window, enter the command below. To uninstall Snipping Tool, type the following command and press Enter:
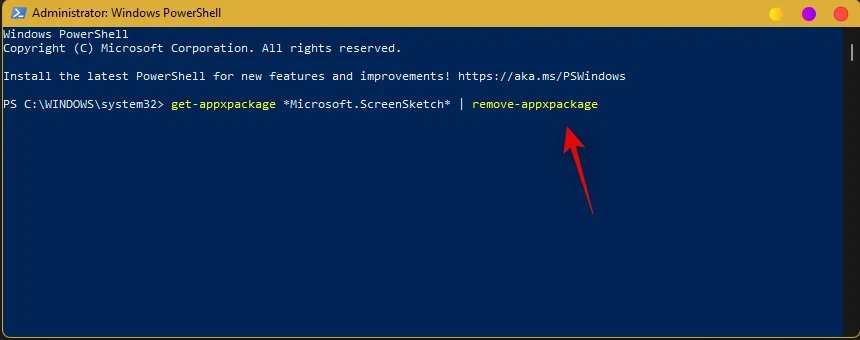
The above command will uninstall the Snipping Tool from the computer.
Step 3: To reinstall the Snipping Tool, type the command below into Windows Terminal and press Enter.
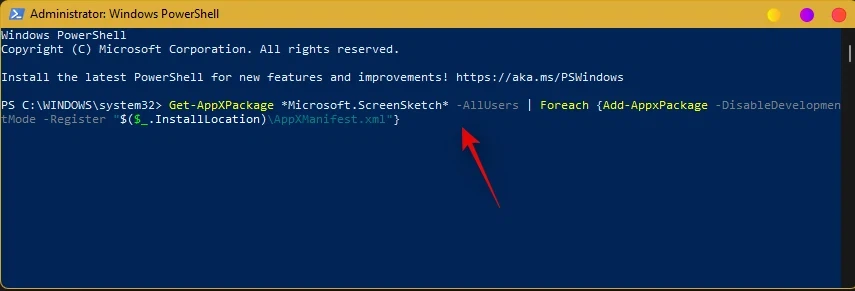
Step 4: Close the command window and run the Snipping Tool again. This solution will also fix most Snipping Tool related problems.
Use the troubleshooter
The troubleshooter is also one of the potential solutions not to be missed when you want to fix any Windows related problem, including the Snipping Tool not running error. Proceed as follows:
Step 1: Click on the search tool on the taskbar, enter troubleshoot settings in the empty box and click on the first corresponding displayed result that appears.
Step 2: Next, click the Other Troubleshooters option in the right pane.
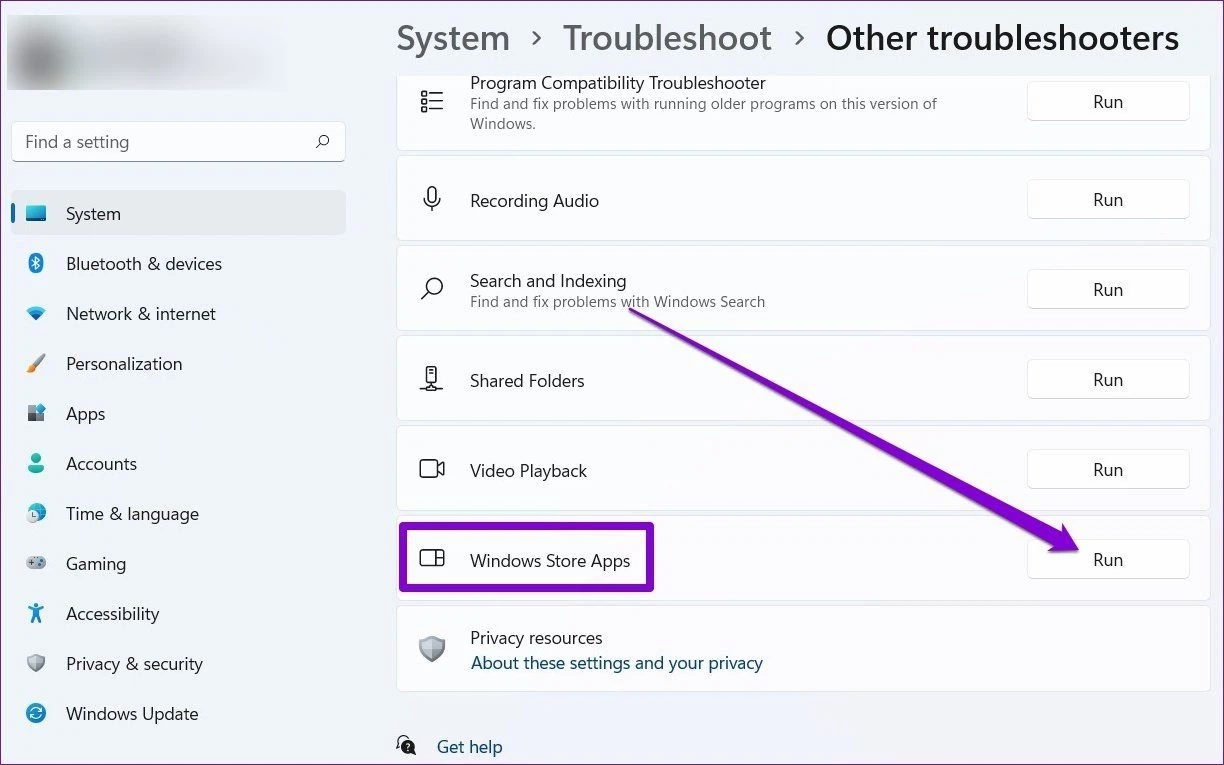
Step 3: Scroll down to the Windows Store Apps troubleshooter, and then click the corresponding Run button on the right.
Step 4: Wait for Windows to find and fix system problems (if any) automatically. After the troubleshooting is over, activate the Snipping Tool to use it.
Hope this article helps you! Visit Macwintips.com to update the most practical and useful tips for Mac and Windows.


