Fix photoshop anti-alias not working. Question: “Up until recently, when I opened an image in Photoshop then viewed it at 100%, it was anti-aliased (without jagged edges). And when I zoomed in/out, I had no problem with anti-aliasing. But now, when I view an image at any magnification — except 100% (or 50% or 25%) — it has jagged edges. Obviously, some setting has changed, but I have no idea which one. What I find weird is that I can view any image at any magnification, without aliasing, in Bridge or my web browser! If anyone can help me sort this out I would much appreciate it.”
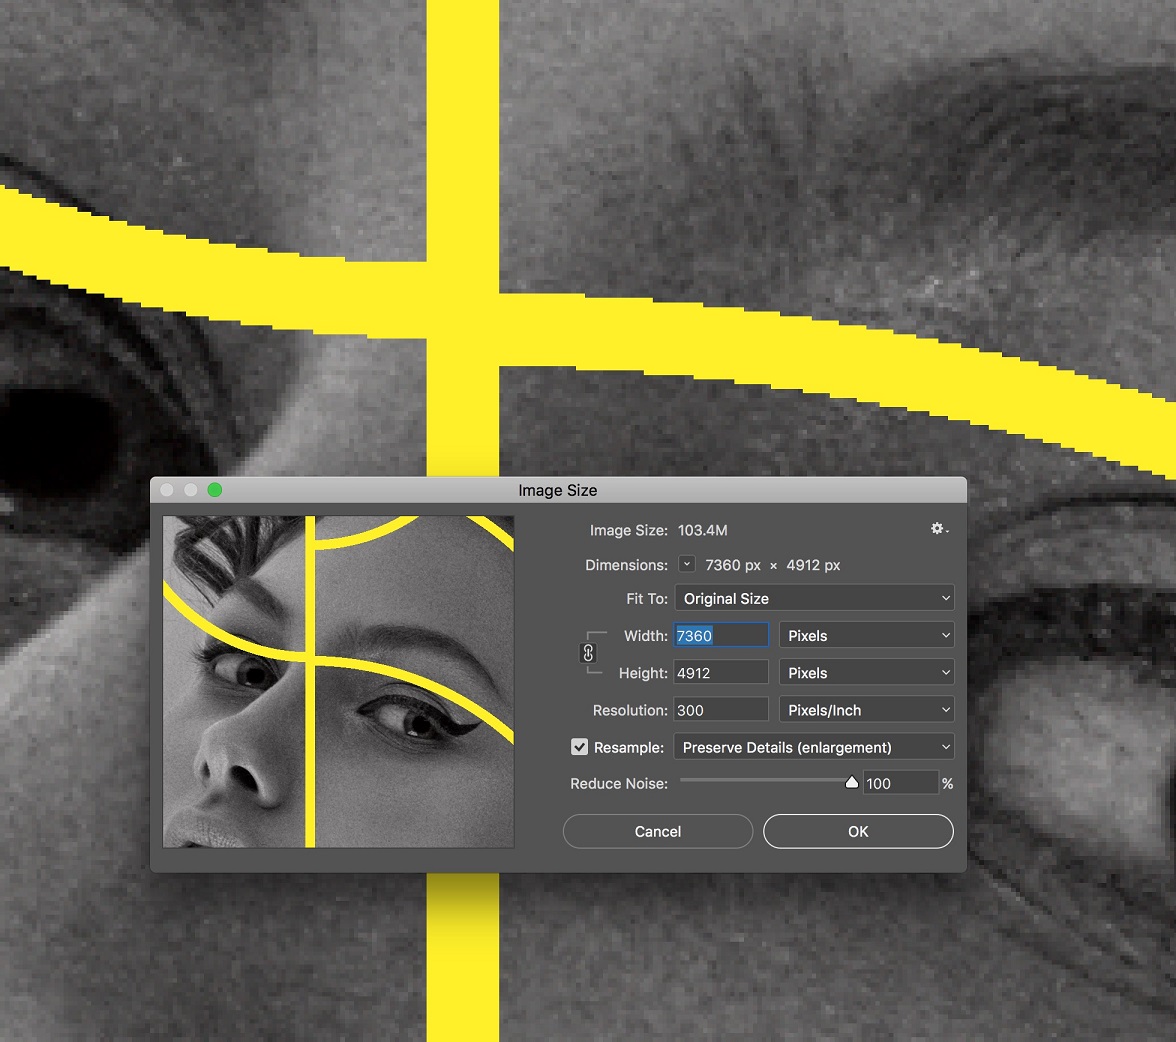
Table of Contents
What causes Photoshop anti-alias not working
Aliasing & anti-aliasing
Aliasing is the visual stair-stepping of edges that occurs in an image when the resolution is too low. Anti-aliasing is the smoothing of jagged edges in digital images by averaging the colors of the pixels at a boundary.
The aliasing error in Photoshop is mainly encountered in the case of text errors (or some images or logos). Jagged text is a condition where a piece of text in a certain layer of your writing is jagged. Encountered a situation that causes the text to be missing strokes, the stroke is broken at the border, causing a very high aesthetic loss.

The letter on the left is aliased. The letter on the right has had anti-aliasing applied to make the edges appear smoother.
When you view zoom to 100% you are viewing your Image actual pixels but most likely not at the resolution you will print the image. The displayed image will be different size then the printed image. However, the pixels displayed have the quality you get from your camera and how well your edit you image pixels to maintain image quality. When you zoom to any other percentage you are not viewing your image. You are viewing a different image that Photoshop has created by scaling you image to have a different number of Pixels a different size canvas for you to view. The scaling Adobe does zooming is not done for best image quality using some fancy interpolation method it is done as quickly as possible so zooming will be responsive so you will be happy with Photoshop performance. At some percentages the image quality can be quite poor. However, none of the zoomed images is your actual image. When edit at a zoom percentage how Photoshop applies the edits to your actual image is what counts. You should never judges a book by its cover you should view the actual book at 100% page view and Print it at print resolution you want to judge the image quality at.
If you have a High PPI resolution displaye with a relolution around 300ppi you can judge print quality on you display for the image resolution will be nearly the same printed and on your display.
Other Photoshop features do similar things for example when you transform a layer size the image displayed in the Transform bounding box is a quickly scaled preview. When you commit the transform you will see Photoshop actually perform the actual transform the image quality will improve and be better them the preview you saw when while you were activity using the tool.
Fix photoshop anti-alias not working
Method 1: Create a standard file
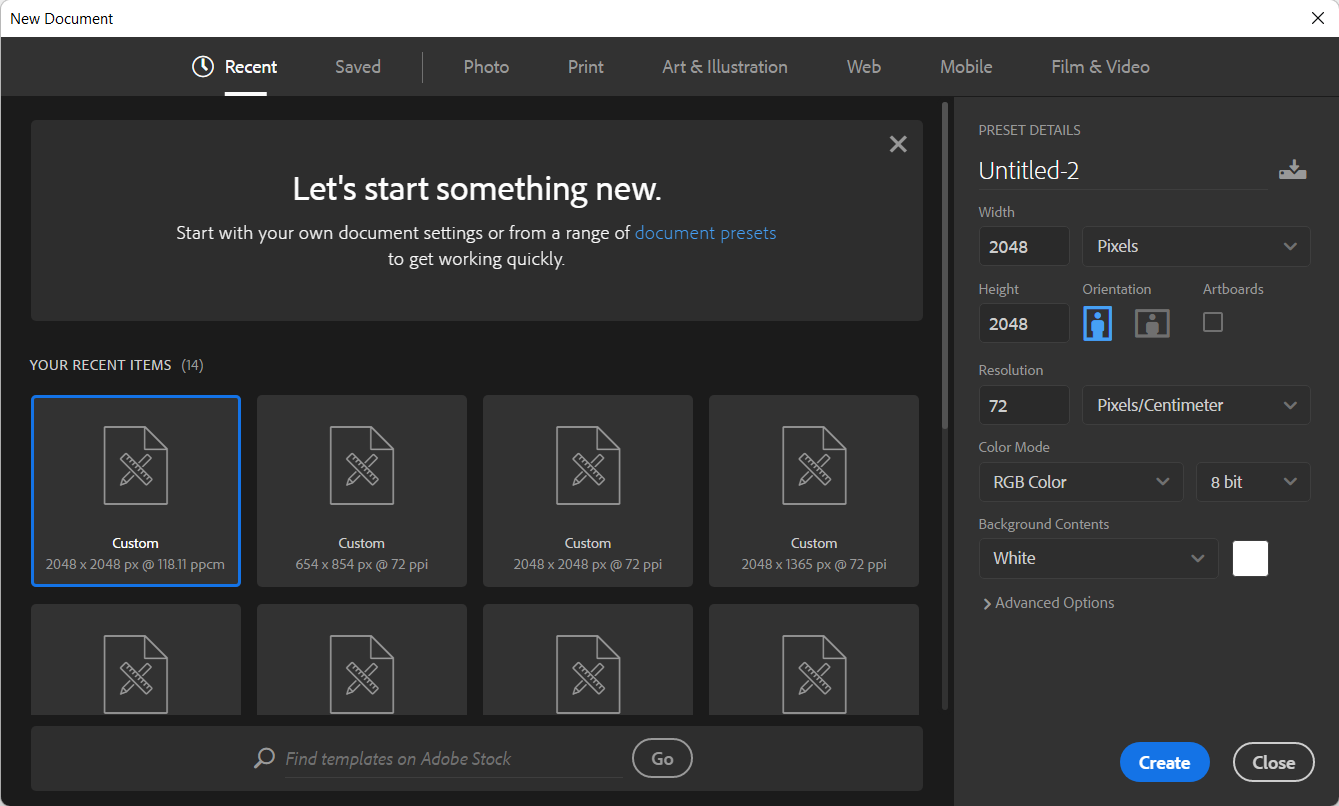
Step 1: Select File > New
Step 2: Choose the file size according to your needs
Step 3: Choose a resolution (Resolution)
- If your file is to be displayed on the web, you need only 72 pixels/inch
- If for projection on a large screen, it is recommended to put 150 pixels/inch
- If used for printing, it is recommended to leave 300 pixels / inch so that the file is sharp and not broken
Step 4: Select Color mode:
- Normal file: select 8 bits
- Large files for printing: choose 16 – 32 bits
After creating the file, try writing and zooming in. Now the text will no longer be blurred.
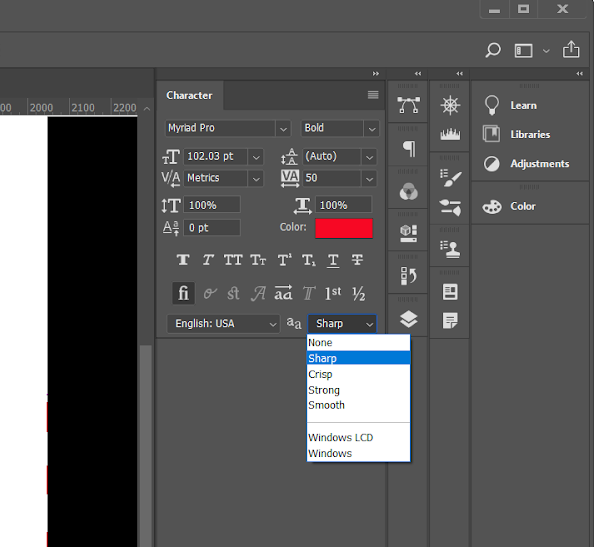
Method 2: Change the properties of the text
When writing a letter, pay attention to the font’s property settings next to the font and size settings. Switching from the None attribute to other attributes such as Sharp, Crisp, Smooth, Strong, your text will no longer have aliasing and become softer.
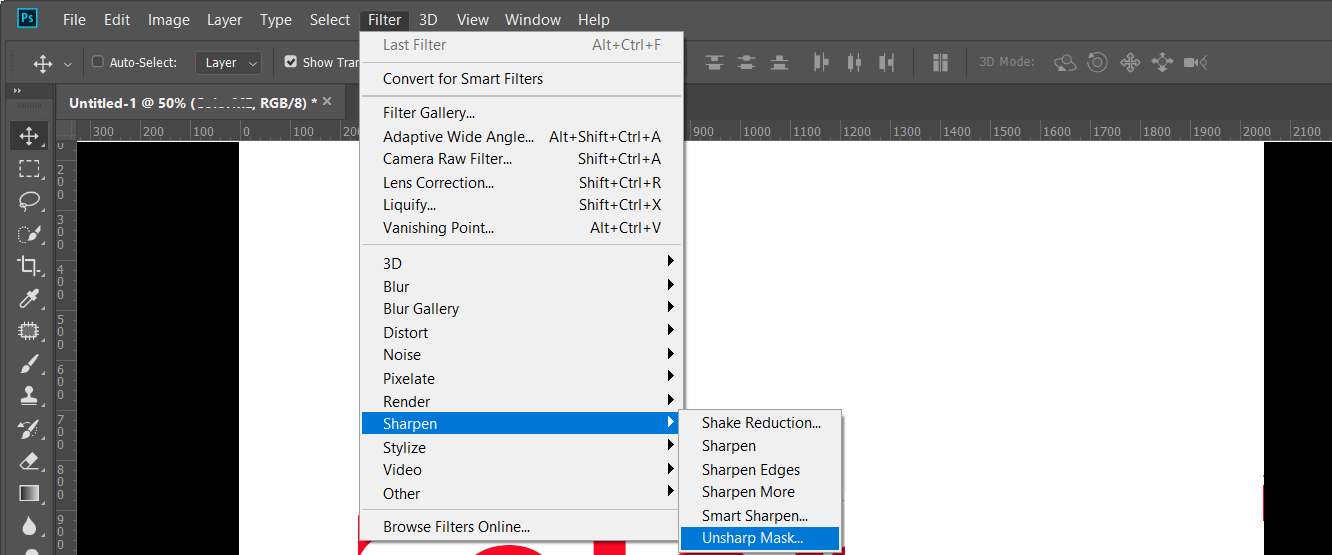
Method 3: Use the Unsharp Mask filter
Step 1: Open the image you want to edit with Photoshop -> Filter select Sharpen and click Unsharp Mask
Step 2: Set the parameters
- Amount: Adjust depending on image details.If your photo is full of fine details. You adjust the large Amount – Small Radius ratio and vice versa.
- Radius: You should set from 0.5 – 3 units. Is to set the vertical halo width in the image.
- Threshold: It is recommended to leave the value high because a small value will cause noise in the image. Create contrast in the image.
After the installation is complete, click OK to save.
Method 4: Use the Blur filter
Step 1: Click to select Layer Background > click Duplicate Layer > OK to select
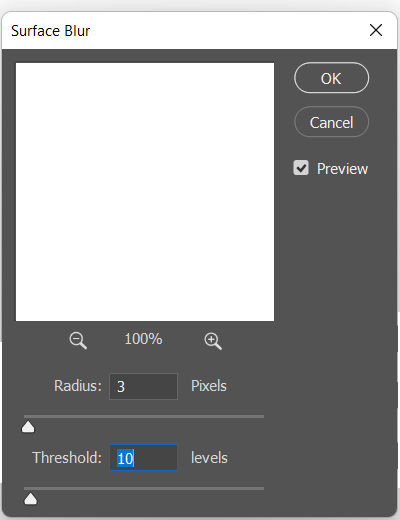
Step 2: Go to Filter > Blur > click Surface Blur
Step 3: Set the parameters
- Radius at 0.5 – 3 so that the image color quality is not reduced too much.
- Threshold should be set at a moderate level, if the value is too high, the image will be blurred. Click OK to save.
Products after anti-aliasing
After resetting the parameters, the image will no longer be blurry or have aliasing errors. Try it now!
Above is how to handle aliasing errors in Photoshop, in addition, when using this software you may also encounter some errors such as:
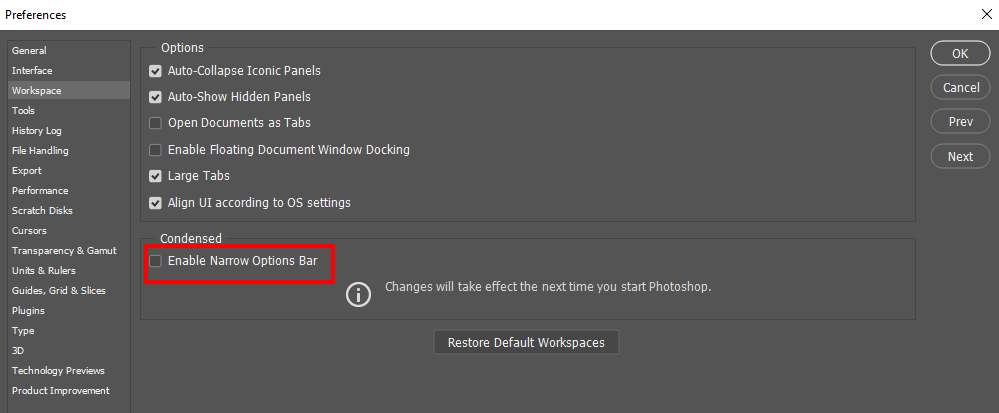
Fix Missing anti-alias on options bar
Photoshop > Preferences > Workspace > Enable Narrow Options Bar (and restart Photoshop)
You may have the icons — here’s an example for the magic wand tool:
![]() or the old text checkbox for anti-aliasing.
or the old text checkbox for anti-aliasing.

it shows part of a different tool’s option, Check the Both machine Photoshop Preferences Workspace Preference for your Tool opinion bar are set the same.