Fix this pc doesn’t currently meet windows 11 system requirements .
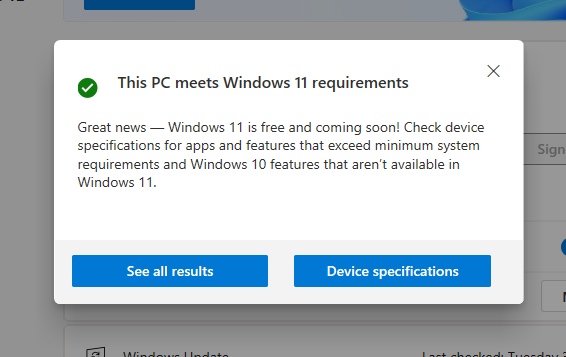
Table of Contents
Why are you seeing the “This PC Doesn’t Currently Meet All the System Requirements for Windows 11” error on a compatible system?
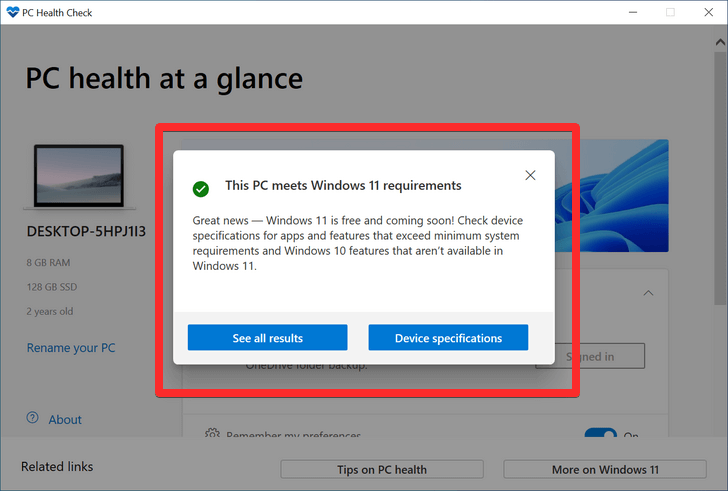
If you’re experiencing this issue on a system that passed the PC health checker app test from Microsoft, you’re likely using the media creation tool or Windows update to update your PC.
This is a known issue that has been acknowledged by Microsoft and a fix for the same is in progress. Random users affected by this bug on Windows 10 when using Windows Update tool or Meda Creation tool to update your PC directly from local storage.
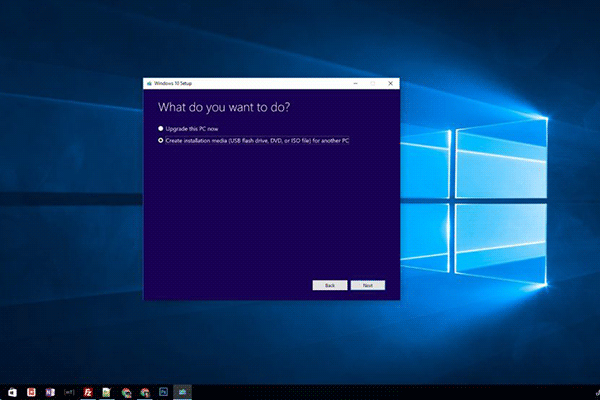
In such cases, you can use the fixes mentioned below to solve your problem.
Instructions to fix the “This PC Doesn’t Currently Meet All the System Requirements for Windows 11” error
You can use the following methods to work around this error on a compatible PC. We recommend trying the first fix as that seems to fix the problem for most users.
If using a different upgrade tool does not solve your problem, then you can move on to the next fixes mentioned in this guide.
Make sure your computer meets all the configuration requirements
- Make sure you are using Windows 10 v2004 or later.
Make sure that you meet the basic requirements to install Windows 11 on your system.
You have at least 9GB of free disk space on your system so you can download Windows 11 on your local storage using the assistant.
You run the installation support as administrator.
Processor: 1GHz or faster with 2 cores or more.
RAM: 4GB or more
Graphics: DX12 compatible with WDDM 2.0 driver
Disk Space: Free space 64GB on the drive where you want to install Windows 11
System: UEFI, with secure boot
TPM: 2.0 and above
Monitor: 720p @ 8bits or higher
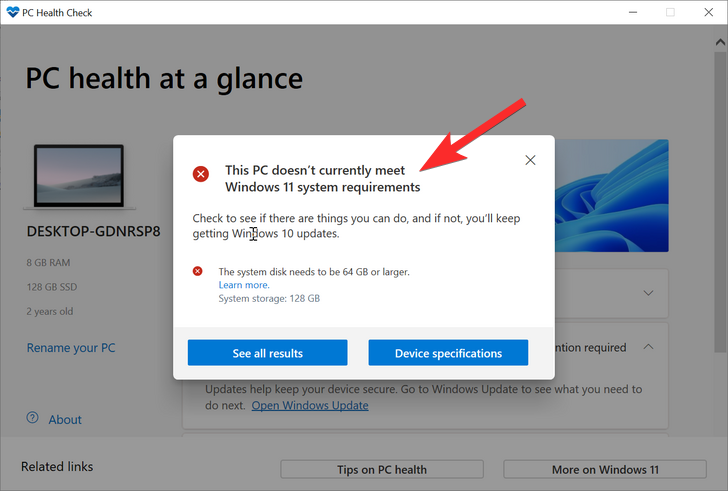
The drive in the example installing Windows 11 only has a total capacity of 53 GB. This does not meet the requirements of Windows 11. But by increasing the size of that disk, you can fix this. So let’s review the Windows 11 requirements again.
Use another way to upgrade and install Windows 11
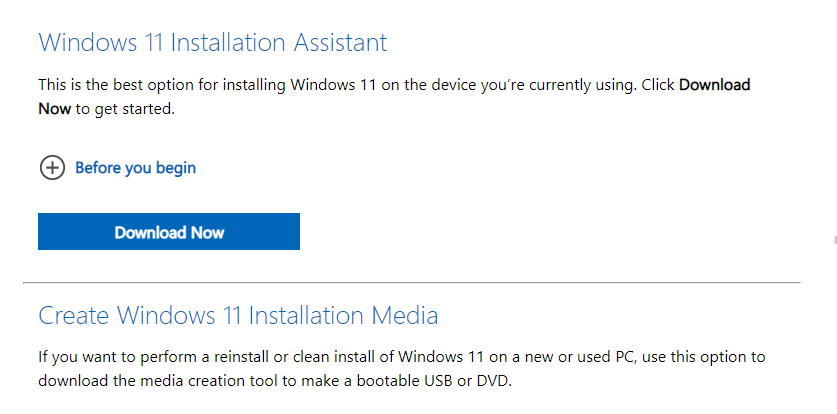
Since the problem is common when using the Media Creation tool or Windows updates, a known fix is to simply use another upgrade method from Microsoft.
We recommend starting with Microsoft’s new installation support, which is a dedicated utility developed to help you easily upgrade from Windows 10 to Windows 11.
You can use this comprehensive guide to use the installation assistant to update your operating system directly. You will need an active internet connection to update using the same.
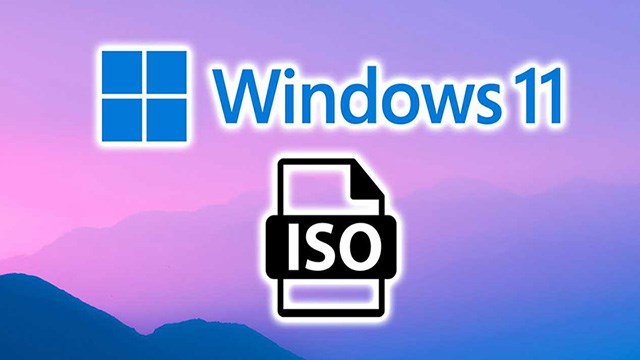
If the update assistant doesn’t seem to suit your requirements, or if it throws the same error, you should use the Windows 11 ISO instead. Microsoft has also released a new OS-specific ISO, and you can upgrade using the same ISO by following this guide.
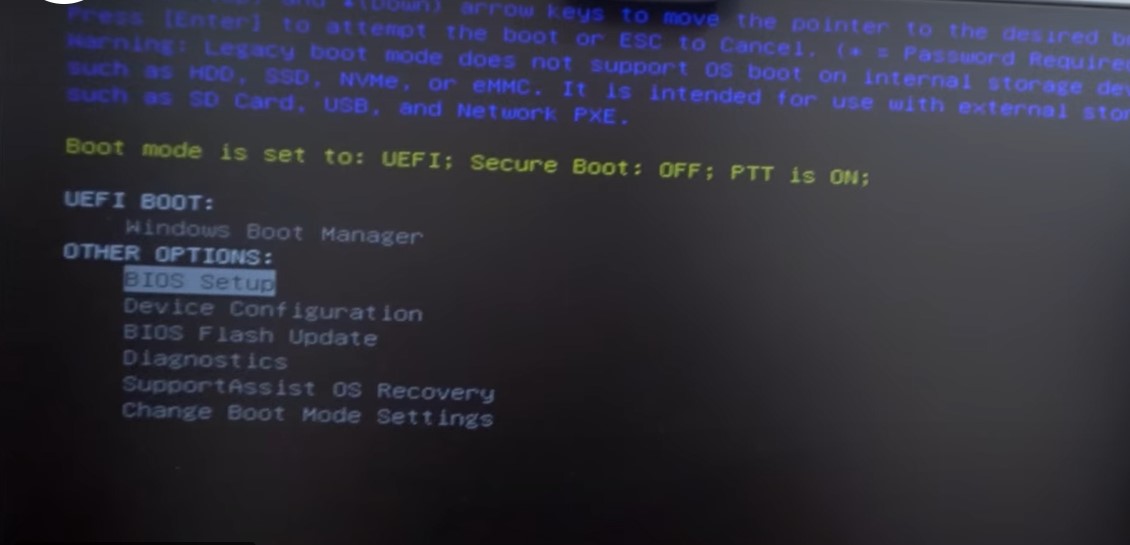
Disable CSM in the boot menu or make sure UEFI is enabled

A CSM or compatibility support module is a BIOS environment that helps your operating system communicate with your hardware when using an older operating system that does not support UEFI.
CSM creates a legacy compatible environment where your operating system can function properly on your new hardware. However, if you are installing Windows 11 this will not work for you as you will need to enable UEFI on your system.
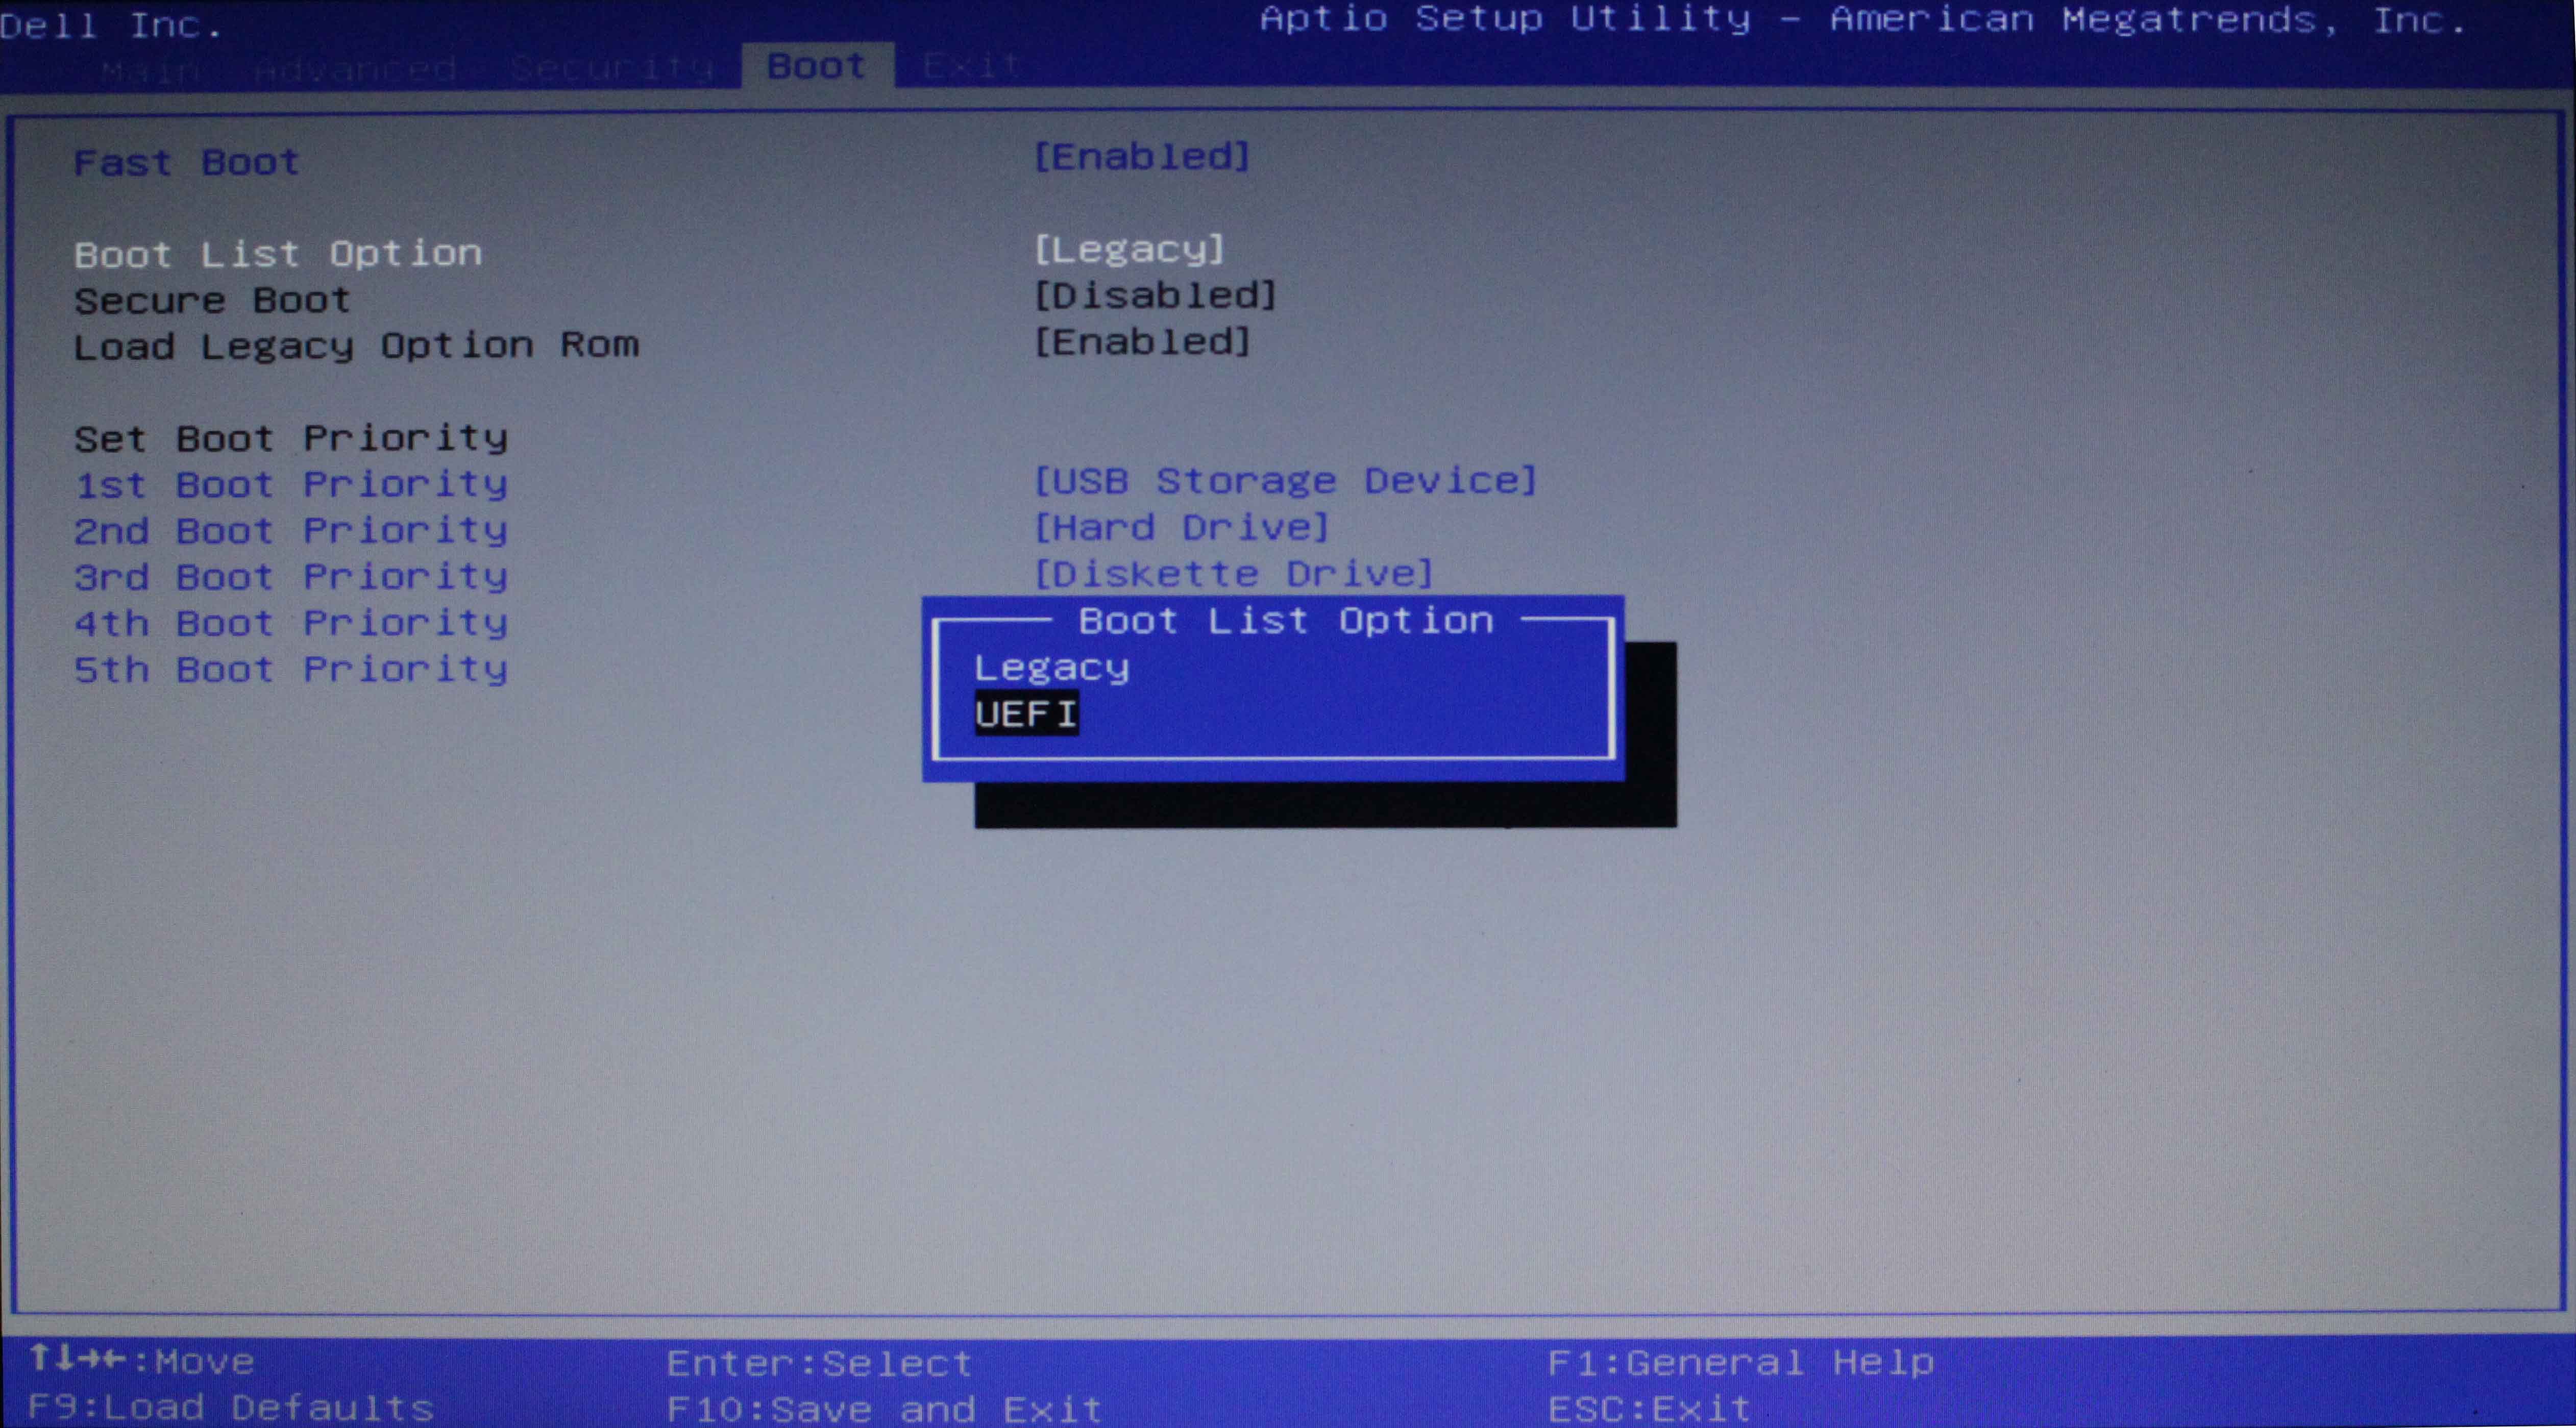
One major problem with such systems is the fact that you cannot boot into a currently installed OS with UEFI enabled on that system. Therefore, if you have such a system, then we recommend you to create a bootable USB for Windows 11 using this guide and then enable UEFI on your system. Once enabled, boot to a USB drive and then upgrade your PC to Windows 11.
Install Windows 11 by hacking ‘registry bypass’
If you meet all the basic requirements for Windows 11 then you can install Windows 11 by bypassing the TPM and secure boot requirements. Windows allows you to do this officially while also warning you that you will be vulnerable to security threats.
Not much of the same information is available, but for now, it looks like you’ll miss out on all future security and privacy updates from Microsoft if you choose to do so.
To do this, you need to disable system checks in the TPM and Secure Boot registry. Note: this hack involves editing your registry values, that’s why we recommend doing such a backup before continuing with the tutorial.
Now, let’s see how to do this.
Open Registry Editor and go to this address:
HKEY_LOCAL_MACHINE\SYSTEM\Setup\MoSetup
Here, create a new DWORD (32-bit) Value called AllowUpgradesWithUnsupportedTPMOrCPU. Now double click the new value to edit it and replace the value data from 0 to 1 and then click OK to save it. Check out the GIF below for help.
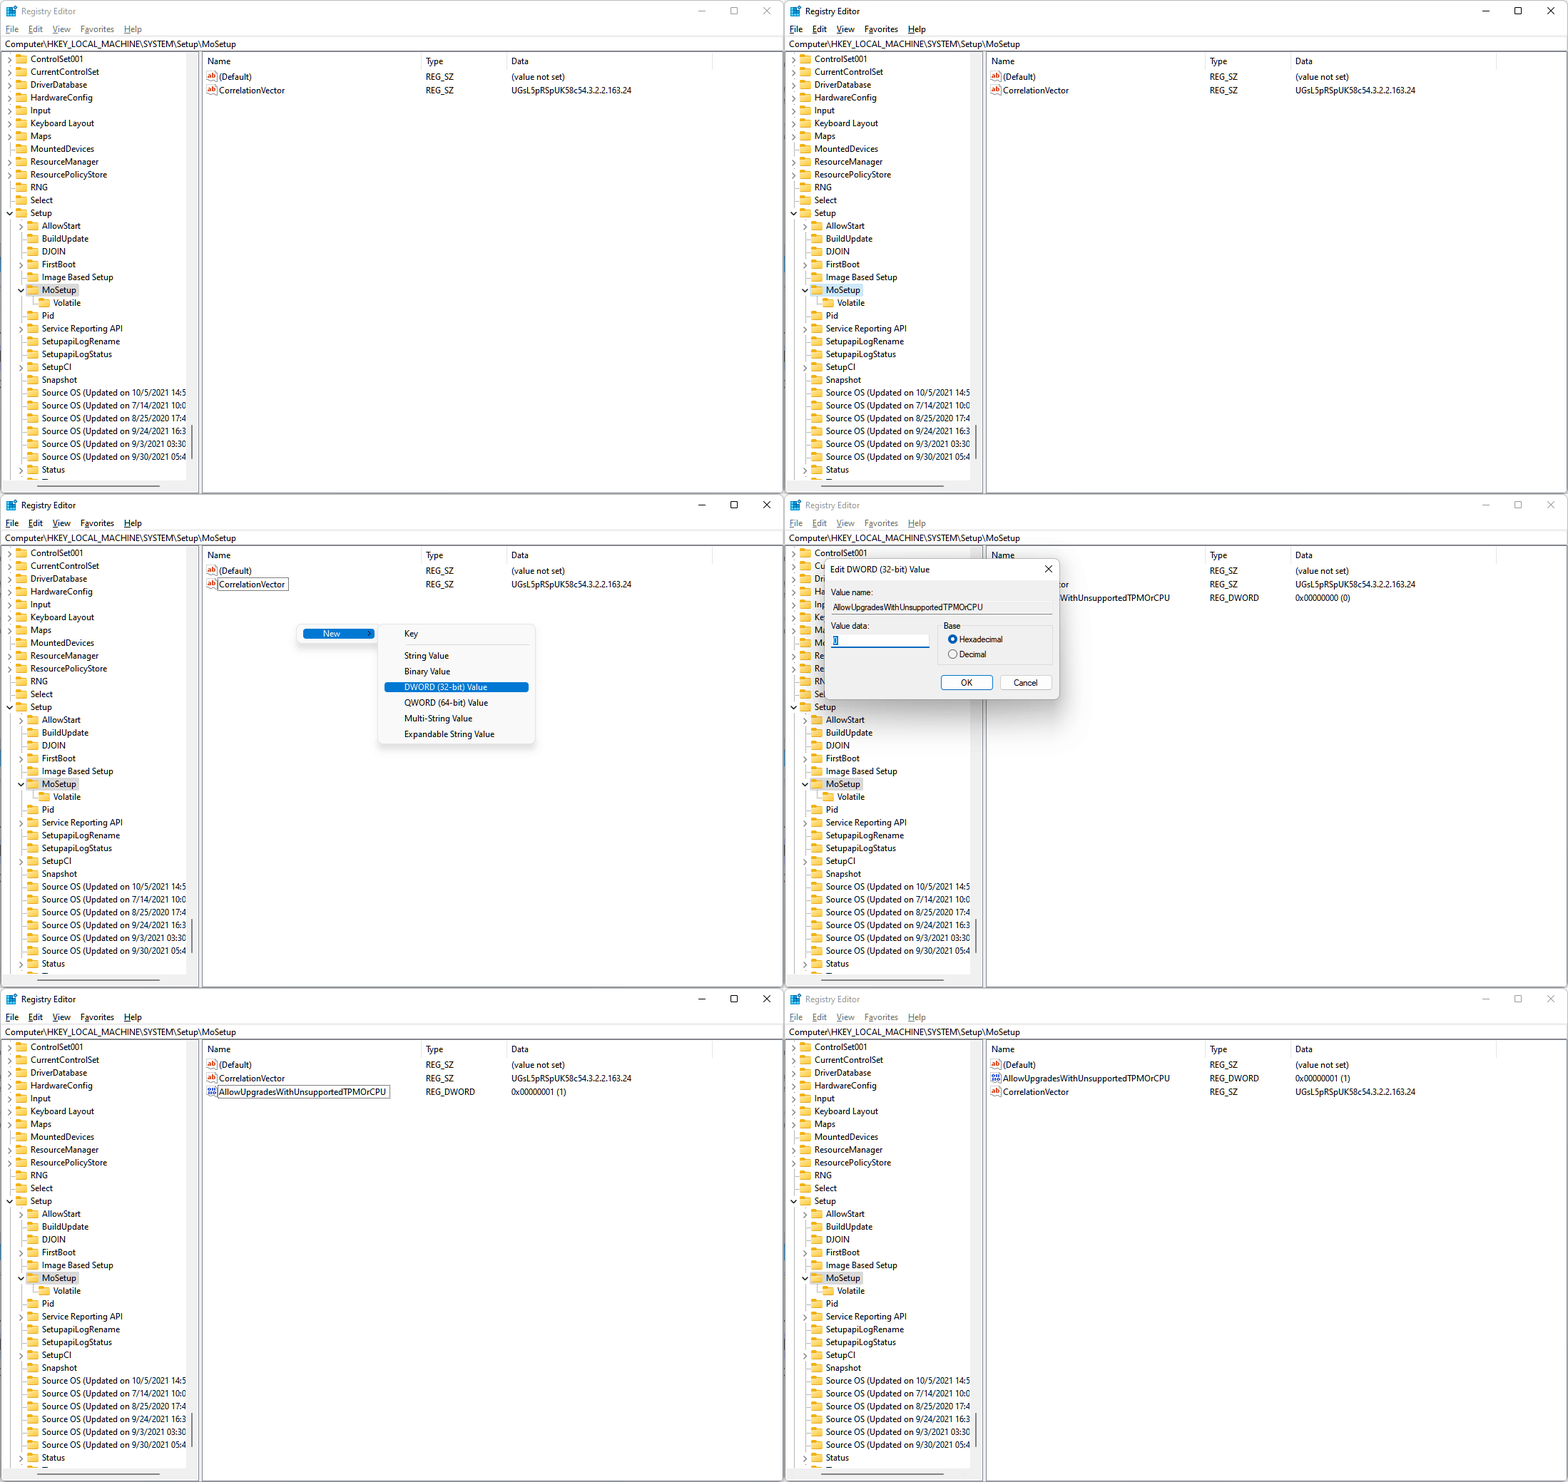
Next, restart your PC and then try to install Windows 11 now using Windows 11 installation assistant. Also you can also use file Windows 11 ISO .
The above method is indeed the best method, as Microsoft itself has suggested. However, if you are afraid to edit the registry file, then you can tweak the Windows 11 ISO file to disable it from checking for secure boot and TPM requirements or install the Windows 11 upgrade right away. ie.
All you need to do is install Windows 11 using the ISO file provided by Microsoft, but first remove the credential file (appraiserres.dll ) inside it.
Good luck.
Fix this pc doesn’t currently meet windows 11 system requirements:
Here’s what you need:
-
A windows 10 installation usb drive
-
Extracted windows 11 iso
Open the extracted windows 11 iso folder > sources, copy install.wim Open the usb flash drive, go to sources and paste
Use the flashdrive to install windows 11.
https://www.microsoft.com/en-us/software-download/windows11#:~:text=Windows%2011%20Installation%20Assistant
This is apparently a common bug which Microsoft addressed. Just proceed to this link and choose one of the options which seem appropriate for you.
https://www.microsoft.com/en-us/software-download/windows11

