Change the interface for Windows 10 unique as you do not fear of conflicts. Bored with your Windows 10 look and feel? Computer will look monotonous and very boring, then let me show you how to make your Windows 10 interface stunning and perfect according to your preferences with Rainmeter software.

Table of Contents
Instructions for installing and using Rainmeter
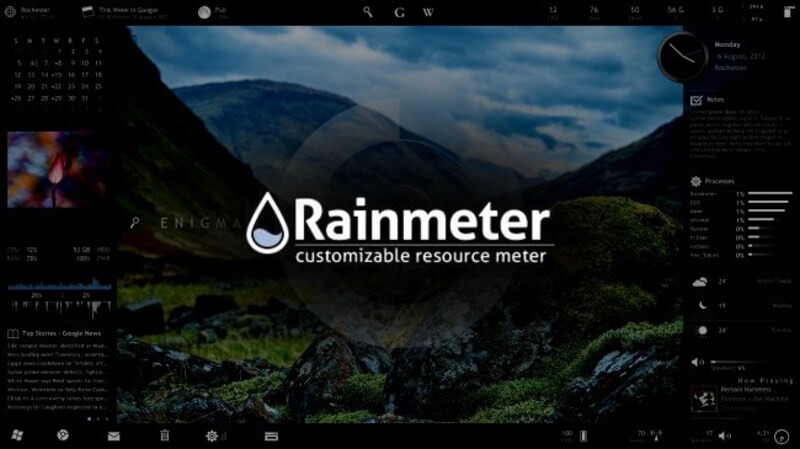
Rainmeter is a free utility software for Windows, released under the GNU GPL v2 license. It allows users to create and customize their own Desktop. The special thing is that this software supports Vietnamese for you. No more wordy, let’s get started.
Step 1 :
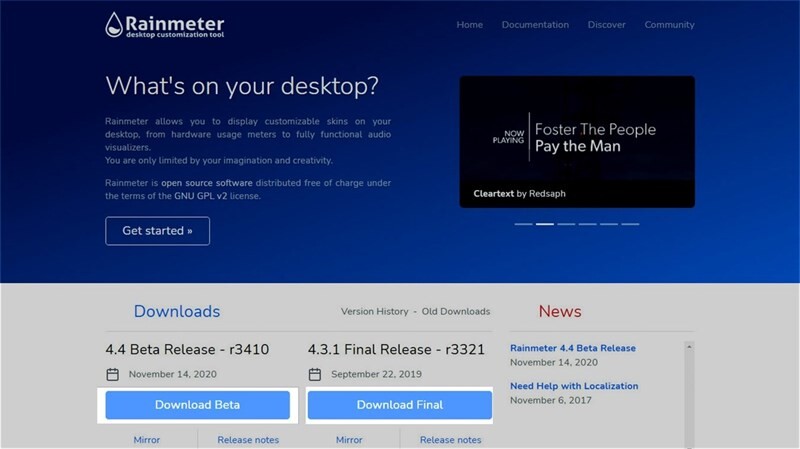
Firstly, download Rainmeter software . Access the link below and choose to download. You can choose the Beta with many new updates or the Final version with the most stable features. Here I use the Final version.
Download here: Rainmeter .

Step 2 :
Then proceed to install, after the installation is complete you will see the Rainmeter icon on the Desktop. You choose Next all so that the skin when installed will be enter the system easily. But to use it, you need to download the skins you want to use. I will link the Download Skin pages in step 3.
Step 3 :
Here are 2 Download Skin pages that I use the most to customize my Desktop . You choose a skin you want, then you click as shown in the image to download.
- Link to download Skin Rainmeter: Visual Skin.
- Link download Skin Rainmeter: DeviantArt.
Step 4 :
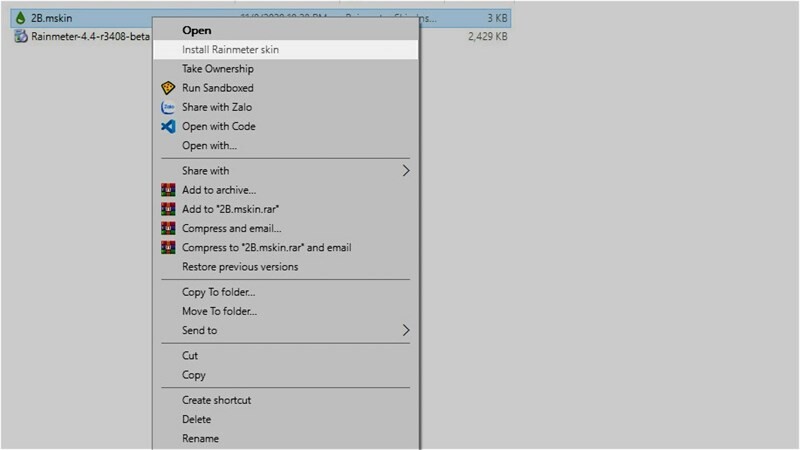
Find and download the skin you want, the downloaded file will have a .mskin file , you just need to double click on the .mskin file , it will automatically install this skin into Rainmeter for you.
(Note: some skins when you download it will save as rar or zip, then you just need to unzip and copy the folder to the path you save, usually this path: “C: \ Users \ @ Name User \ Documents \ Rainmeter \ Skins ”).

Step 5 :
Now turn on Rainmeter and customize it as you like . However, I encourage you to choose the default manufacturer because it will be beautiful and stable rather than editing too much. So that is done, very easy, right?
Step 6:
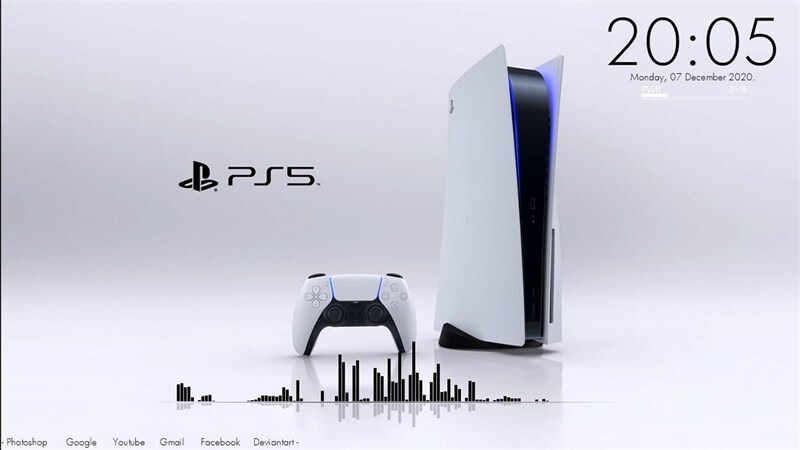
Here are the results that you have after successfully adding your favorite skin.


