If you are using Office XP, do it like this.
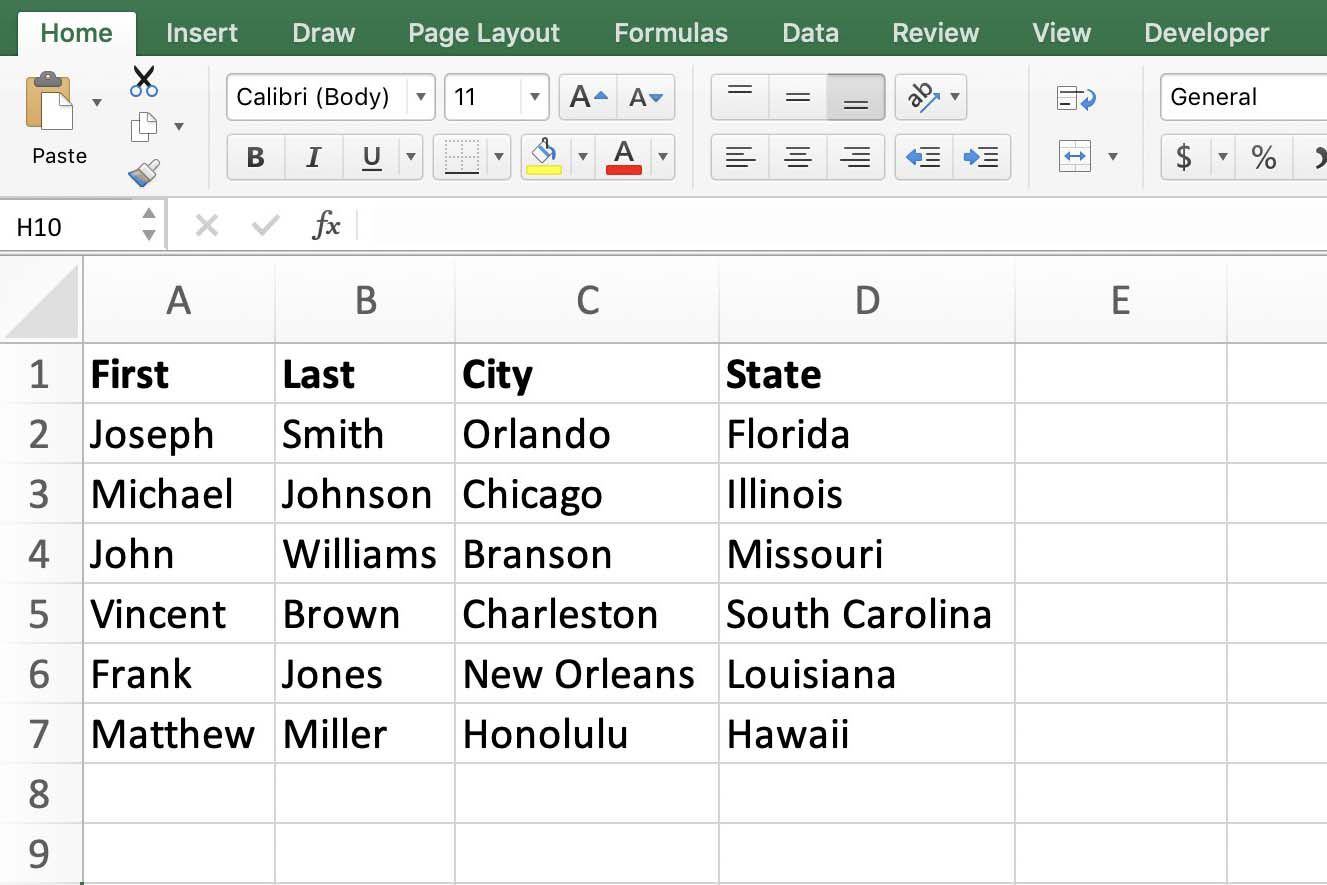
1. Create an Excel file before, with columns at your disposal, for example Excel file named Data.xls has the following columns correspond to the columns A / B / C / D, and then save the file to somewhere on the drive hard ID / Name/Birthday / address / …
2. Open the Word, the form of the text drafted stirrer, note blank spots automatically enter text into
3. Select the Tools menu / Letter and mailing / Mail Merge Wizard …
4. Task pane of Word appear for you to select the parameters of mixing, for example, you select Letter, and then click Next.
5. At the next step select the Use the Current Document, click Next: select recipients …
6. Select the Use an existing access list, then click the Browse link below.
7. Select Data Source dialog box appears, select the Excel files in the Files Of Type box list box, and then pointing to your Excel file (for example Data.xls file mentioned above).
8. Select Tables dialog box appears, you enroll in the sheet item to choose the sheet, for example, sheet1 $. (If the first line of the column named Excel file as mentioned above, then click the checkbox First row of data contains column headers
9. Mail Merge Recipients dialog box appears for you to choose the line want to include mail, then select the latest default. Click OK
10. Then all the dialog screen disappears and the like … nothing happened. If you click next: write letter của always in the task pane, nothing happen.
11. Choose View / Toolbars / Mail Merge toolbar to appear mixed mail.
12. Move to the spot to fill is blank, click the Insert Merge Field button (Right Insert Word Field button on the left) on the Mail Merge toolbar to appear there to appear the Insert Merge Field dialog box. Select Database Fields button, you will see the name of your column.
13. Now select one by one, click Insert, then click Close to move to a new site, repeat step 11 above until fully inserted into the correct columns each corresponding spot. Then click Next on the Task Pane. Click Next: Preview your letters always, because there is no need to make you interested in Step 4 this.
14. Through step 5, if you like that then click Next to Step 6, select Print to print always otherwise click Edit to edit the individual letter into the file. Choose All in the box to New documents Merge to merge the entire list did.